My best friend Loula’s custom wedding dress was to be a form fitting evening gown with a corset back. Though the dress would have straps, I wanted it to fit as if it were strapless and have the necessary structure inside to make the corset-laced closure work perfectly. I used some techniques I learned back in graduate school peppered with some new techniques.
A lot of undergarments these days are made from stretchy material, but it would be very important that Loula’s bustier is made from stable fabrics. It would fit similar to a corset with steel boning adding a lot of strength and support to the dress and the lacing closure. Contrary to what you might think, corsets (bustiers, corselettes, etc.) are actually very comfortable to wear if fitted correctly. They give you a lot of postural support and actually make you look and feel great! Loula was really excited to wear a boned bodice on her wedding day!
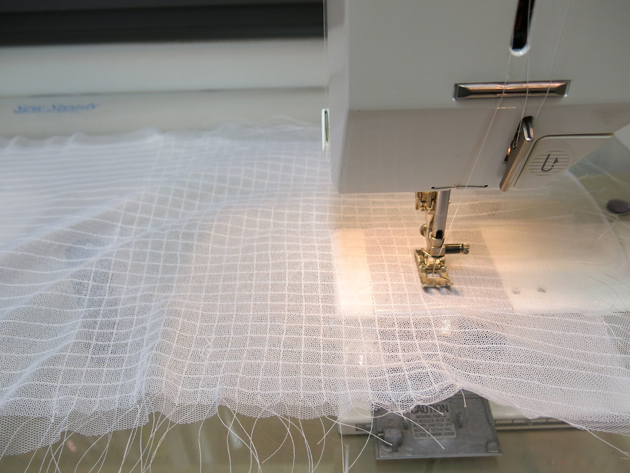
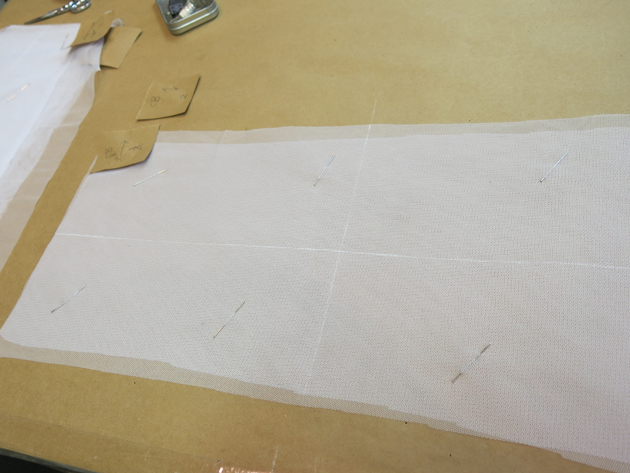
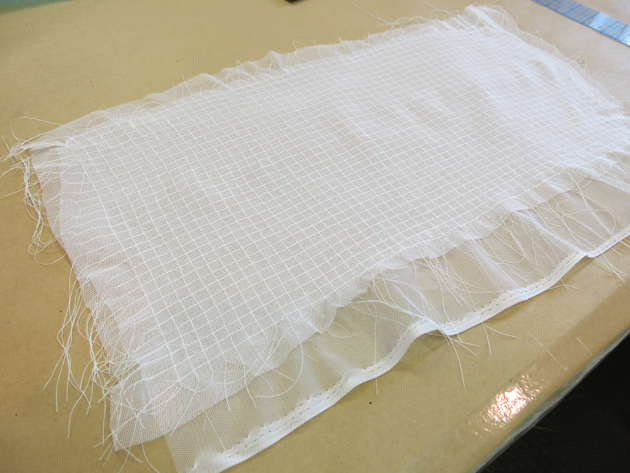
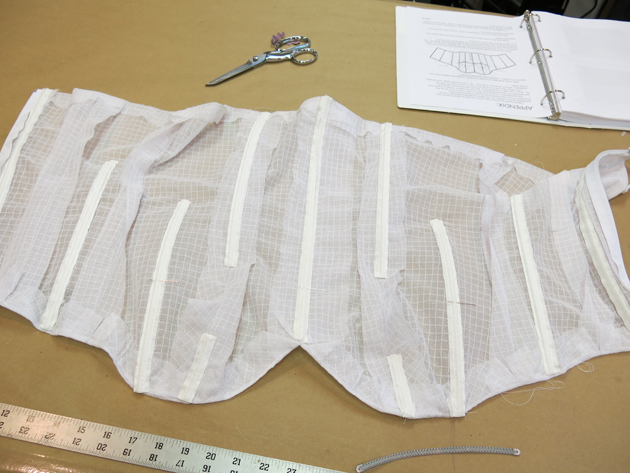
To make Loula’s bustier, I took two layers of nylon power net, one on-grain and one cross-grain, and quilted them together in a grid pattern. This would make for a very lightweight undergarment that was also very strong.
I started from the center and machine-stitched each line a presser-foot’s length away from the previous line. I learned that this causes a lot of shrinkage!
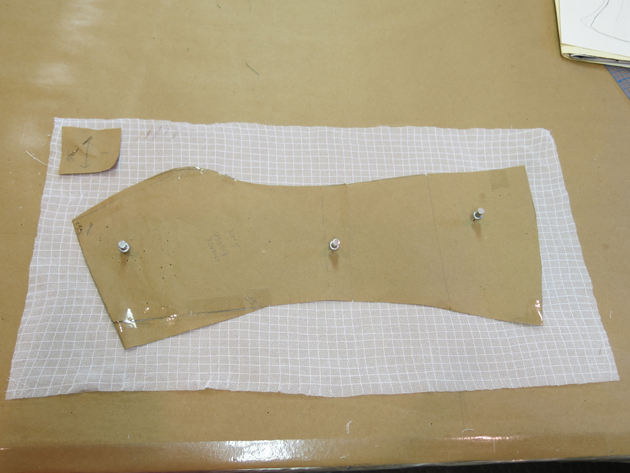
Then I trimmed the excess from the quilted powernet and used my corrected pattern to cut out the pieces.
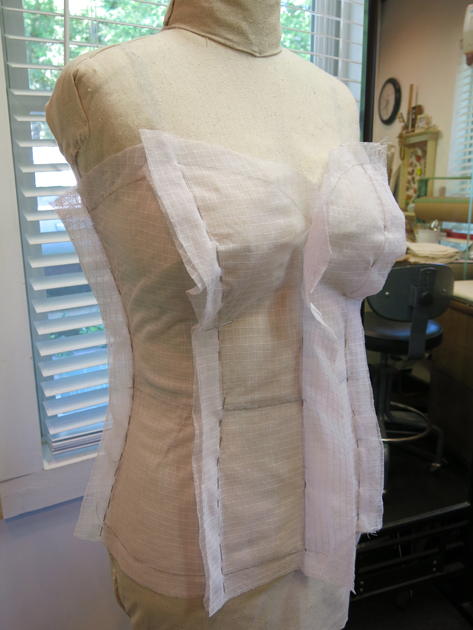
Once all the pieces were quilted and cut, I pinned the bustier together and tried it on the form.
I then basted the seams together, stabilized the neckline, and put in some temporary bones for our fitting. I tried a modified version of Lynda Maynard’s appendix to Kenneth D. King’s book “Birth of a Bustier” as my initial boning layout. These were just temporary plastic bones that could be moved and repositioned in our fitting, so it was fun to try out new things (a theme you will see often in the creation of Loula’s dress.)
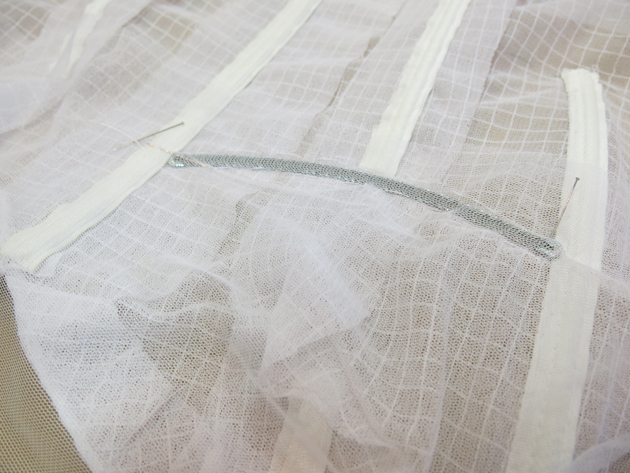
I even made some impromptu “underwires” out of flexible spiral steel bones.
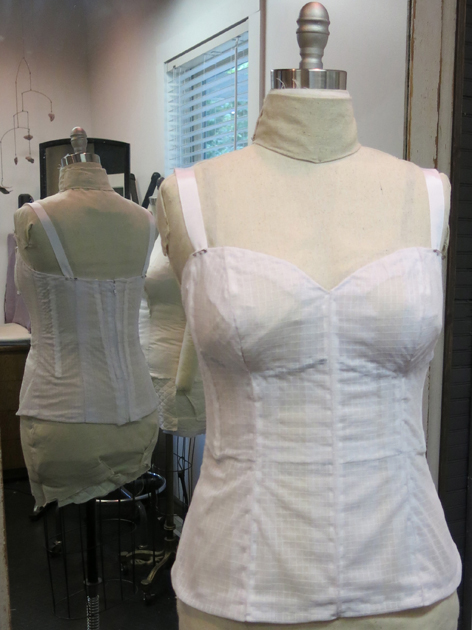
Ta da! The bustier was now ready for the fitting! You may be asking “where is the corset back you keep talking about?”. Until the fit is correct, I will continue to use a zipper adding the lacing in at the end for a perfect fit.
Next post: I make the muslin version of Loula’s wedding dress, attach it temporarily to this undergarment, and get everything ready for our first real fitting!




5 Responses
I love that you get so technical. It’s so interesting to see these details so clearly!
Hi,
Did you stay with that type of boning and placement in the final piece? Do you prefer the steel bone for the “underwire” over a bra underwire? My bride is also full-busted.
thanks
If you keep hitting the “next post” button, you can follow the whole process of the dress being made all the way to the wedding day.
To answer your question, at this point in the process I thought I might try a simple bustier like you see here, but after the fittings I ended up making cups and using real underwires. The bustier itself had a mix of white steel bones and spiral steel bones. (The plastic ones in this post were just for the fittings, so I could decide what length bones to buy.)
The post that shows finishing the bustier can be found here: https://brooksann.com/finishing-loulas-bustier/
Hope it helps you with your bride!
Hi,
Also do you have a source for your nylon power net? Seems I can only find it with spandex .
Thanks, Karen
The powernet I used was something I’ve had sitting around in stock for about a decade. It was actually something that a designer in NYC was throwing out when I snagged on it. I used all of it for Loula’s bustier, so I’ll be looking for a source soon too! Let me know if you find one, Karen!