

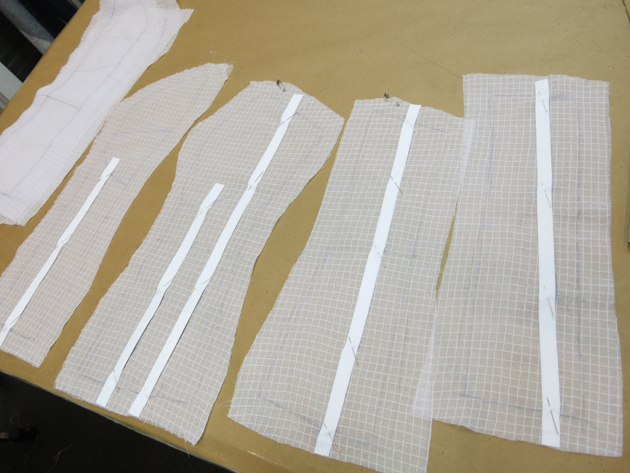
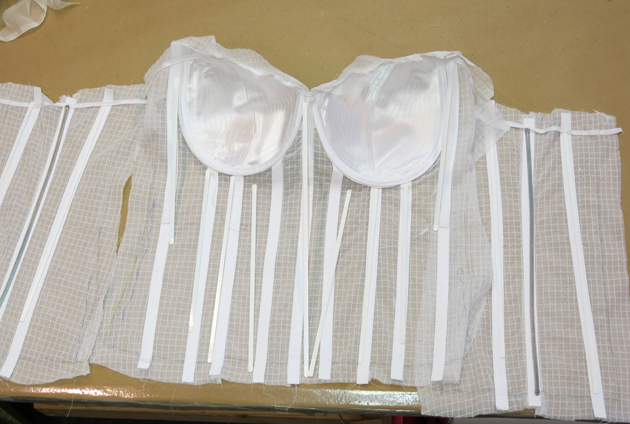
After our fitting, I was able to take Loula’s bustier apart in order to put it back together permanently and with better materials. During the fitting, I was able to determine exactly where we wanted the seams, bones, cups, and closures. In the photo above, you can see me pinning the boning tape in place. I used cotton bone casings that would house spiral and sprung steel bones.
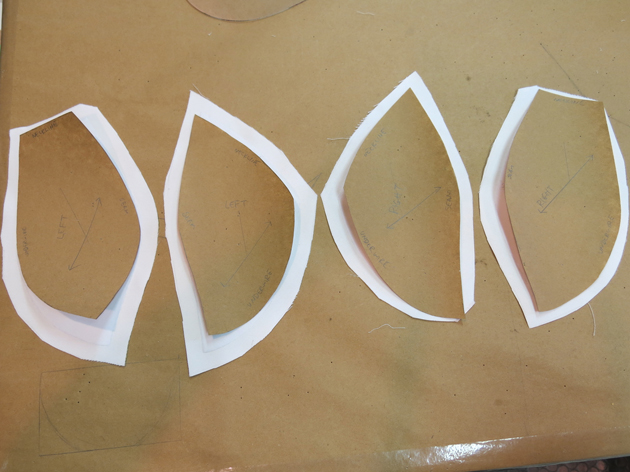
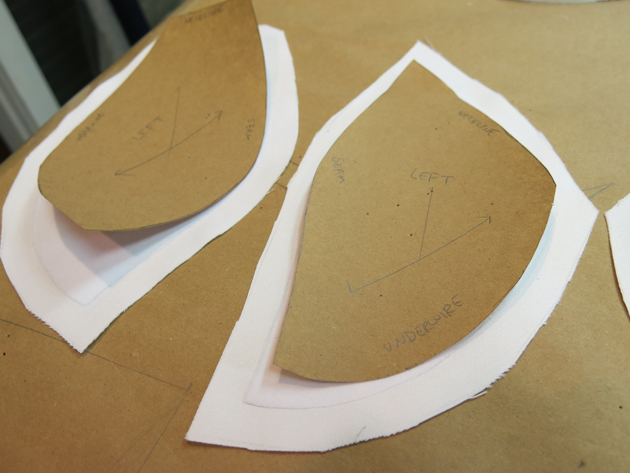
The plan with the bustier is that it will be permanently attached to the inside of the dress at the neckline and corset back closure. Adding this structure would make it possible for Loula to wear the dress without also wearing a bra. Since Loula is a busty woman, we decided that we’d reinforce the cups of the bustier and add underwires. Below you can see the pattern pieces for the two-piece cups laid on top of the cotton satin fabric that would be added inside the bustier.
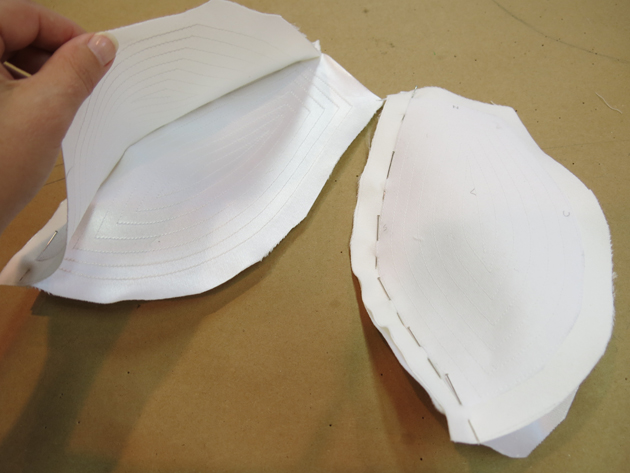
The cotton satin was also reinforced with a cotton interfacing. I machine quilted the two fabrics together…
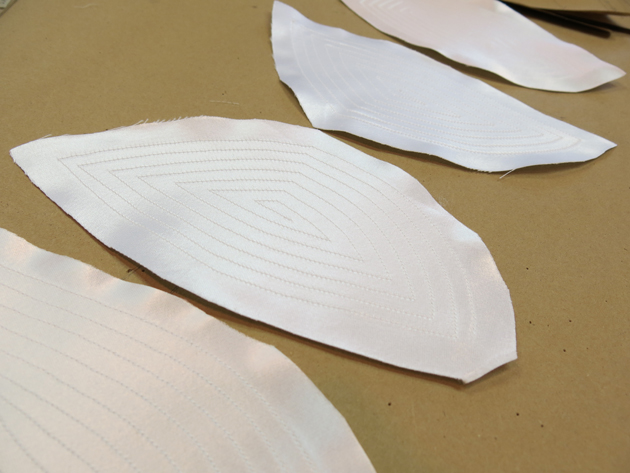
…and then pinned and machine stitched the two pieces of each cup together.
I added an underwire casing to each cup and stitched them into their correct position in the bustier.
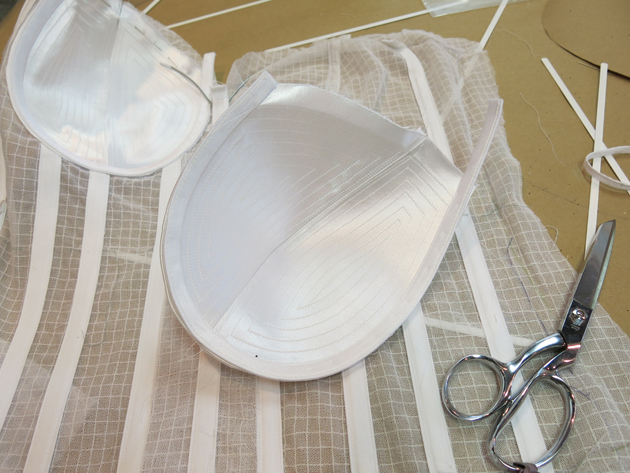
Then I inserted the underwires and laid out my steel bones to insert into their casings.
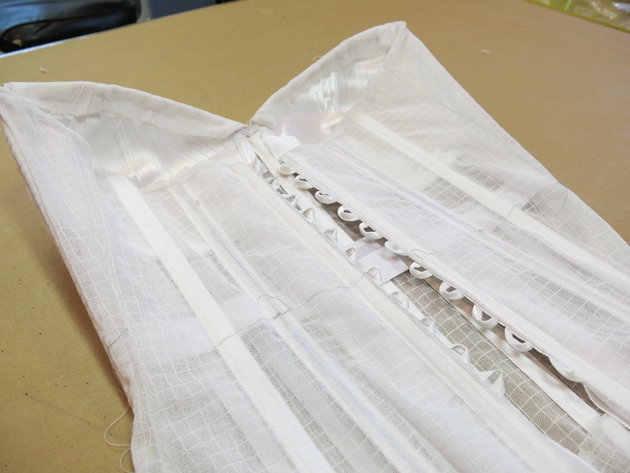
Then I was finally ready to add the corset back! I made a lot of bias ribbon out of a cotton silk blend. This fabric would be used for our lining, but the lacing would be used as the corset loops and ties. You can see how I used one continuous length of bias ribbon to create all the loops on each side of the corset.
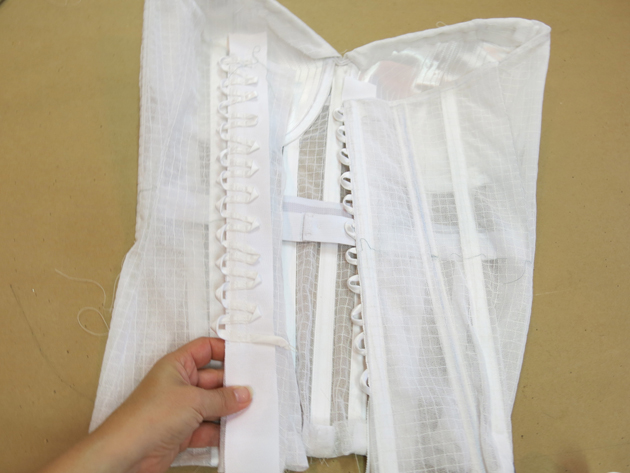
I merely basted the side seams and the top and bottom edges as a points of adjustment for our final fitting, but the understructure was finally ready to have Loula’s dress built onto it!
Next post: Cutting and assembling some of the real fabrics for Loula’s custom wedding dress!


