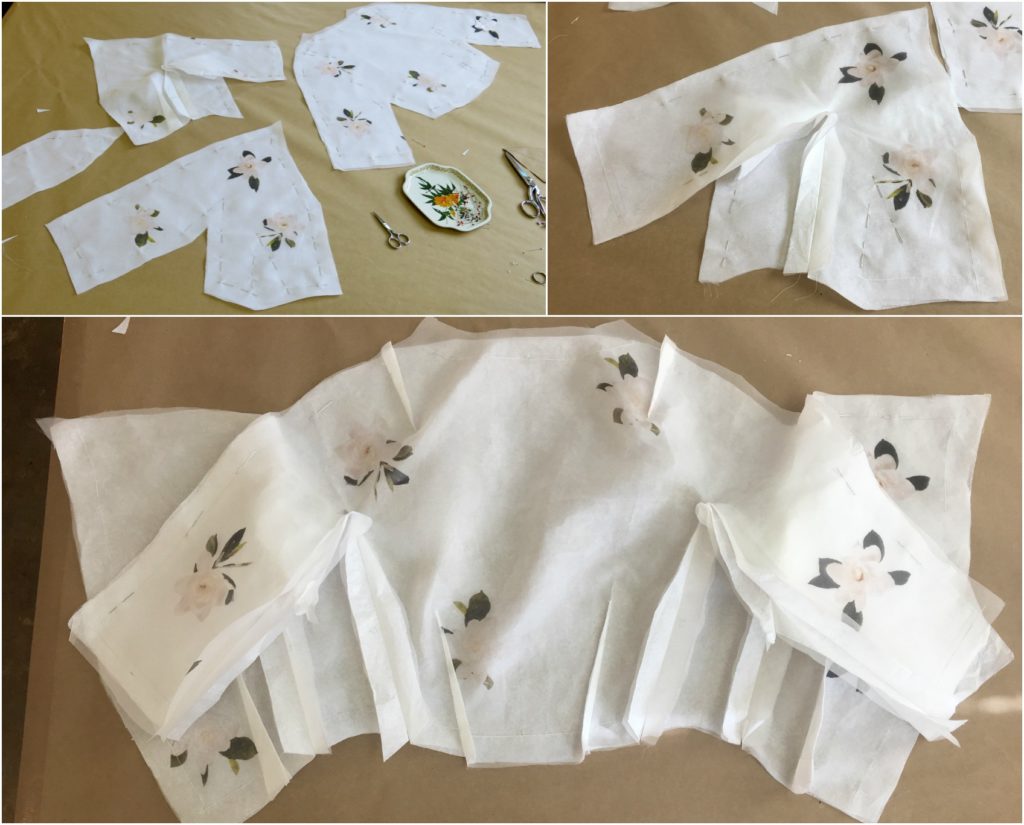
 After getting in some practice sewing the skirt pieces of Cameron’s custom wedding overdress (made of cutom-printed sheer silk and backed with tissue paper), it was finally time to tackle the top. Cameron’s design features cut-in-one gusset sleeves.
What the heck are cut-in-one gusset sleeves? Well, you don’t see them much in modern clothes, mostly because they are tricky to sew. Though beautiful, they are not labor efficient or material layout efficient for factory production. Good thing I only sew couture…
Back in my day…
I first fell in love with cut-in-one sleeve designs around 15 years ago when I was in graduate school (I have a Masters Degree (MFA) in Costume Production from UNC Chapel Hill). The class was called Period Pattern and, as I recall, basically went like this: Each week, our teacher would hand each student (class size 2-6) a different period garment image (her choice!). Our assignment was to figure out how to reproduce it, and then do so. She assigns us the image of a dress and we turn in a dress.
When we got to the early 50s, my assignment was La Cigale by Christian Dior. It’s really beautiful and gets more beautiful the more you examine it. While it is very hard to see in any photos I’ve ever seen of this dress, it (not only has a Y dart) has cut-in-one diamond gusset sleeves. Looking very closely you can see that there is no armhole seam. The same piece of fabric wraps the body from center front all the way to the sleeve hem. Yet, it is very fitted! How can that be? Turns out: it’s because of gussets.
In my class research, I discovered diamond gussets and fell in love with the look and the challenge. I figured out how to draft the pattern and learned how to sew it. While we were allowed to only create half of the garment for a dress form (here’s 5 recent 19th century projects on 3 dress forms), I decided to make the full dress to fit myself.
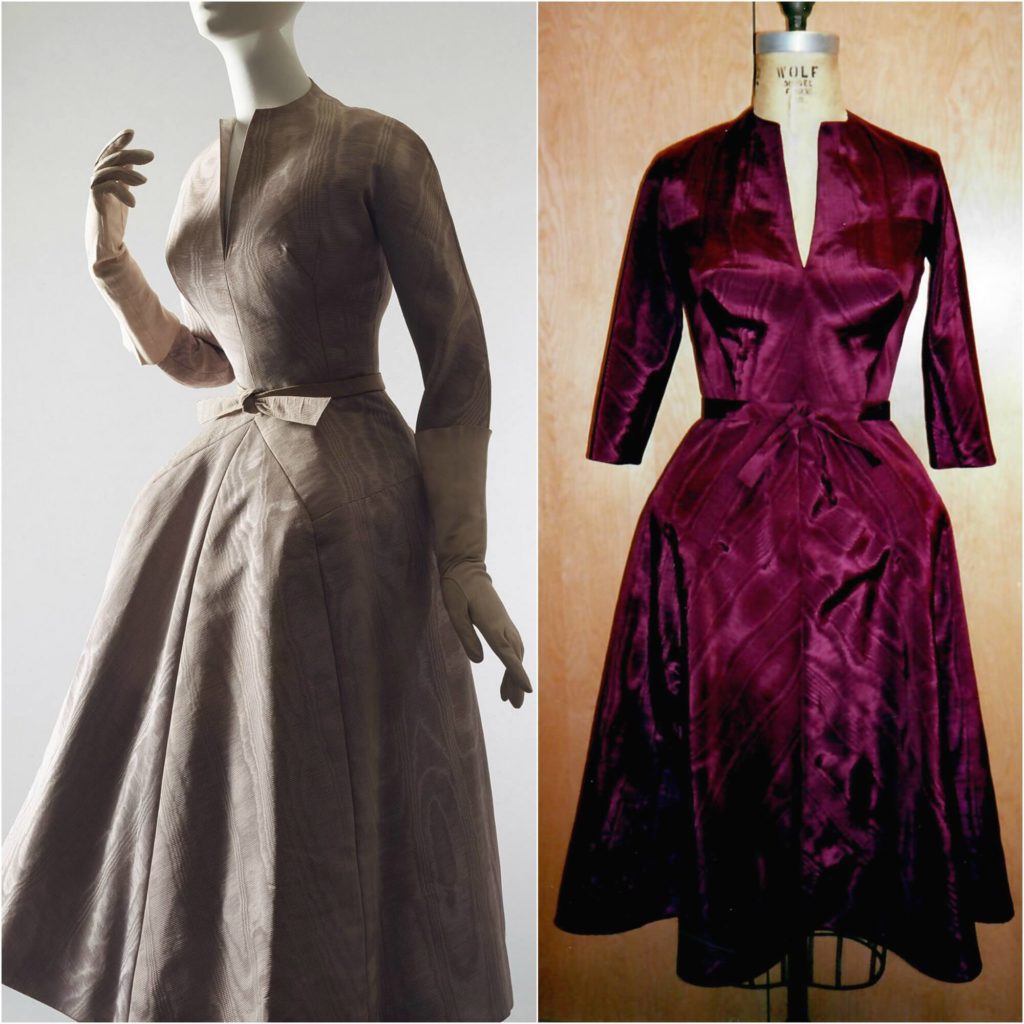
A gusset is a an extra bit of fabric added to enlarge an area to give it greater movement. They are most often completely utilitarian and resemble a football in shape, but gussets can also be a beautiful design feature resembling a diamond in shape (or in Cameron’s case, a rocket ship). Without a gusset, Miss La Cigale would not be able to move her arms. With the gusset, she has as much (or more!) movement as she would with a set-in sleeve.
Cameron’s Rocket Ship Gussets
When Cameron asked for a sheer, slim sleeved, vintage inspired design, I remembered my school project. I don’t think armhole seams look great in sheer garments, I thought the vintage style would fit Cameron’s personal aesthetic gorgeously, and I really was just itching to sew them again. The last time I sewed this type of sleeve was the cotton lace jacket I made for my own 2008 wedding. When I suggested this design feature to Cameron, she loved the idea. Now it was finally time to make it work!
In the far left of the picture below, you can see the underarm “diamond” gusset which I modified into more of a rocket ship shape. My rocket gusset is pointing to half of the front bodice with the other gusset already sewn to it. On the right, is the full back of Cameron’s bodice including both sleeves. I’ll walk you through adding the “rocket ship gusset” to the bodice piece below.
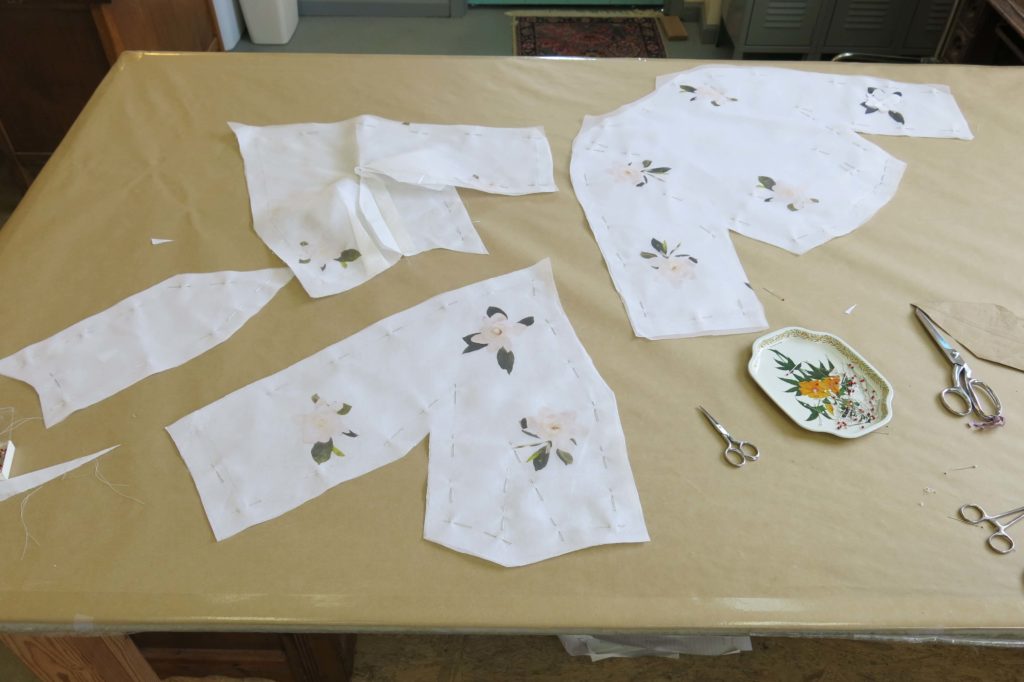
I use a lot of tissue paper when making a wedding dress, even if it isn’t backing the fabric. To keep the bride’s fabric as clean as possible, I often line the tables and floors with it.
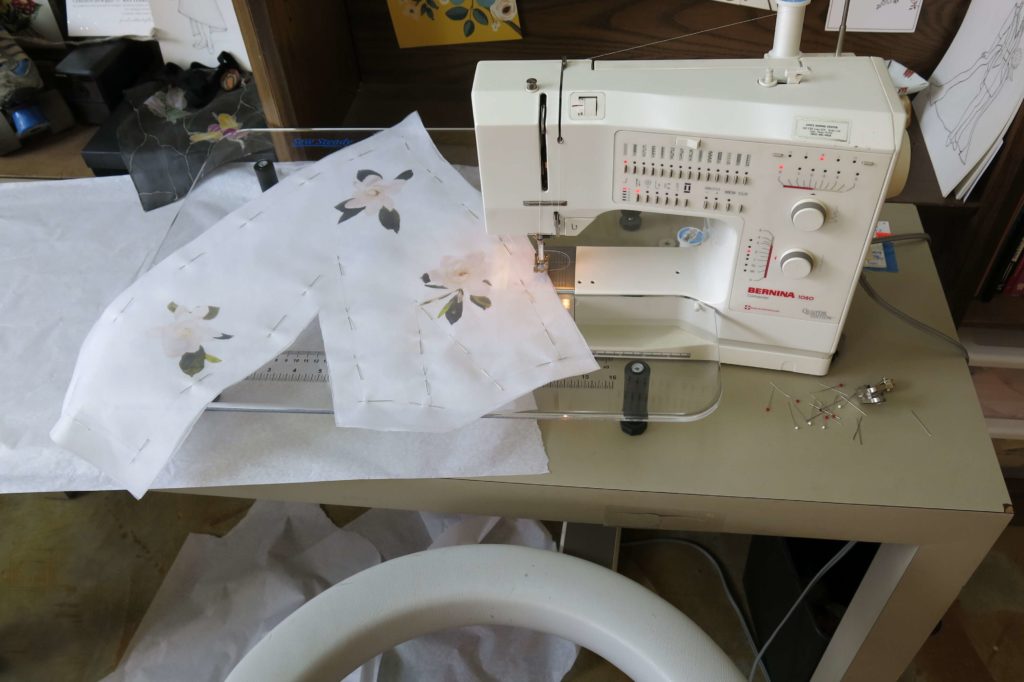
I started by stay stitching the edges through both the silk and the tissue (in the same way I did with the skirt).
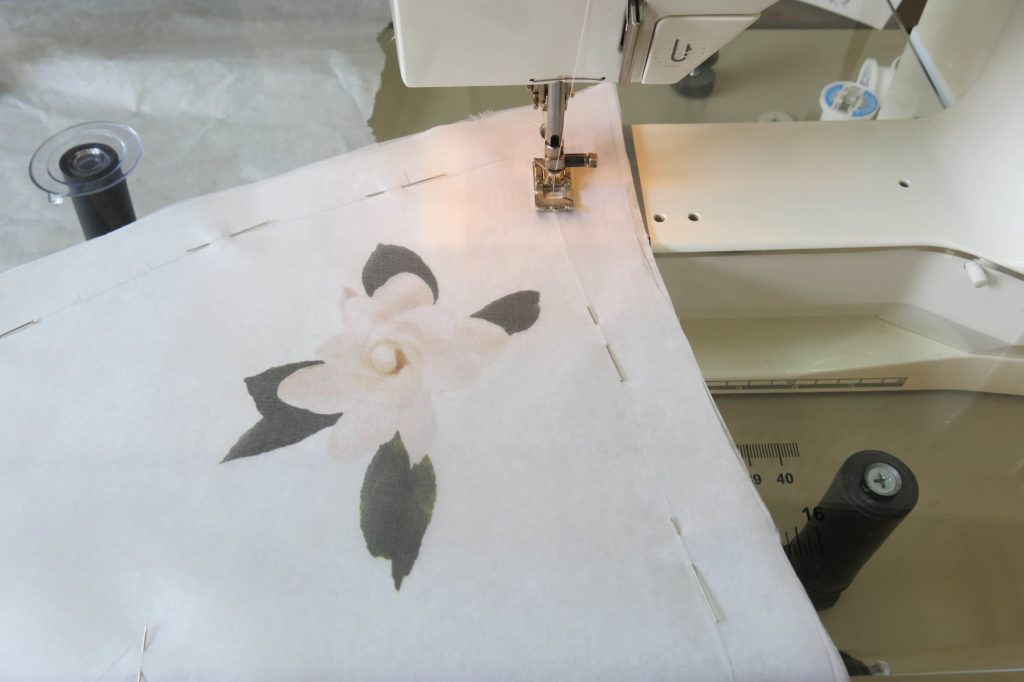
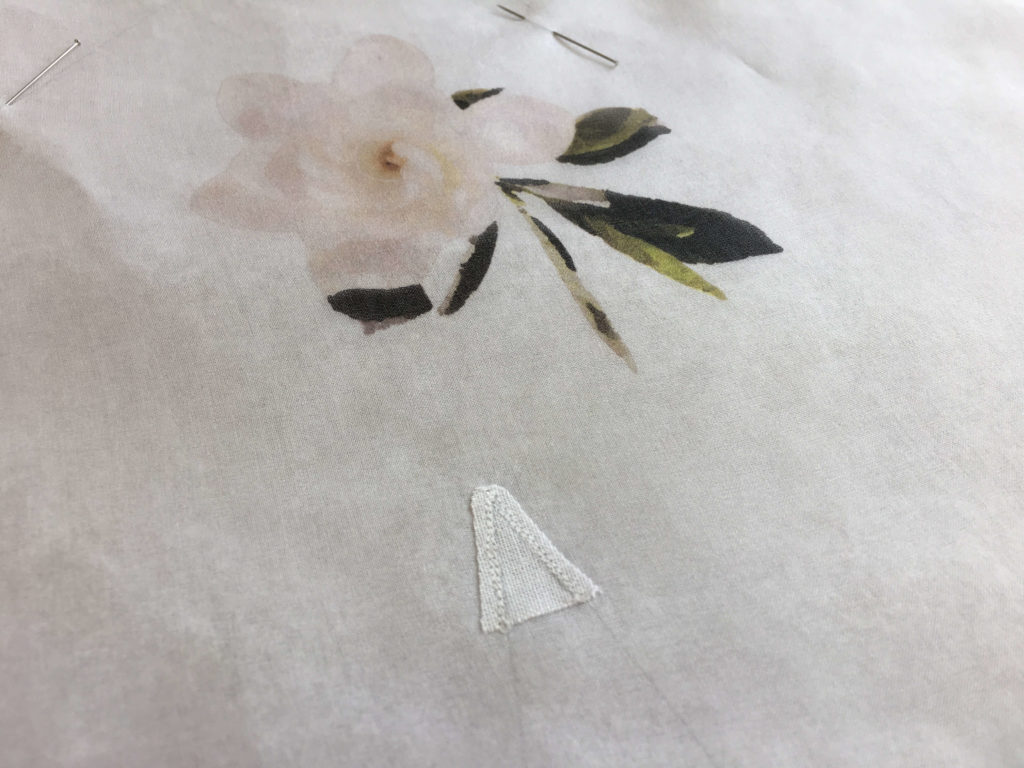
An underarm gusset requires you to clip to the point at the crease of the underarm really closely. This clip is what allows the wearer to move her arms. I’d need to add additional reinforcement in that clipped area.
I pulled out my pattern to fashion a tiny custom triangle of fusible interfacing…
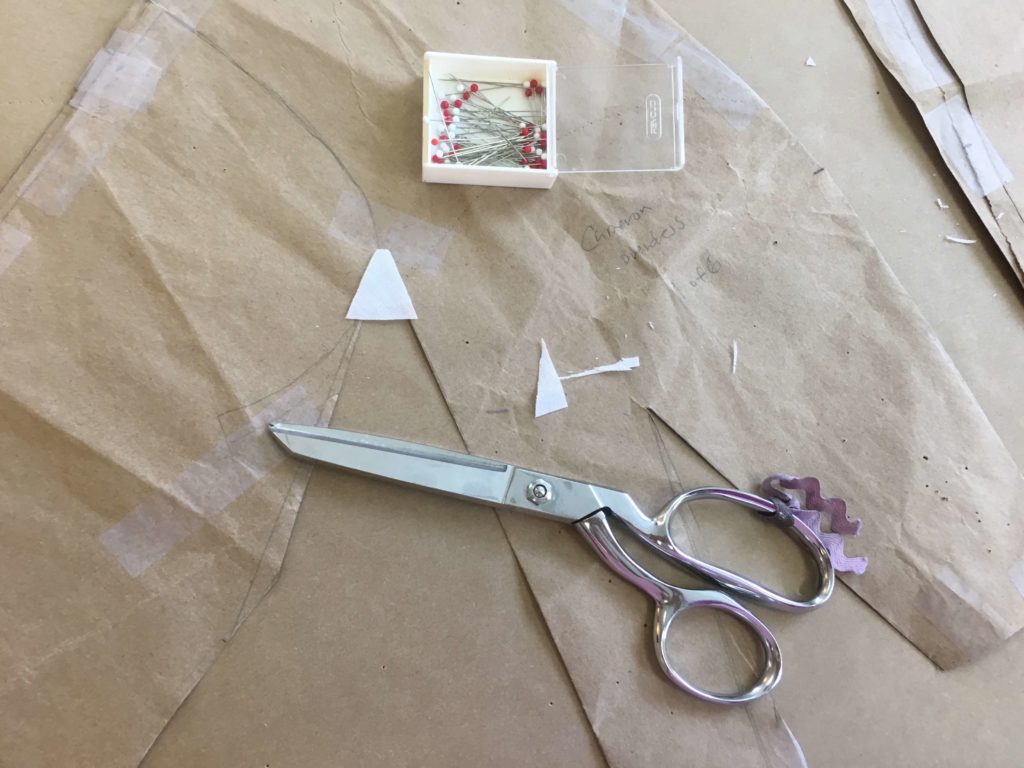
…and added the interfacing to the coordinating spot on the fabric.
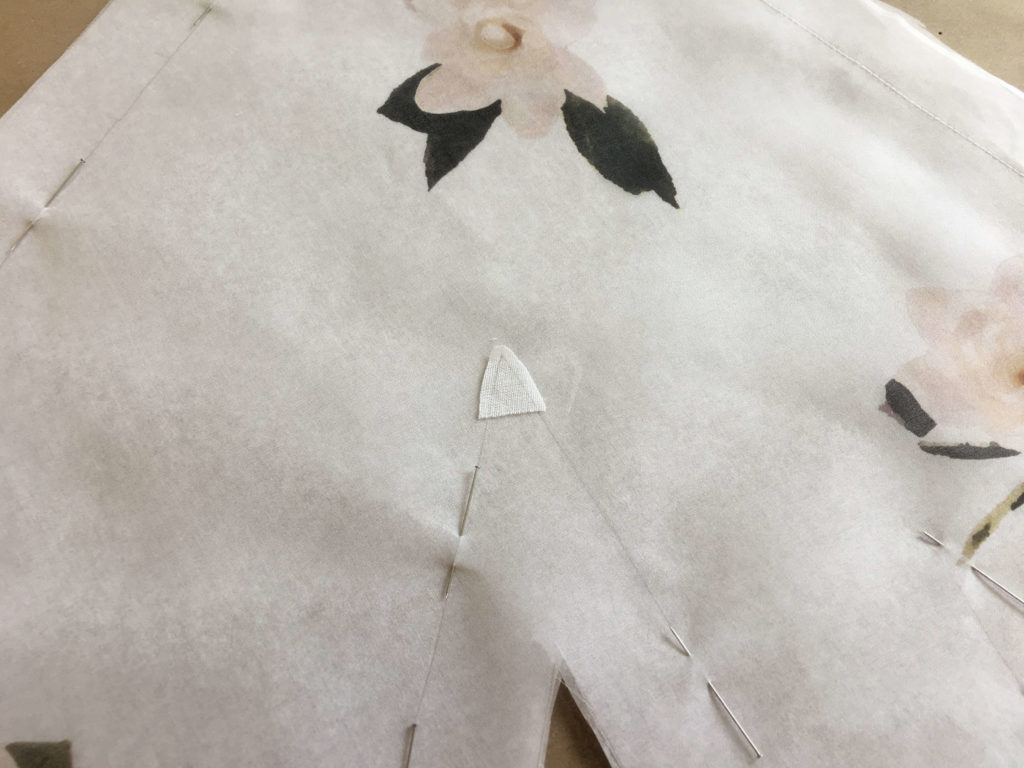
Then I added two rows of tiny stay stitching along the pointed stitching lines.
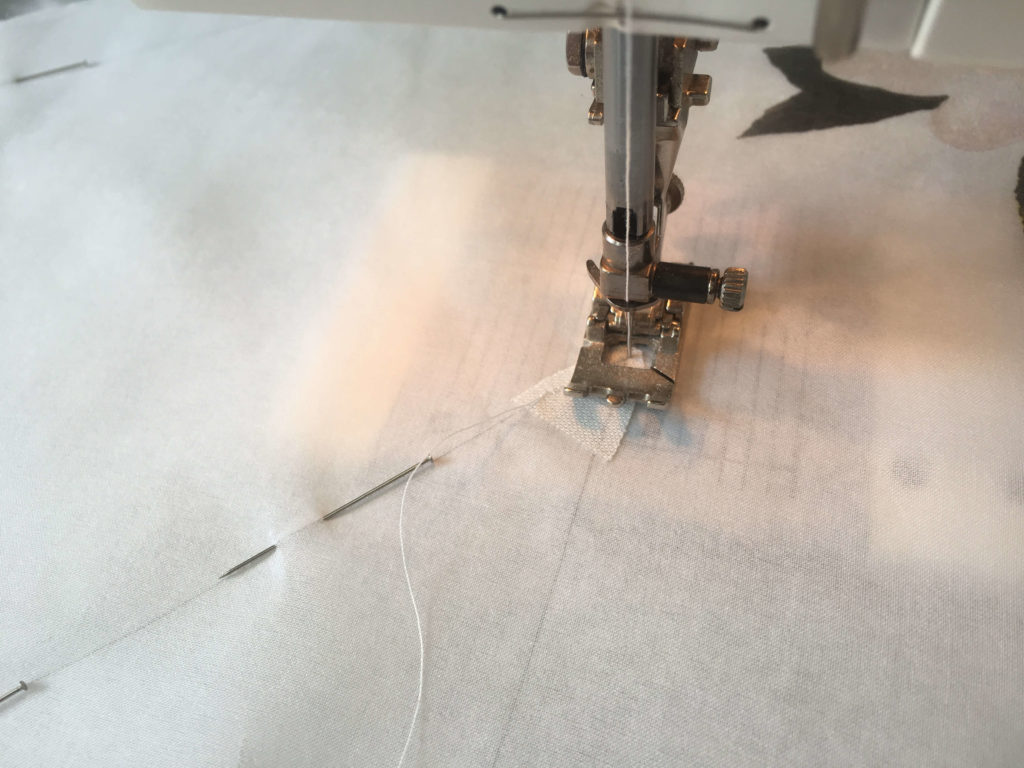
Looking good!
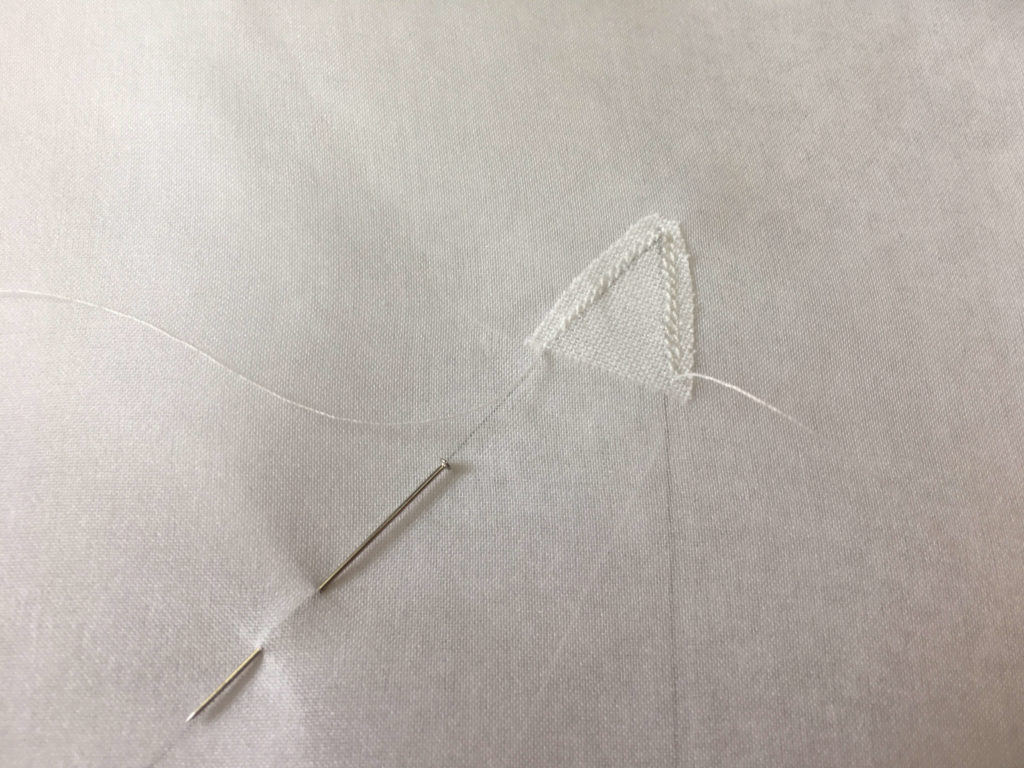
Now for the dreaded clip!
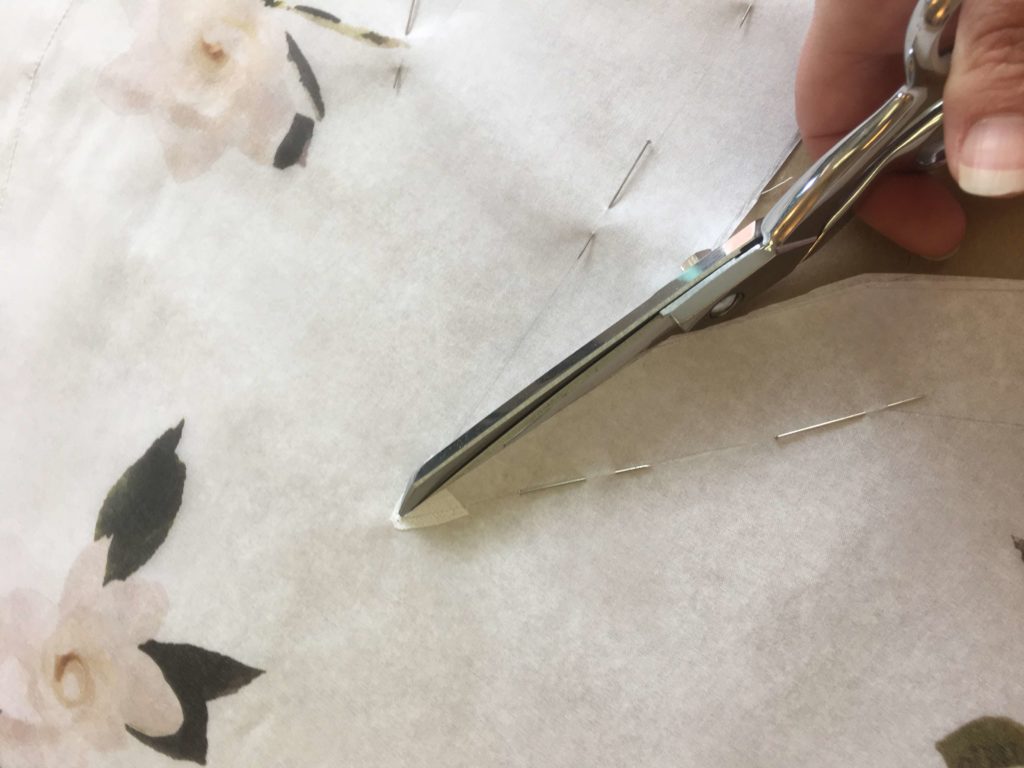
I got my scissors right up to (but not through) the point and made my slice.
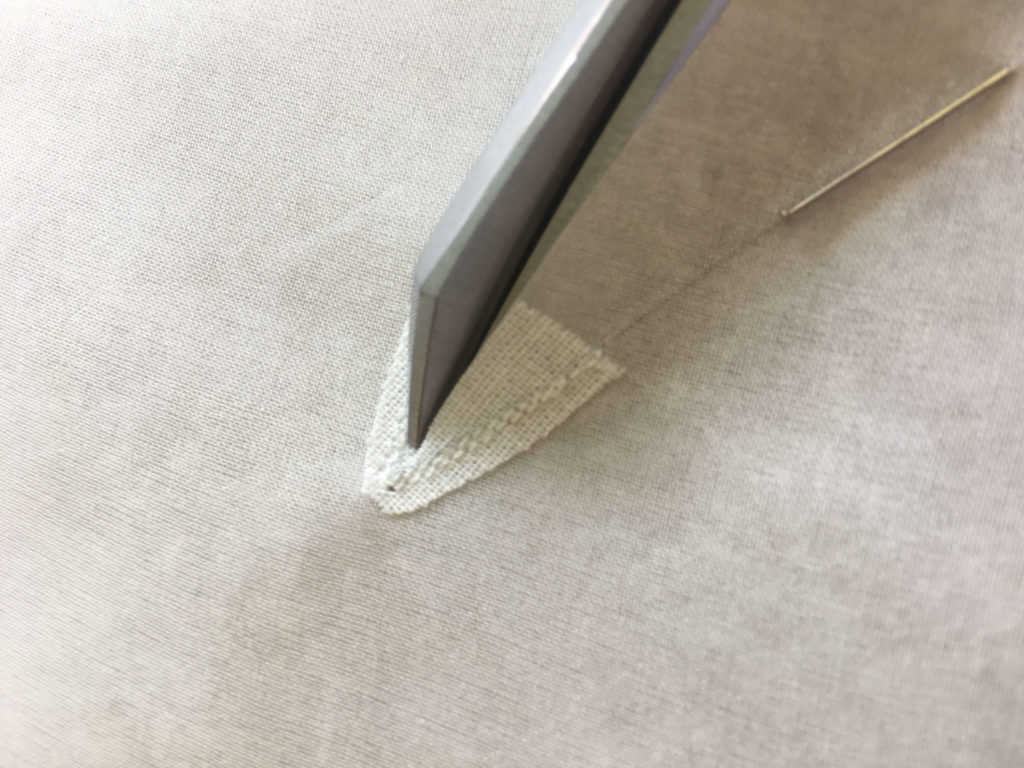
Once the seam allowance was sliced, I could open the clip to match the rocket ship shape.
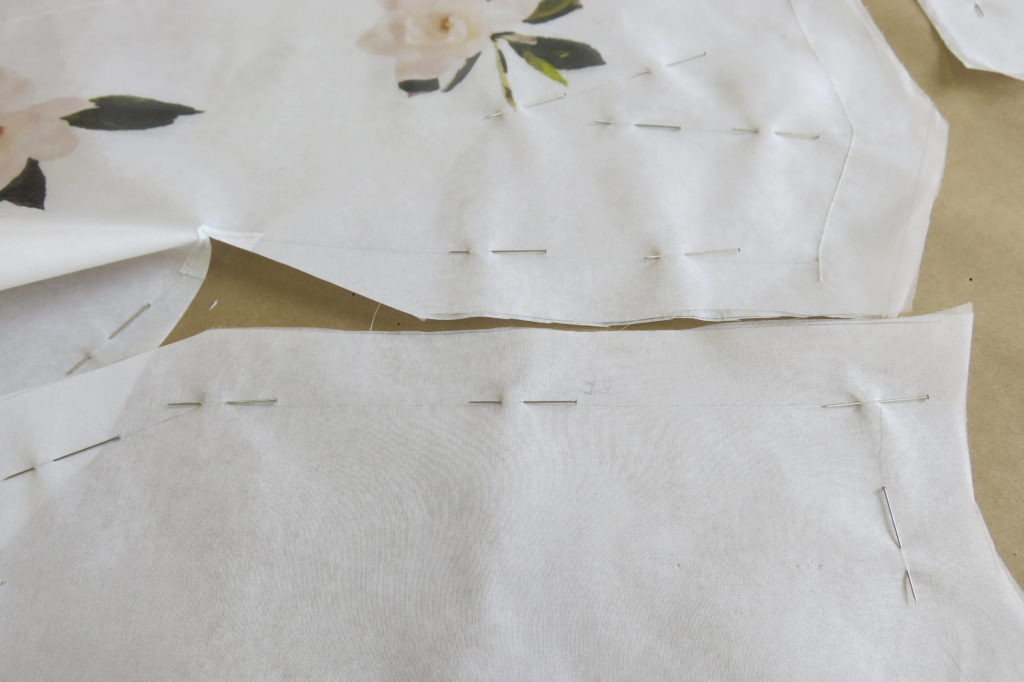
I pinned the gusset piece to the front piece while the clip was all the way open…
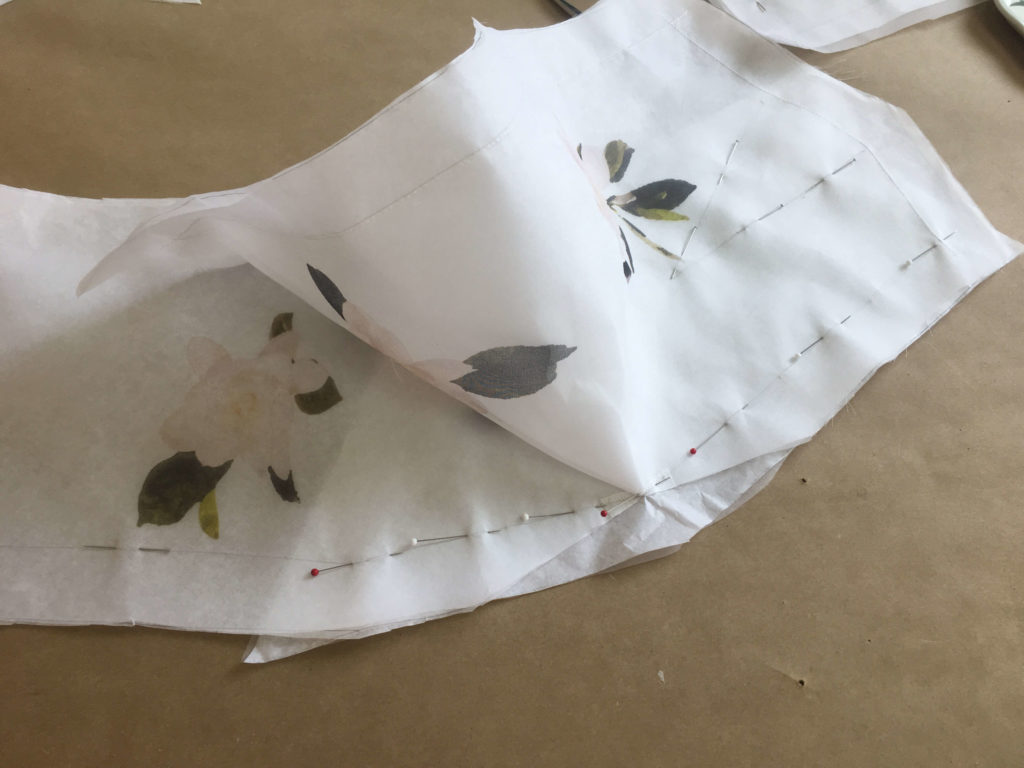
…and stitched it from waist to point. Stitching the bit with the open clip is tense (which I guess is why I didn’t remember to pull out the camera), but here’s what it looked like afterwards when the opening is relaxed…
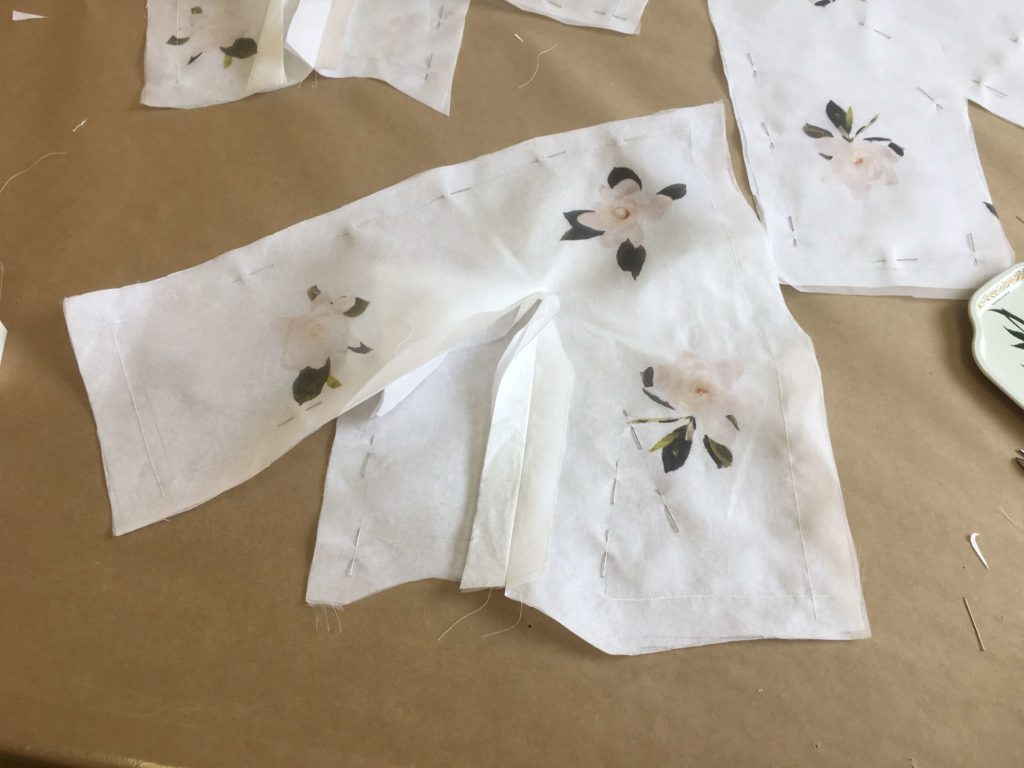
…and a quick (not so great) video of the movement.
Pretty flexible!
Adding the Back
By now, I had two fronts attached to two gussets. Next, I’d need to attach the other side of each gusset to the back piece. I did the same stay stitch, reinforce, stay stitch, clip, pin, sew, sequence as before.
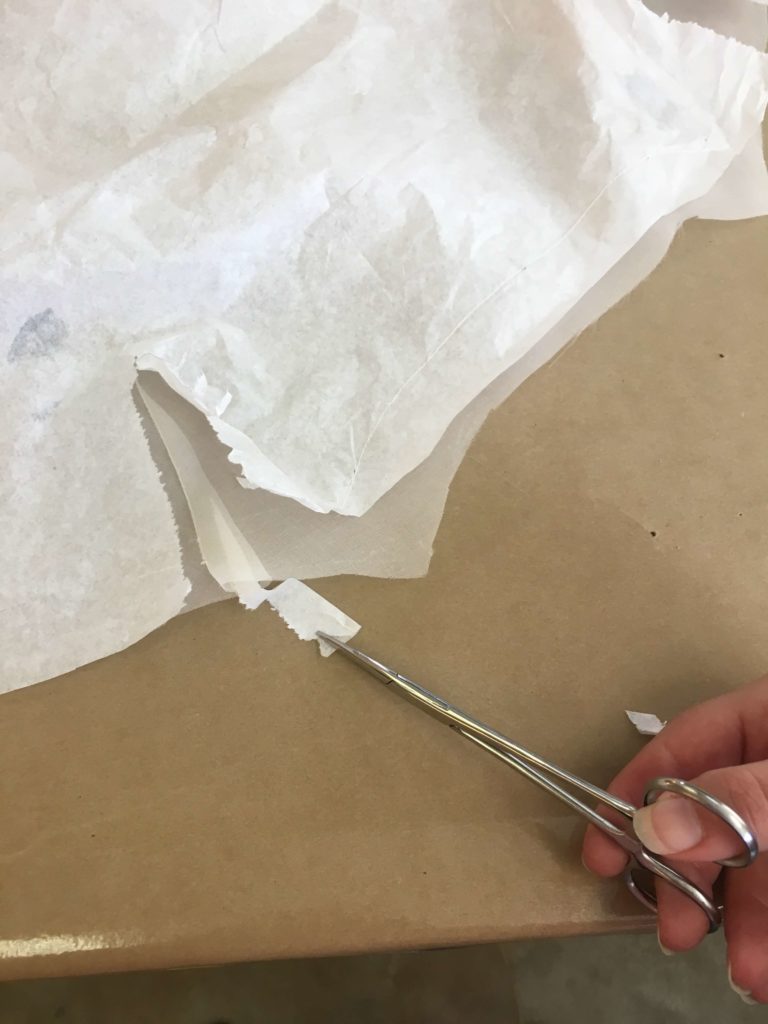
I also stitched up the rest of the underarm seam and all the darts. Instead of moving the paper like I did for the skirt darts, I stitched the bodice darts as they were pinned and then carefully pulled out the paper caught inside with a hemostat.
And here’s what it looked like up to this point! See why I am am enamored with this type of pattern and fell in love with these sleeves so long ago? It creates the coolest puzzle! Below you can see all the seams stitched except the top two seams that go from shoulder to sleeve hem.
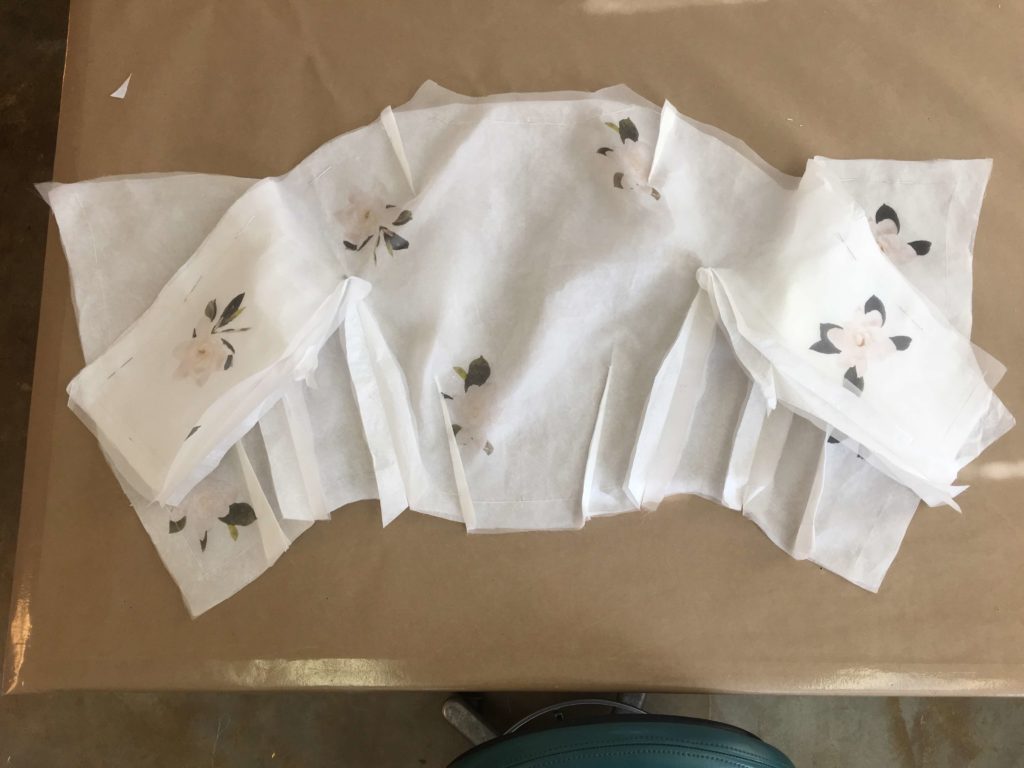
Though I’d flat fell the seams I’ve sewn, I’d only baste the “shoulder-to-sleeve hem” seam so that I could still make changes in Cameron’s next fitting.
Let ‘er Rip…
It was finally time to tear off (most of) the tissue paper!
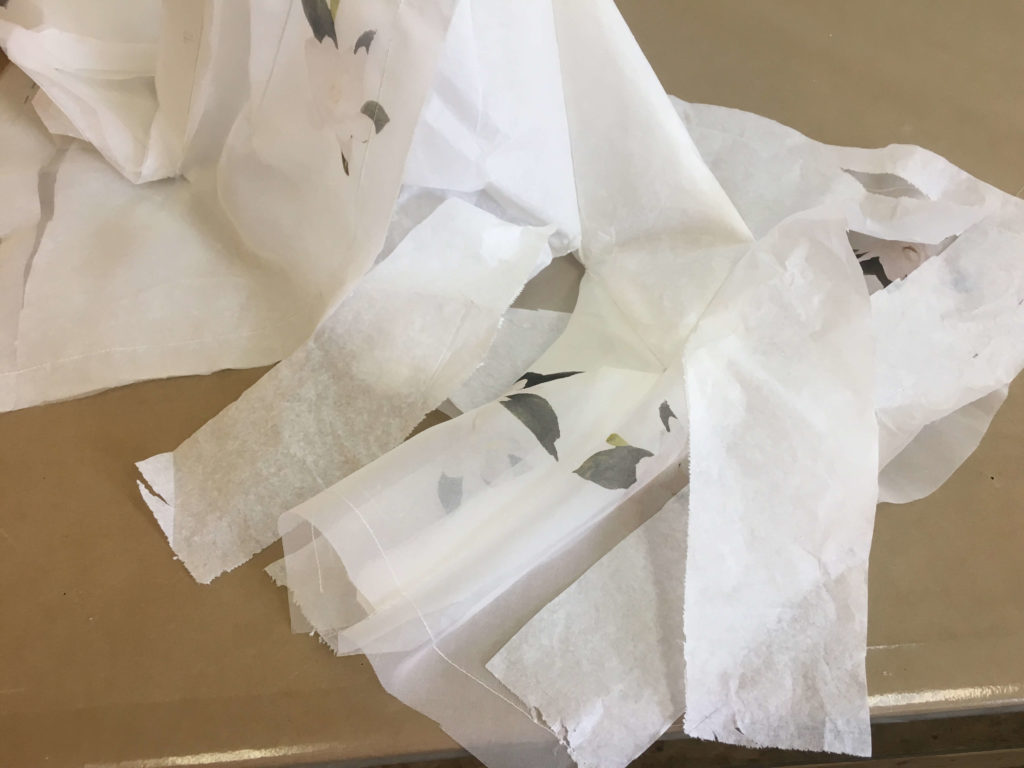
Messy, but soooo satisfying…
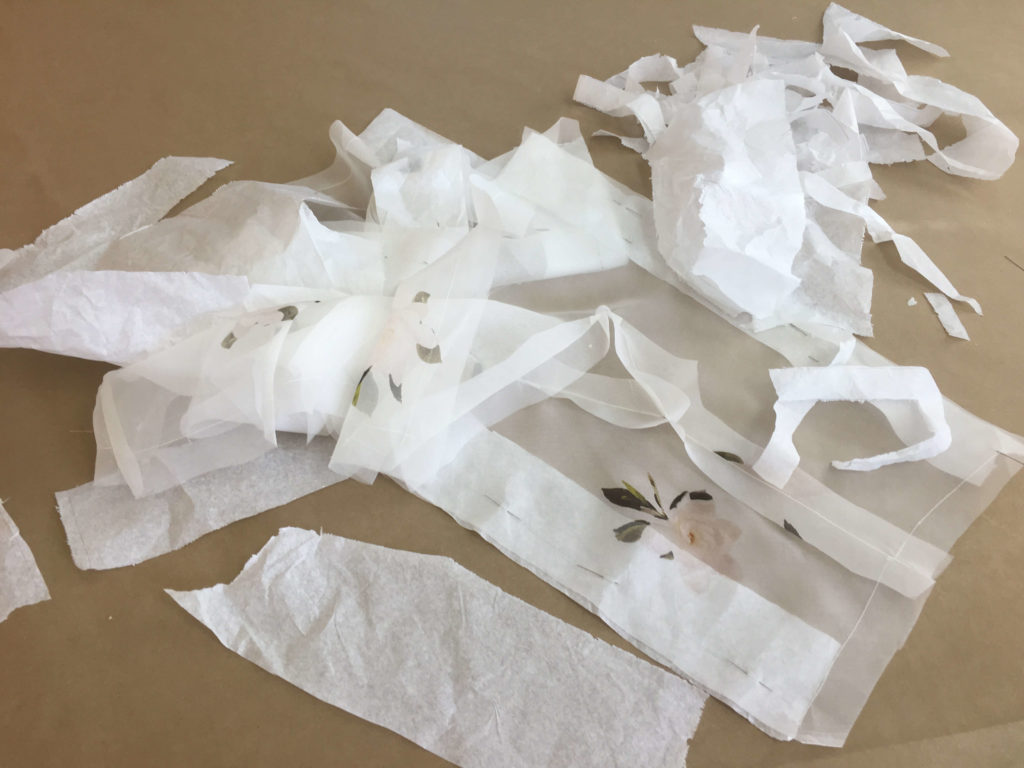
I only left strips of paper along the top of those final to-be-basted seams.
Flat Felling by Hand
I’d use a flat fell seam finish again but, unlike the skirt, I’d do the finishing by hand this time. Hand sewing gives me so much more control, looks more beautiful, is easier to remove without scarring (if neccessary), and I also simply enjoy it more than sewing by machine.
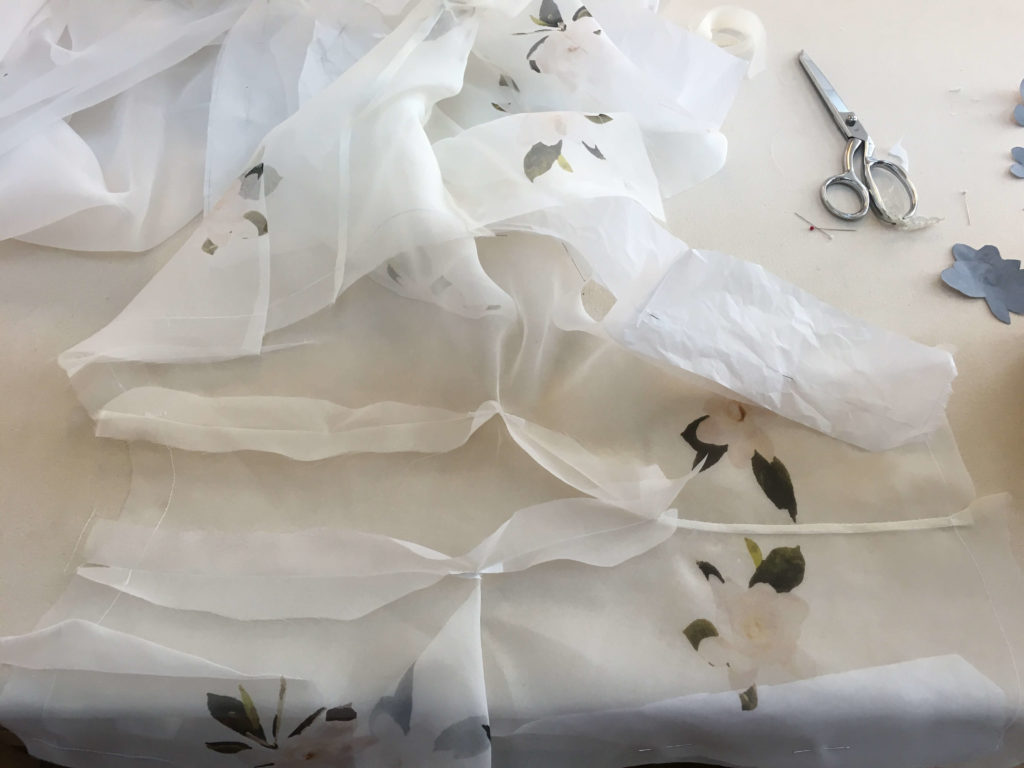
I used one line of machine stitching as a trimming and pressing guide…
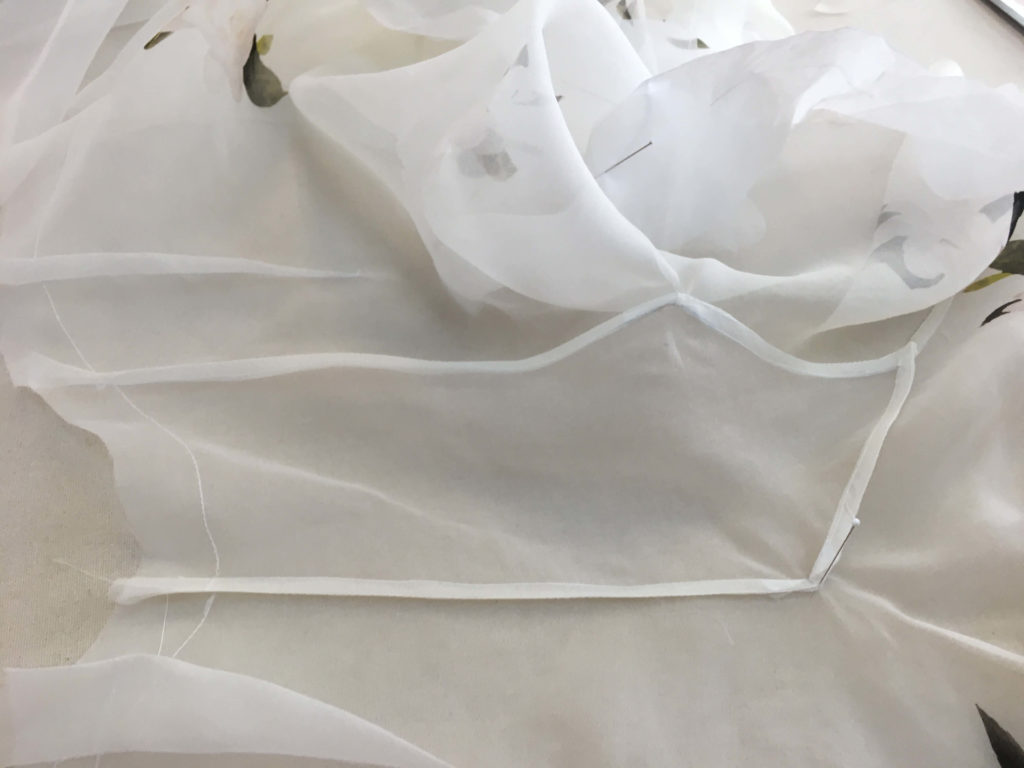
and then enclosed and finished everything by hand.
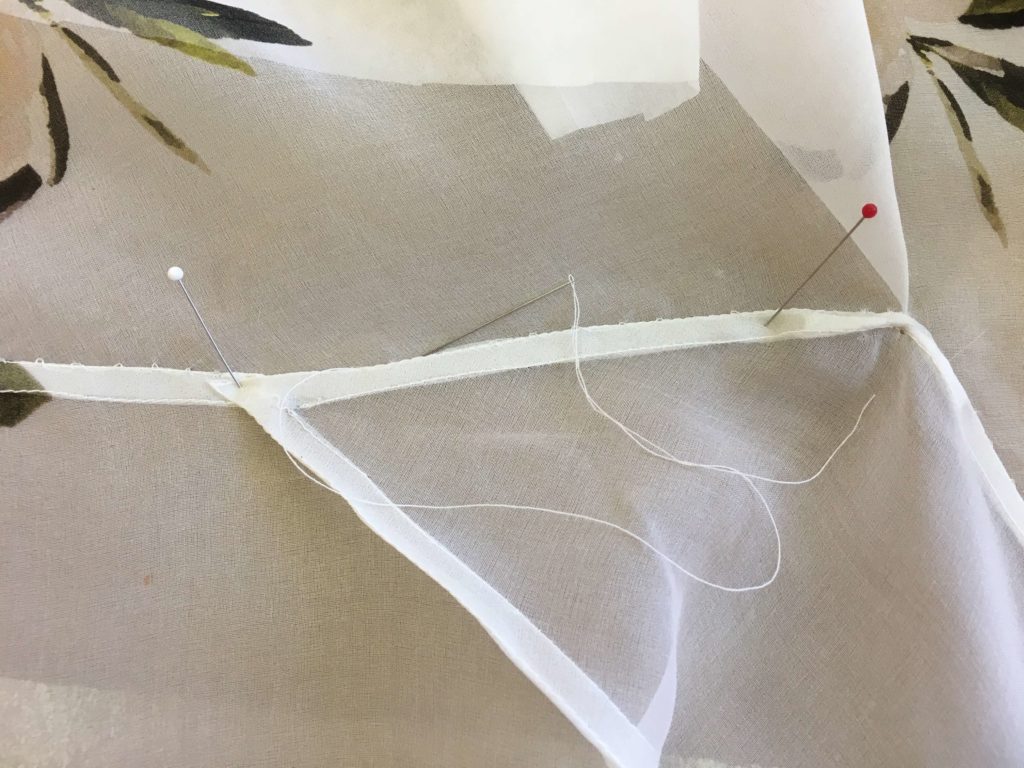
Whew! What a puzzle!
Coming Together for Cameron
Once the seams (minus the “shoulder-to-sleeve hem” seam) were finished, I pinned Cameron’s overdress top onto the underdress where the skirt was already pinned. After months of work, it was starting to really come together!
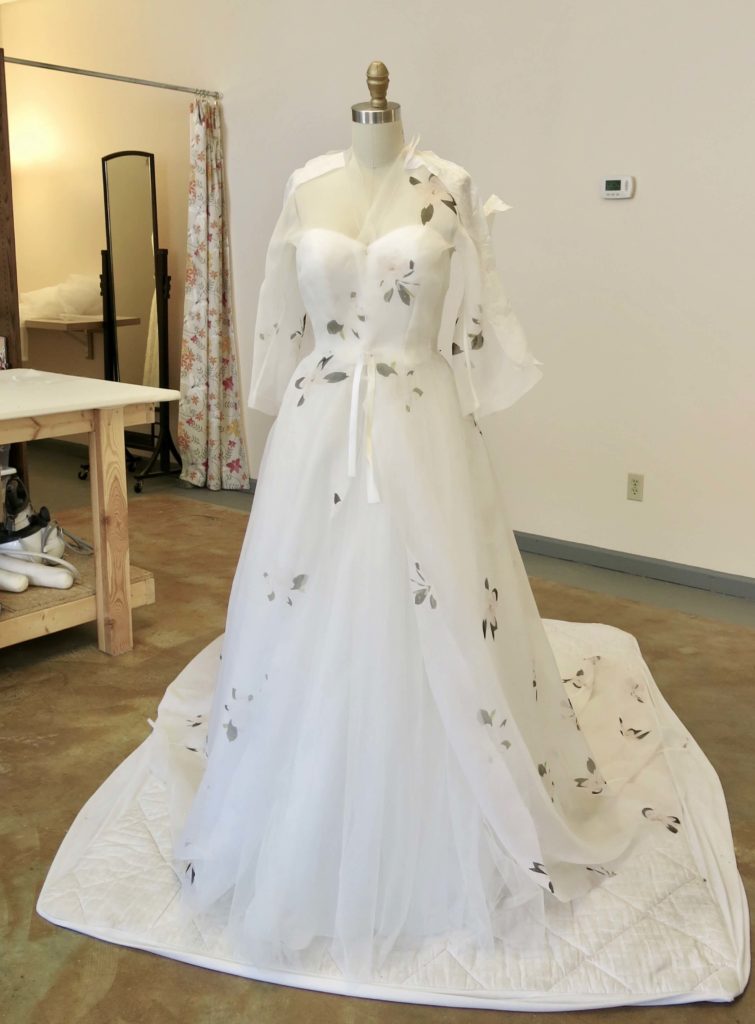
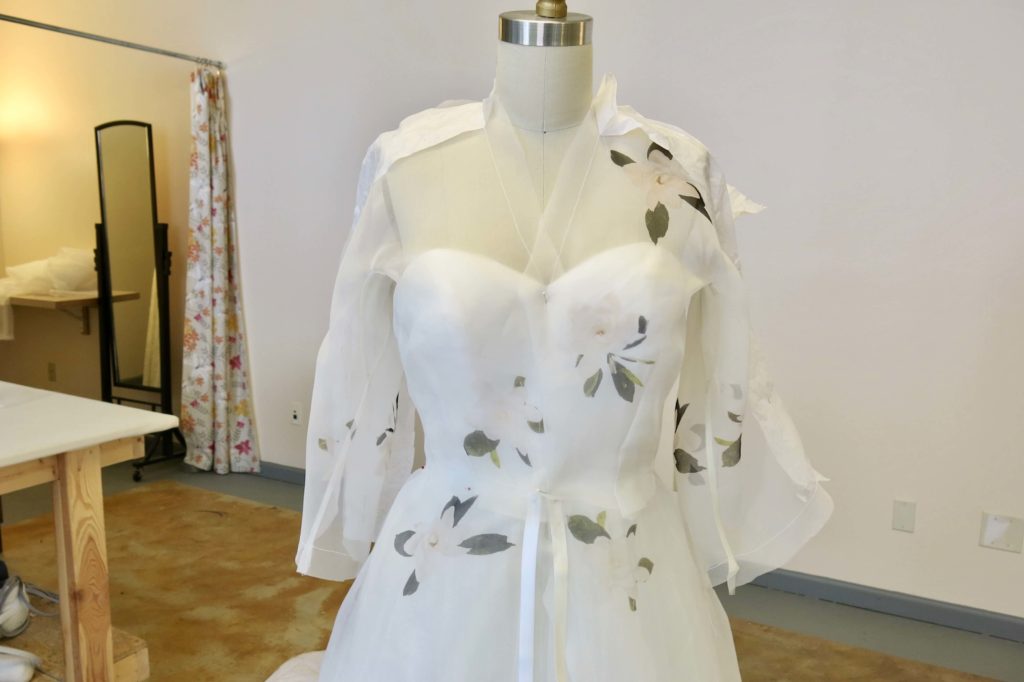
The asymmetry of the flowers sweeping across only one shoulder was inspired by Cameron’s grandmother’s wedding dress (by Dior).
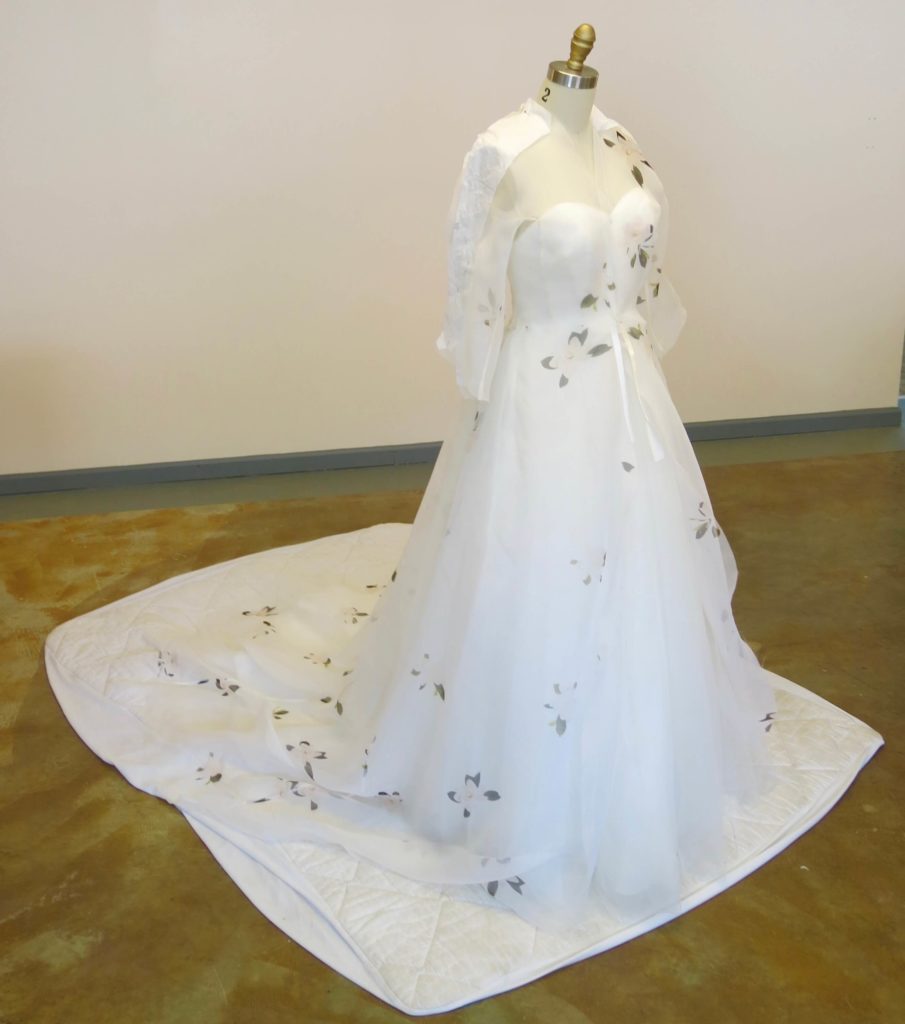
My affection for these sleeves was not diminished, despite the nail-biting puzzle that is their construction. In fact, I was falling even harder in love…
So what do you think? Do you like the look of cut-in-one gusset sleeves? Do you think you’ll ever try patterning and sewing them?
NEXT POST: I’ll make some of the flowers pop!
SaveSave
SaveSave
SaveSave
SaveSave
SaveSave
SaveSave
SaveSave
SaveSave
SaveSave
SaveSave
SaveSave
SaveSave
SaveSave
SaveSaveSaveSave
SaveSave
SaveSave
SaveSave
SaveSave


9 Responses
I’m so enjoying seeing your progress on this gown, thank you so much for sharing! May I ask – what stitch did you use to do the flat-felling by hand? Whipstitch, running stitch, something else? Thanks for your wonderful blog! :)
The trusty slip stitch! You can see it a bit in the hand stitching photo if you peek really closely. Thanks for following along!
I love this sleeve! The dress is amazing! Love following along with you.
Thanks Laurie!
Beautiful in every way! Enjoyed this post very much!
Thanks Kate!
This is truly amazing, and what an awesome assignment from your professor! “Here, whip me up a Dior couture gown please” – and you did it. Wonderful what faith can do for your confidence and growth.This dress is going to be so beautiful.
Thanks Melanie!
thank you for sharing this beautiful gown and your history with designing gussets!
I learned so much from this letter! I stumbled onto it when my friend had a crossword clue for a 6 letter word: tailored sleeve detail. I always thought of an underarm gusset as an alteration device or fabric saving design feature for narrow yardage. But Now, you have demonstrated that it is a feature of a tailored sleeve. If Dior used it, then it gives a whole new flavor to the word Gusset. 😉