 After all the designing, patternmaking, fitting, and finishing, Sally’s custom wedding dress was finally complete. Before the fancy photoshoot and Sally’s final trip to the studio, I took some detail shots on the table and on the dressform as a little tour. The nature of the wrap dress made it uniquely easy to show off both the outside and inside of this one-of-a-kind creation. I hope you enjoy this photo-filled post!
The Couture Tour
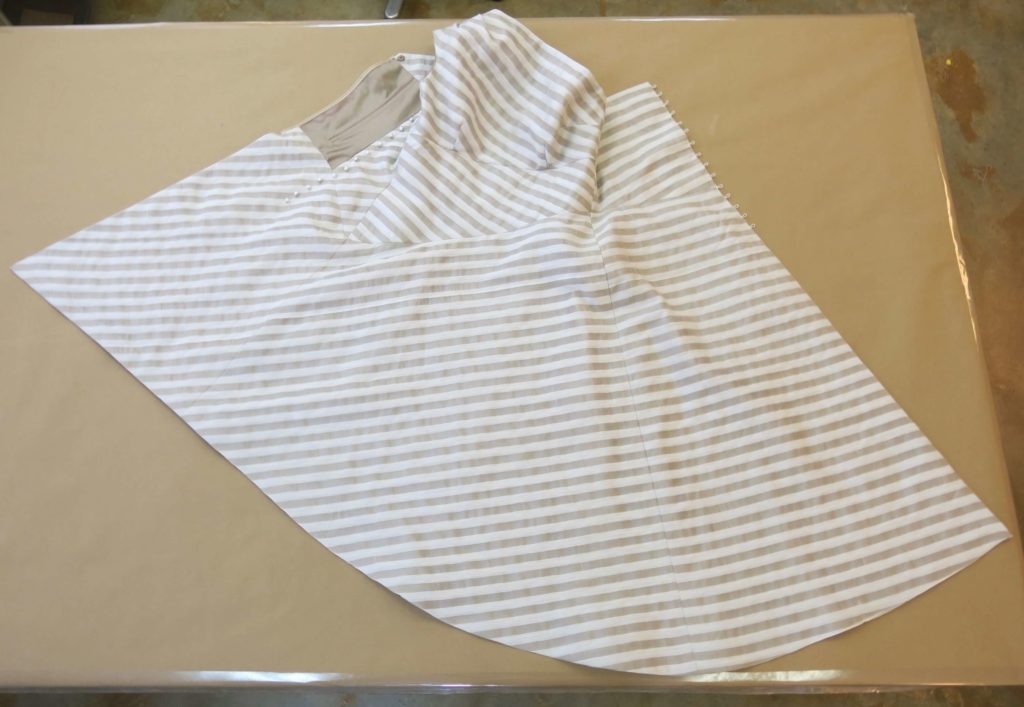
Here’s Sally’s asymmetrical striped wrap dress unwrapped!
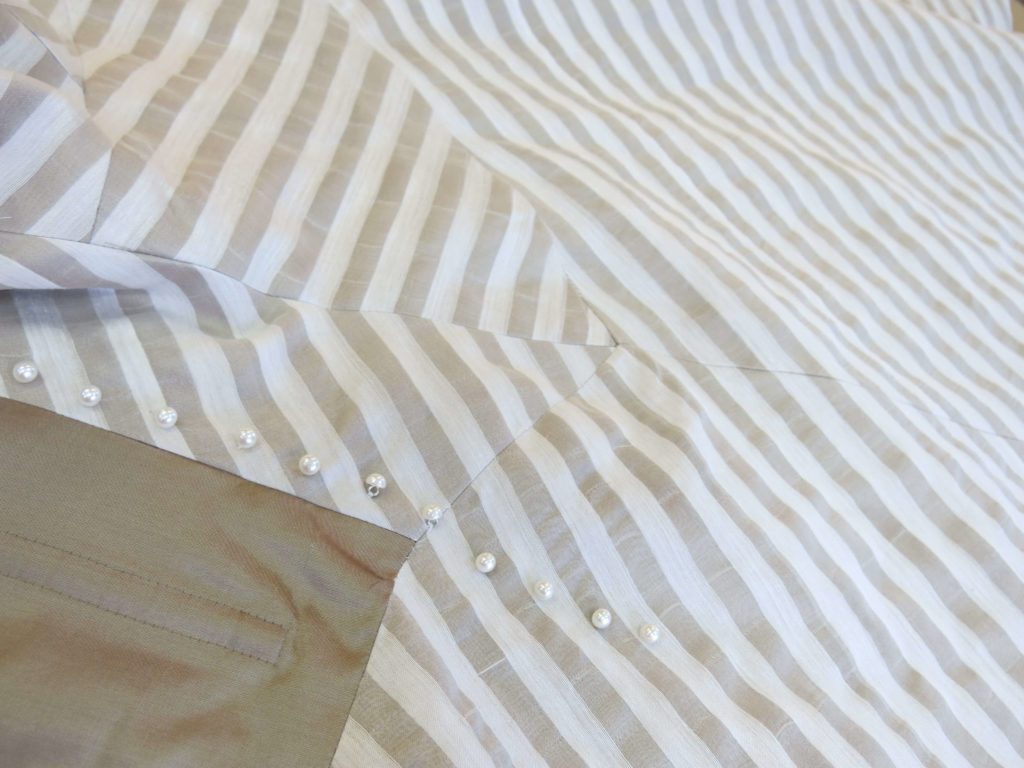
If you look closely you can see where the stripes were matched through many of the seams…
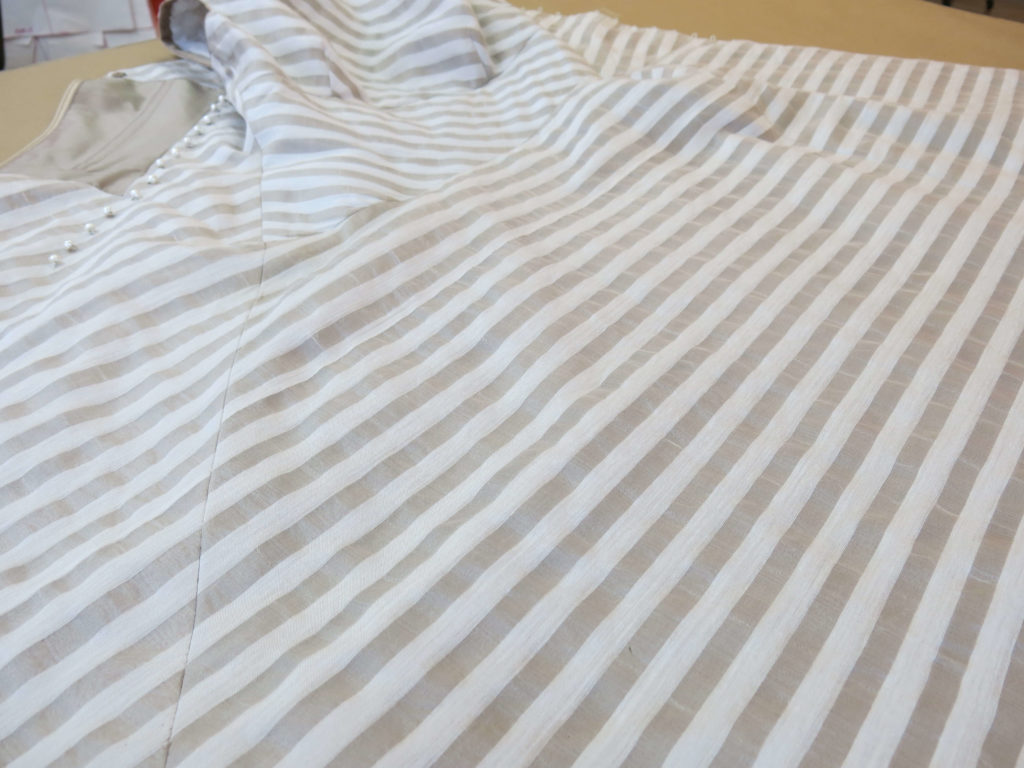
Here’s a peek at the pleated shoulder…
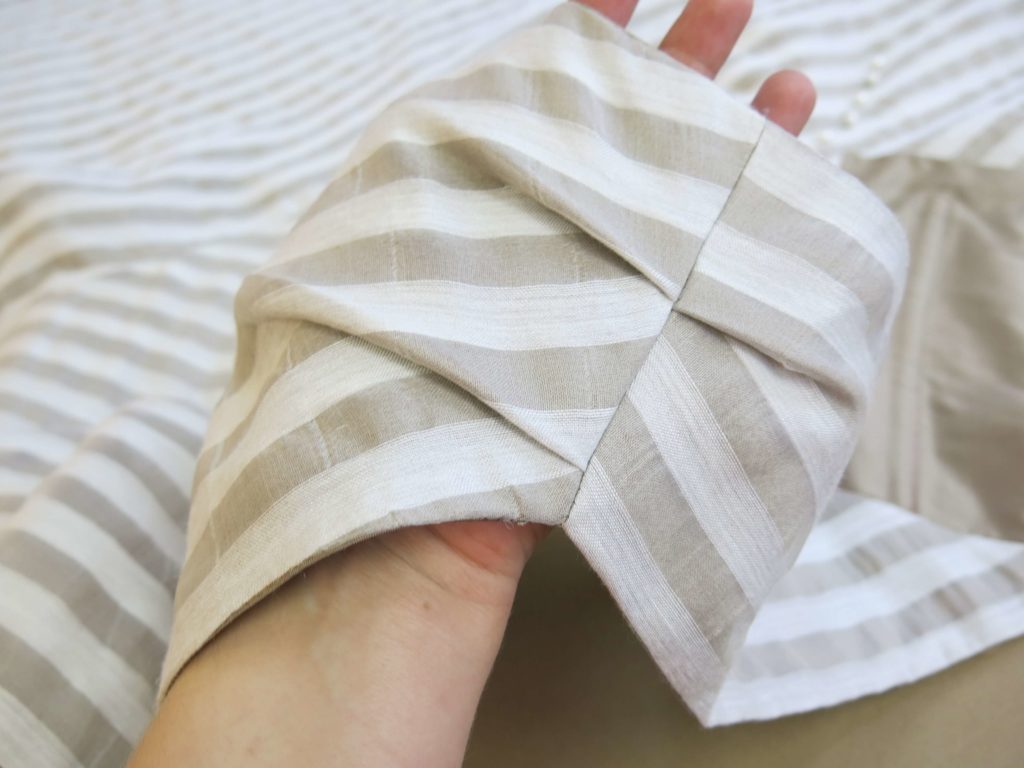
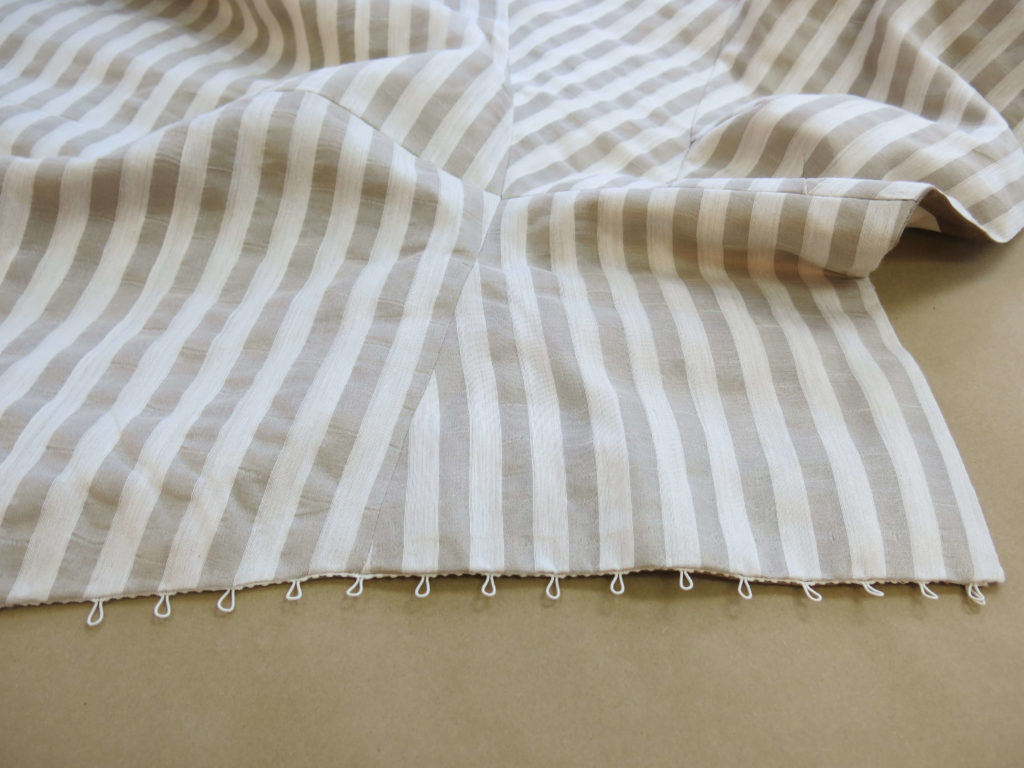
…and the edge with the button loops.
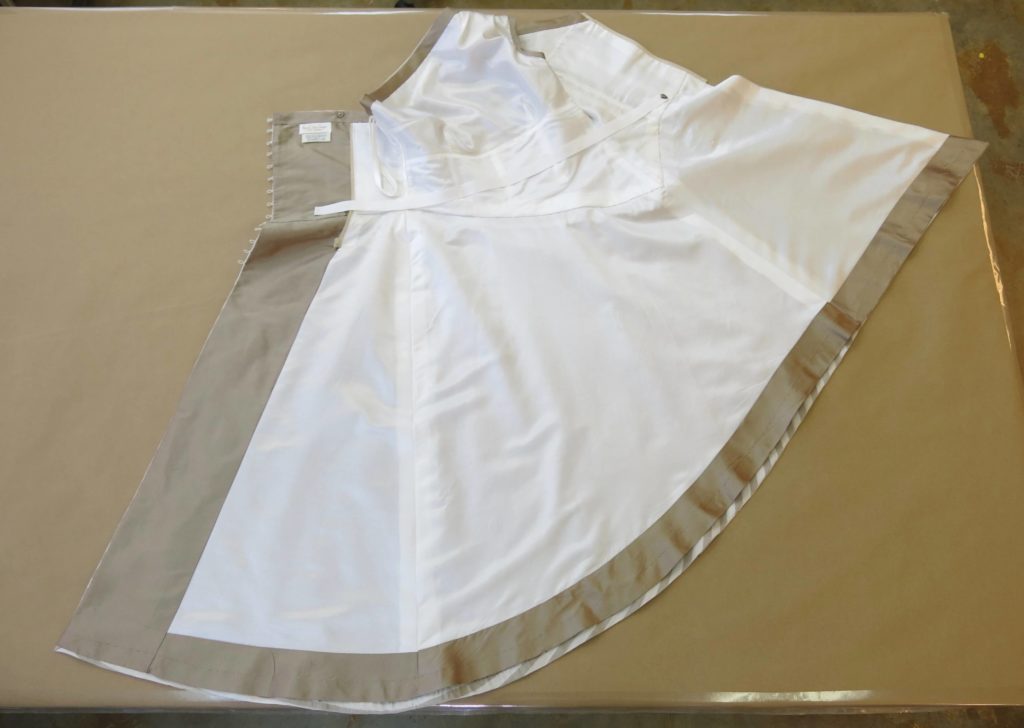
And here’s Sally’s unwrapped wrap dress from the inside!
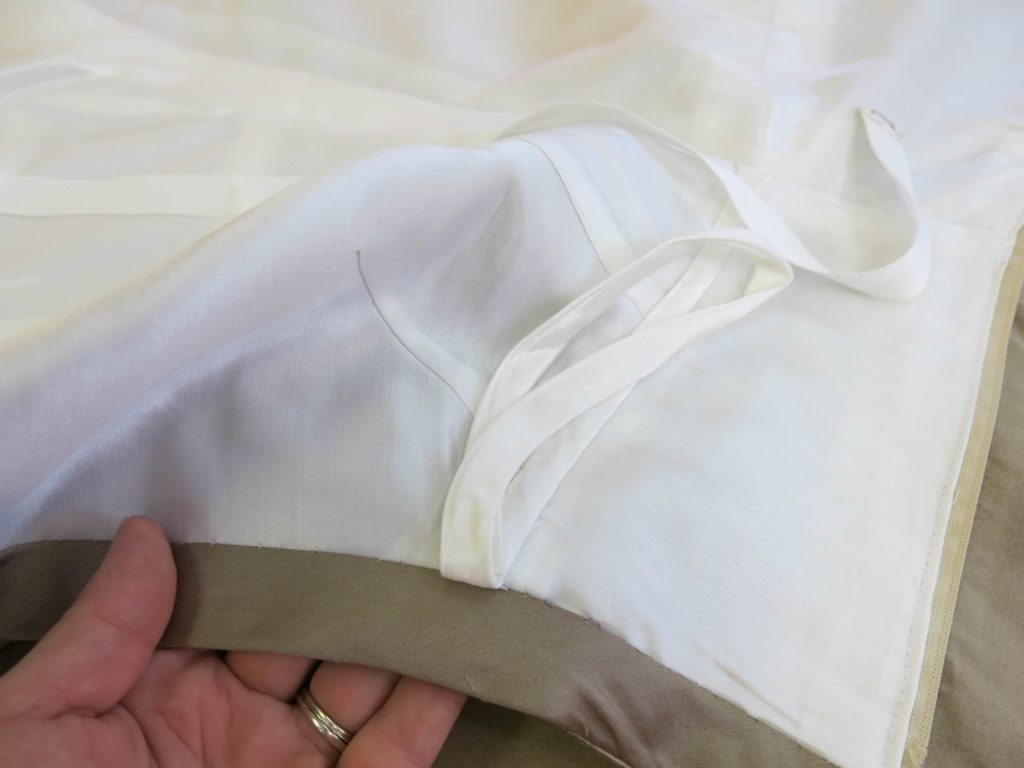
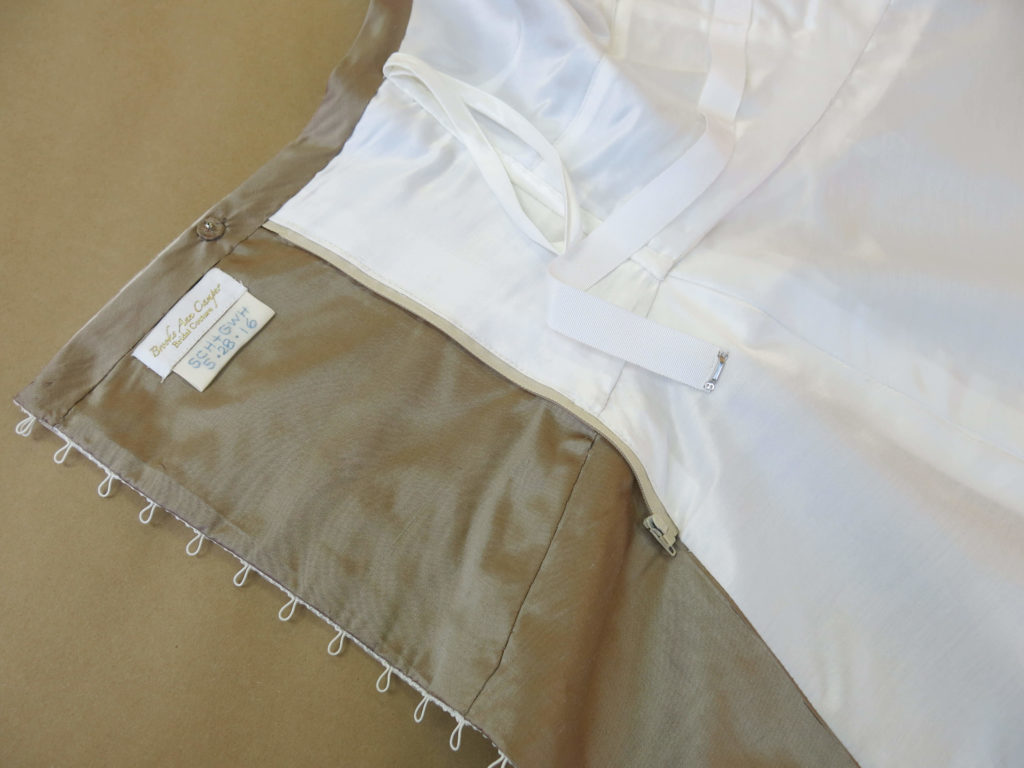
A little closer look at the bias bound top edge (with lining, hanger loop, waist stay, and hidden separating zipper)…
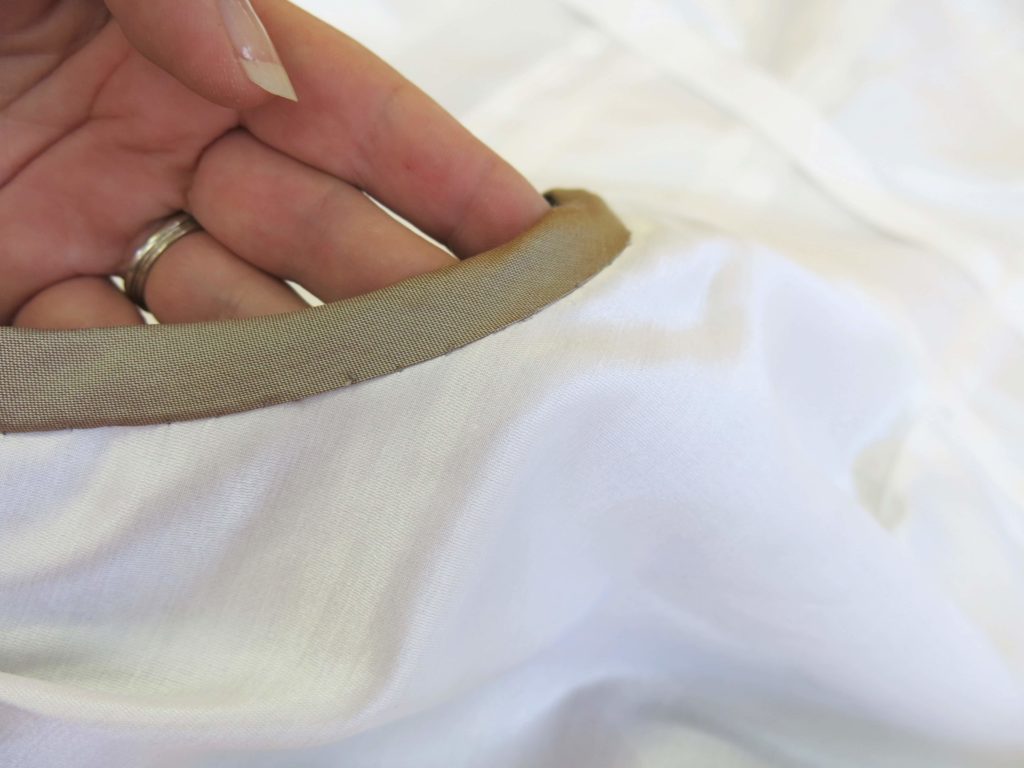
…and the binding of the single armhole.
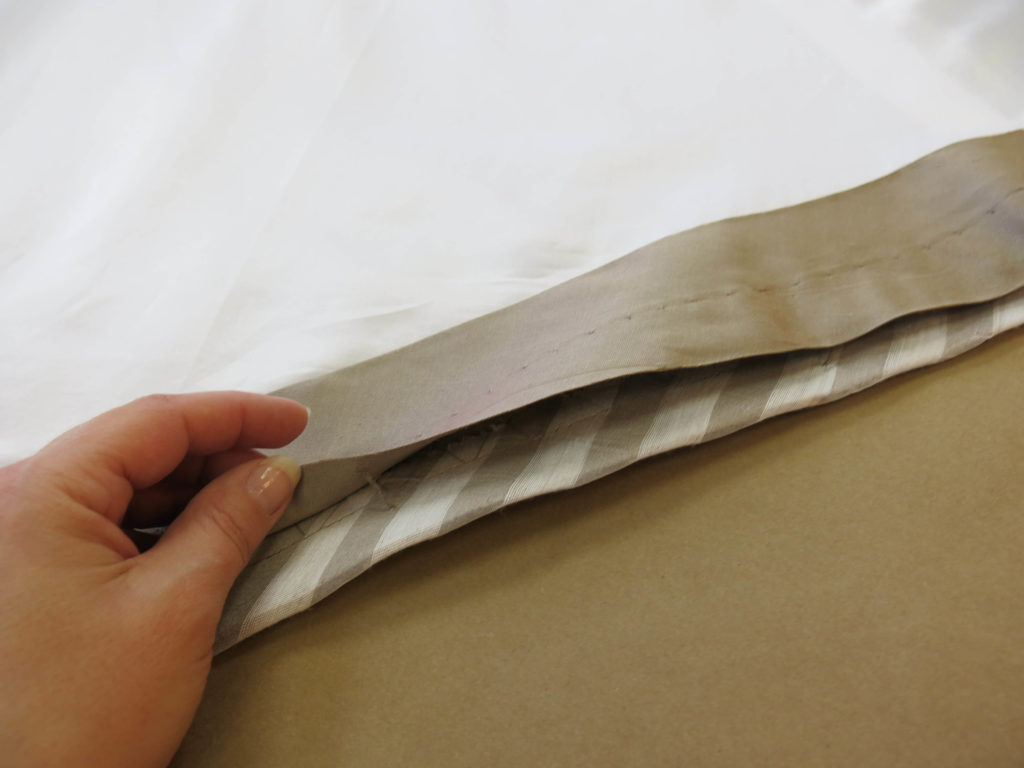
Here are the two hems swing tacked together…
…and the label and other finishing goodies!
Getting Dressed Up
Here’s how everything works together to create an asymmetrical one-shoulder wrap dress!
First, Sally’s arm will go through the single armhole and then the waist stay ribbon is clasped together.
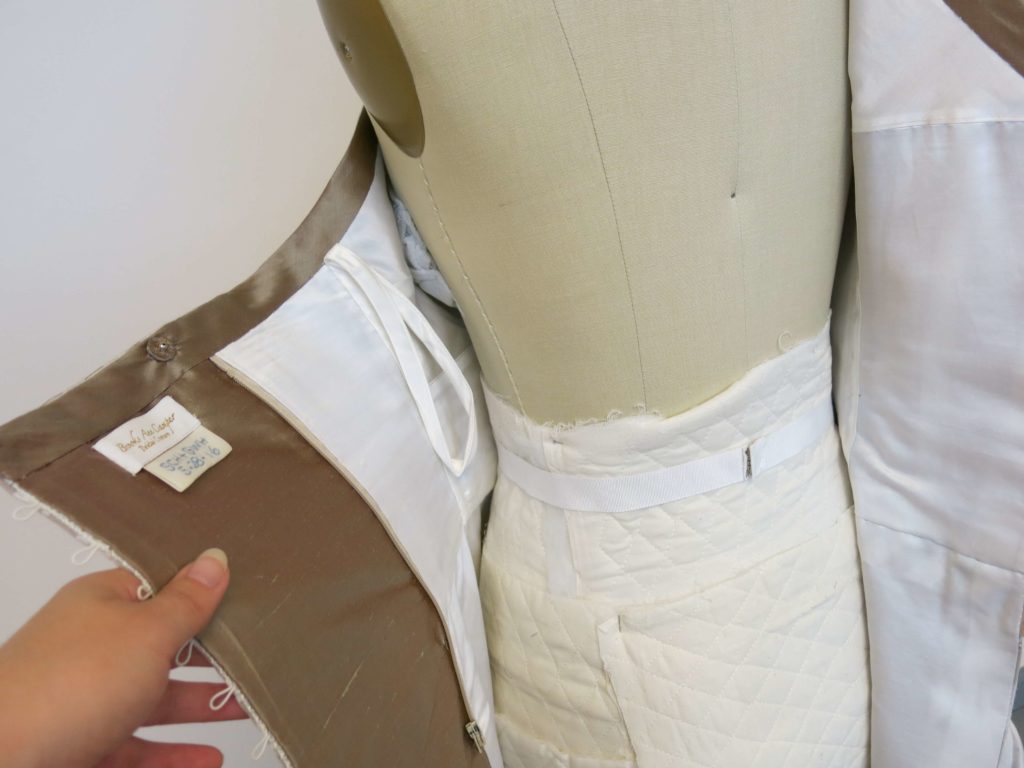
Next, there is a hidden separating zipper to be zipped!
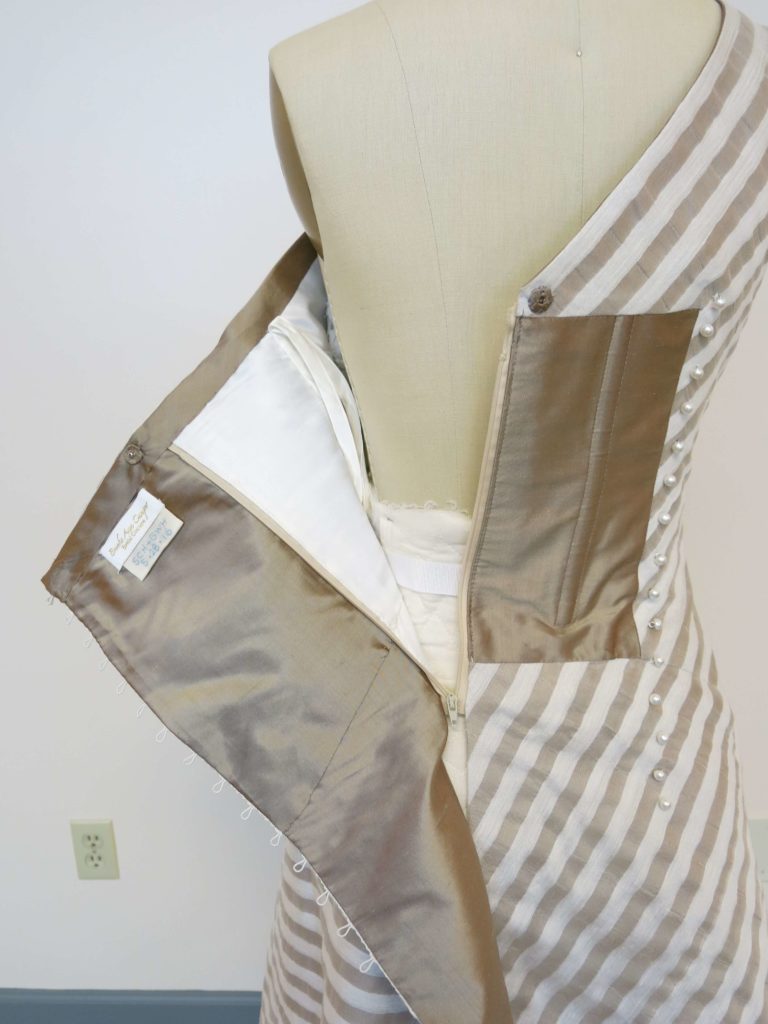
To make sure it doesn’t come unzipped, I also added a hidden covered snap.
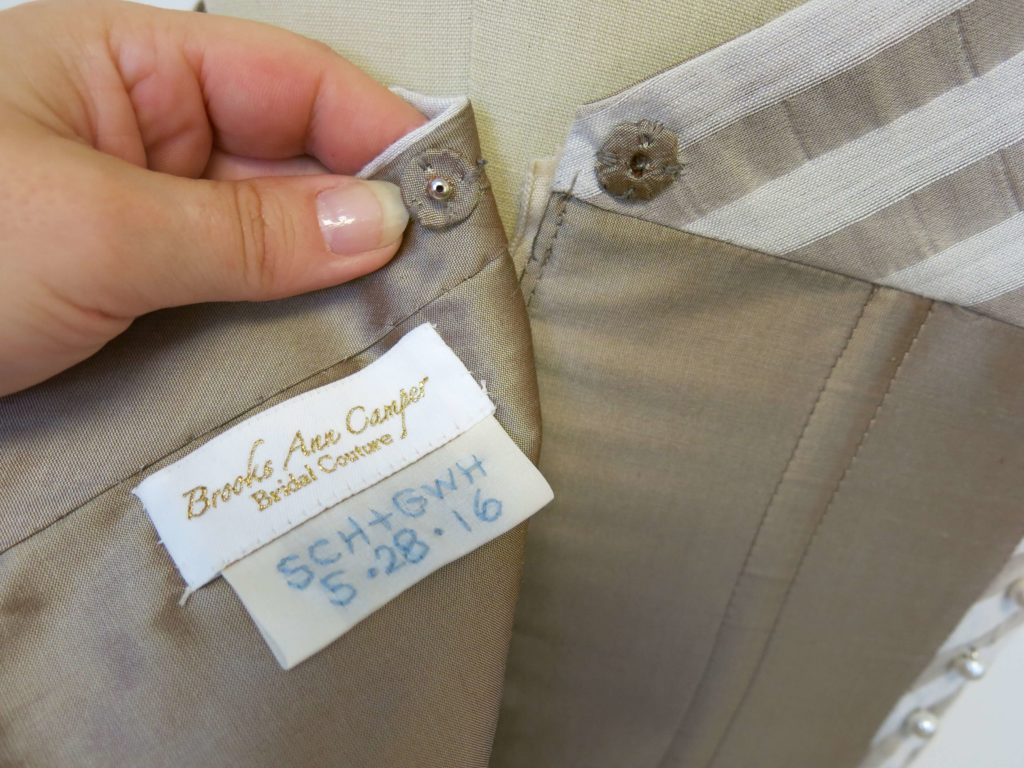
Then the wrapping begins! The buttons hold everything beautifully and securely in place while hiding all the secret inner-workings.
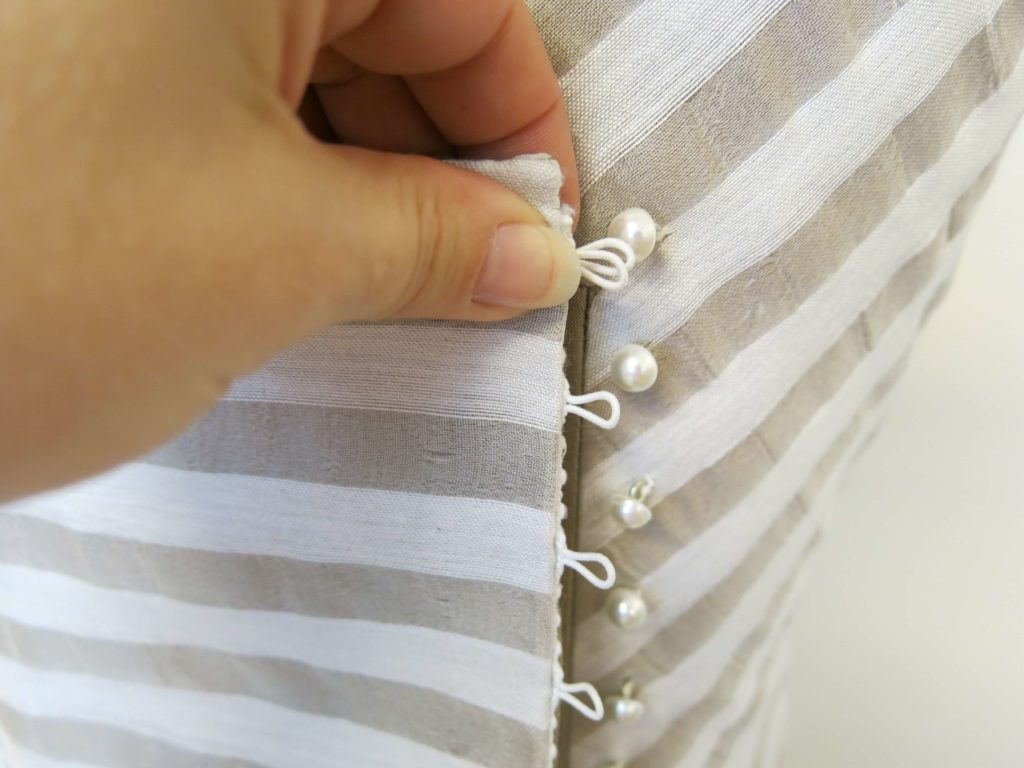
Pretty cool, huh?
If you are wondering how any of this was crafted, search through my previous posts! This is my eleventh (!) post following the custom couture process of this dress being created (it all starts here) and there are only a few more left.
NEXT POST: I turned my sewing room into a photography studio to take the photos I’ll share in the next post! Here’s a behind the scenes sneak peek: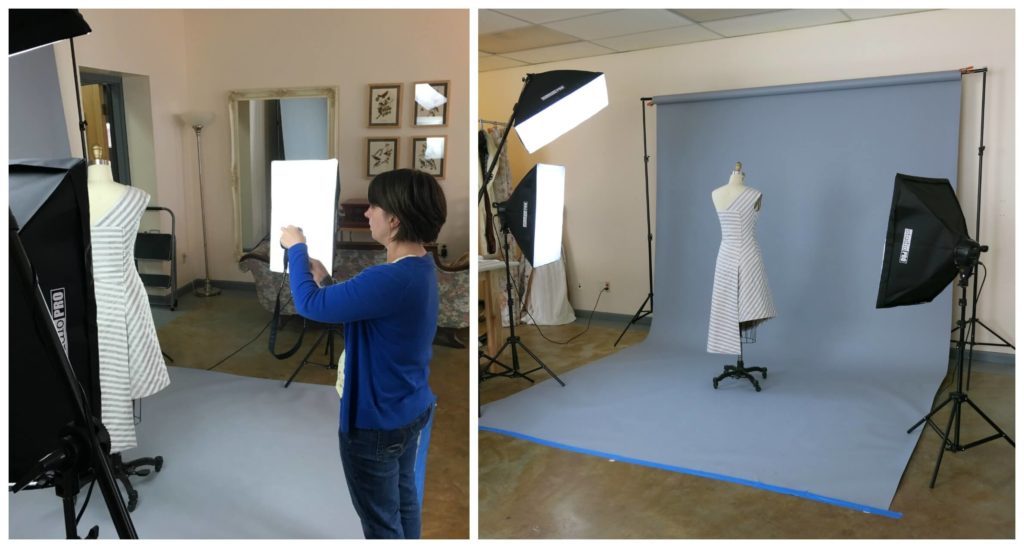


2 Responses
So profess, Brooks Ann! Always inspiring
Thanks for following along Ann!