
The bridal blog series is back!
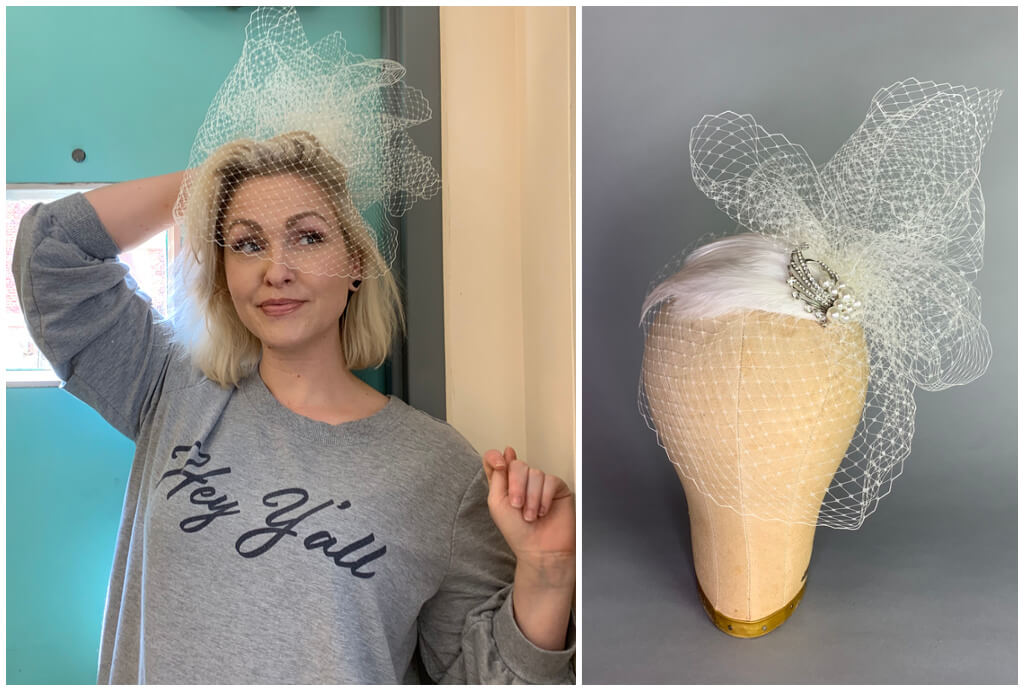
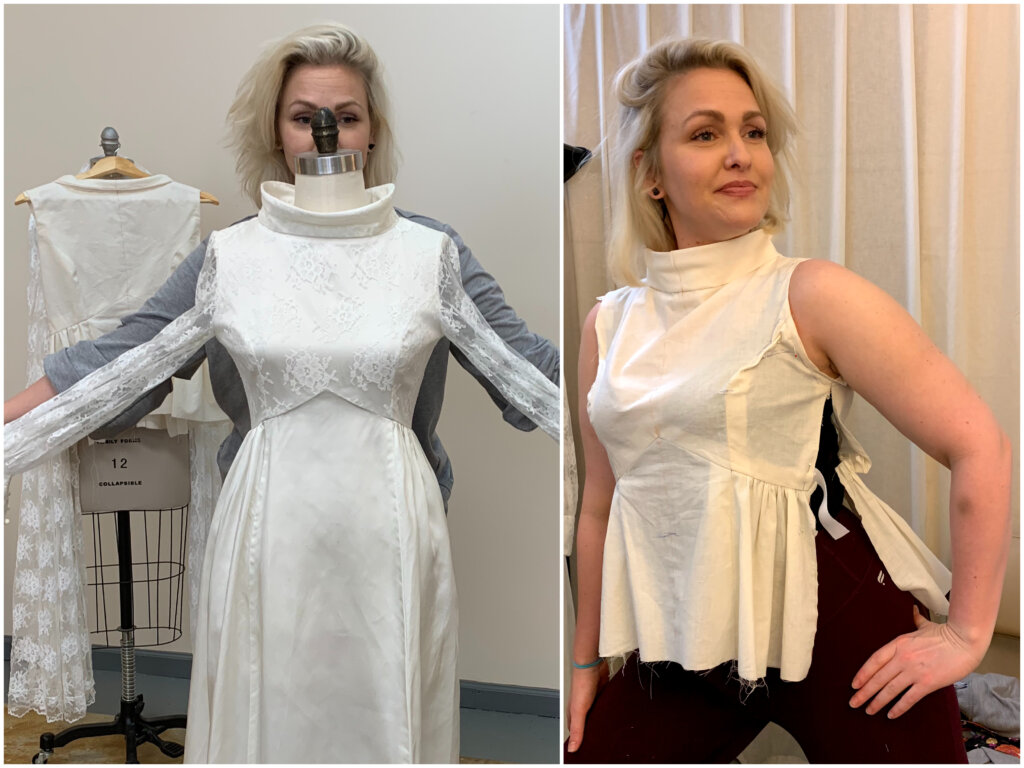
In each bridal blog series, you meet a new bride and I slowly post-by-post recount the process and share the behind-the-seams story of creating her one-of-a-kind custom couture wedding dress from start-to-finish. To keep the dress a surprise for the groom and guests (and because my blogging style is slow and thorough), I do not begin to tell the story until after her wedding day. To tell the story as it happened, the blurry selfie above is the only early peek you’ll get of part of her completed custom dress!
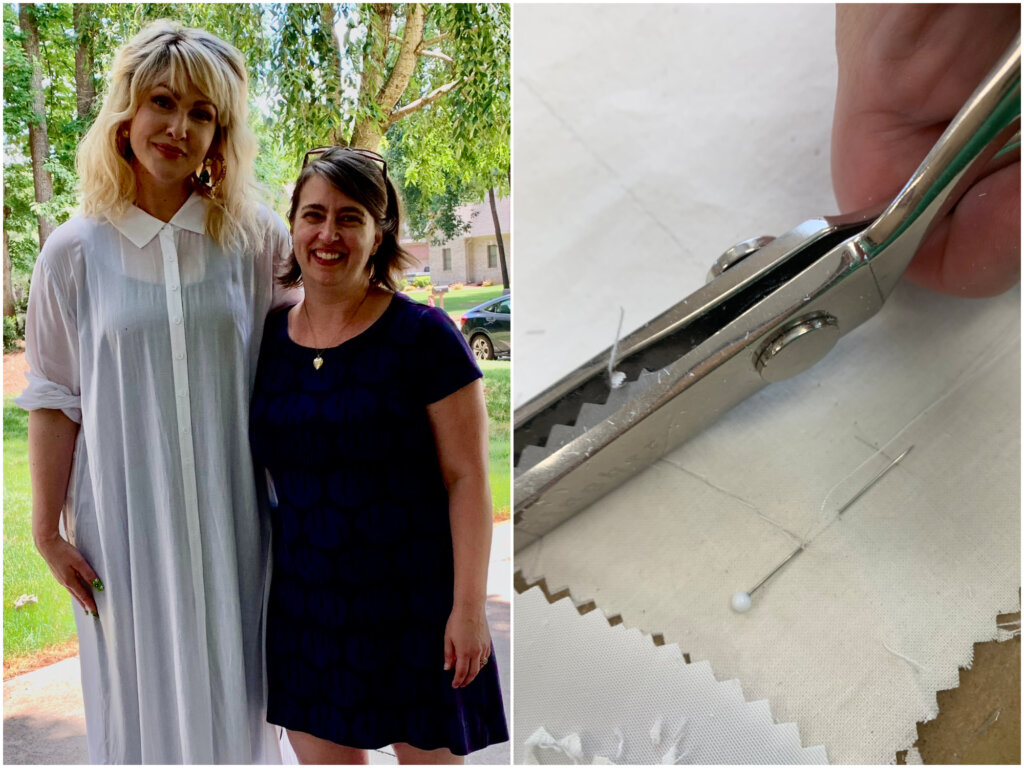
Hello Tiffany!
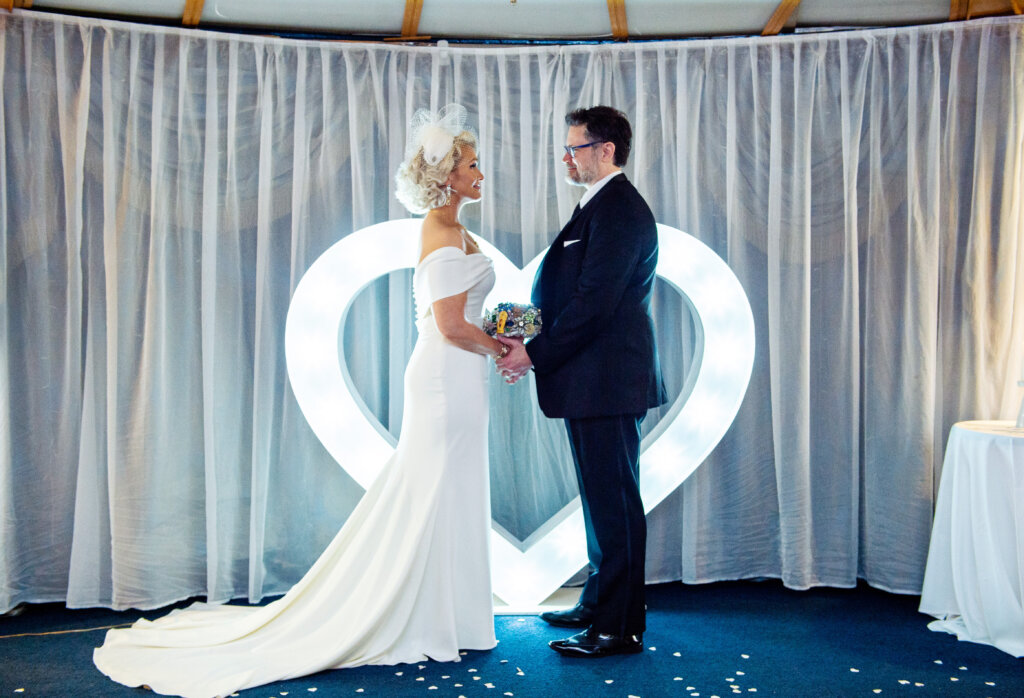
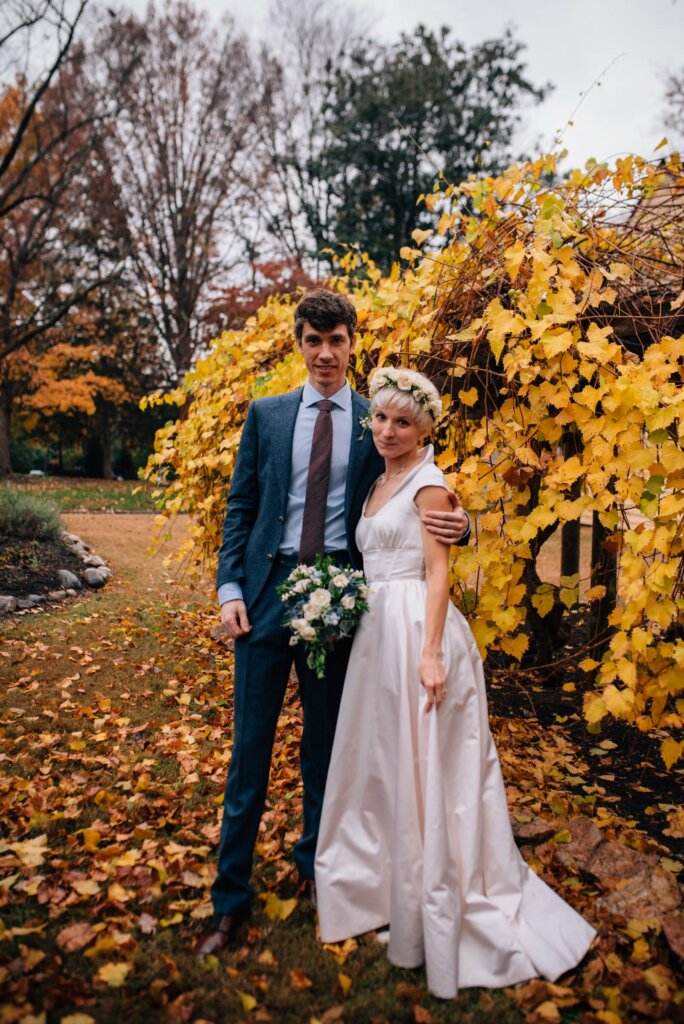
Last December, Tiffany said “I do!” to the love of her life, but our story began last summer when she first contacted me.
She said “Reading about your academic and professional background in design and dressmaking is such a relief. A lot of dressmakers I’ve found in the area seem to depend entirely on how long ago they picked up sewing and less on proper techniques and processes for design and dressmaking. I have so much respect for what you do and wish I had enough time to make the dress with you. Way back when in high school, I had the chance to take sewing courses. After one year of sewing classes, three dresses and a fitted jacket, I purchased a sewing machine and serger. That preview I received in those classes forever changed how I look at buying clothes, getting alterations, and making new items. Working with anyone else without your qualifications would be too much of a leap of faith for me, and I hope we can make this happen!”
How cool is she? And, needless to say, we did make it happen!
The Questionnaire
The first step in my custom process is a questionnaire. Tiffany filled it out diligently and I really enjoyed getting to know her a little better through her answers. I learned that she is an engineer who would be getting married in the oldest cutest teeniest chapel in Raleigh. She was clearly in love with her fiancé and clearly had a fun personality and personal style.
I also learned that Tiffany is a very petite woman. She was very thorough when answering my questions about her life and dress ideas. When I asked what problems she’d encountered when trying on store-bought wedding dresses, her answer was simply: “Swallowed whole”.
I was really interested in helping Tiffany with her petite predicament (I’m under 5′ tall myself!) and create a unique dress perfect for her wedding day! We met for a free initial consultation where we got to know each other a little better, went over all my policies and contracts, and discussed lots of dress ideas. This meeting allowed me to really start getting inspired about her design and start collecting inspiration images for her dress.
The Design Consultation
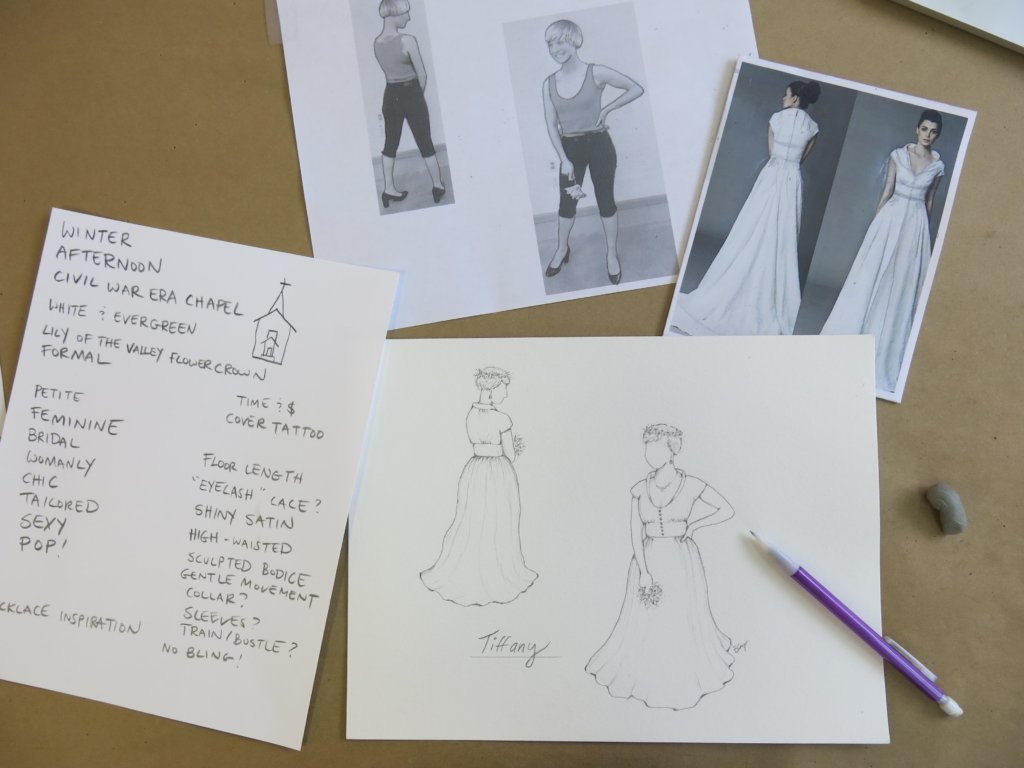
Our Design Consultation, which is when we hash out all the details of the dress design, was held in my Hillsborough studio on a rainy summer afternoon. I picked out my favorite inspiration images for Tiffany and printed them out so we could mix-and-match and draw all over them. I also wrote out a list of adjectives and elements to consider.
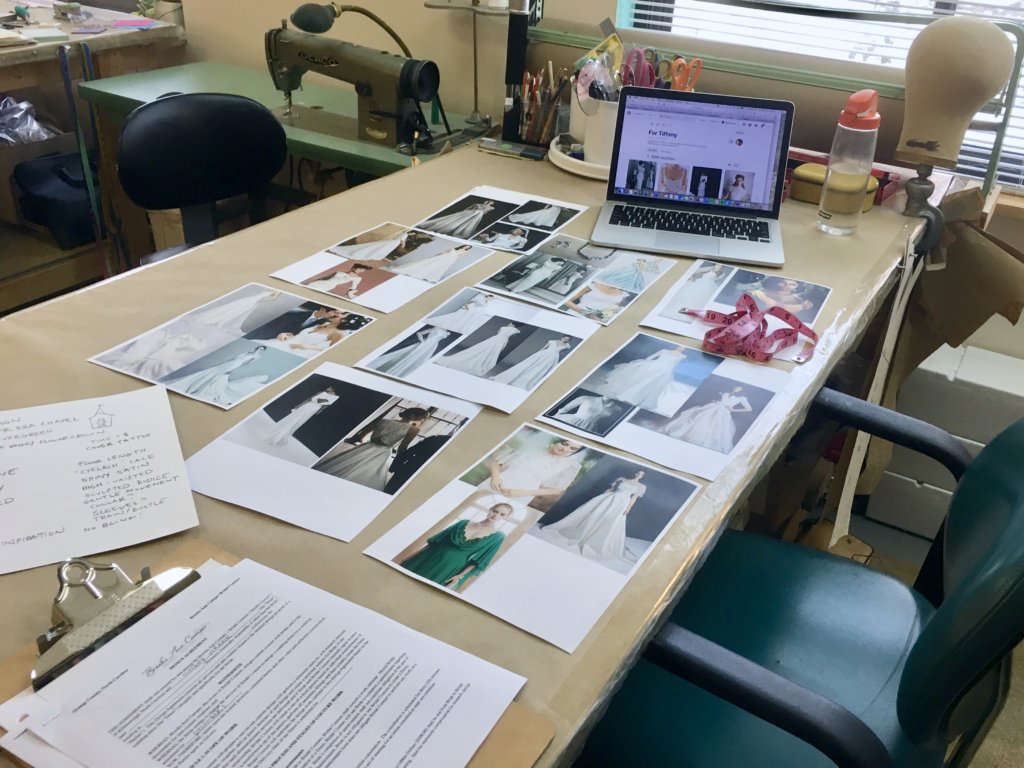
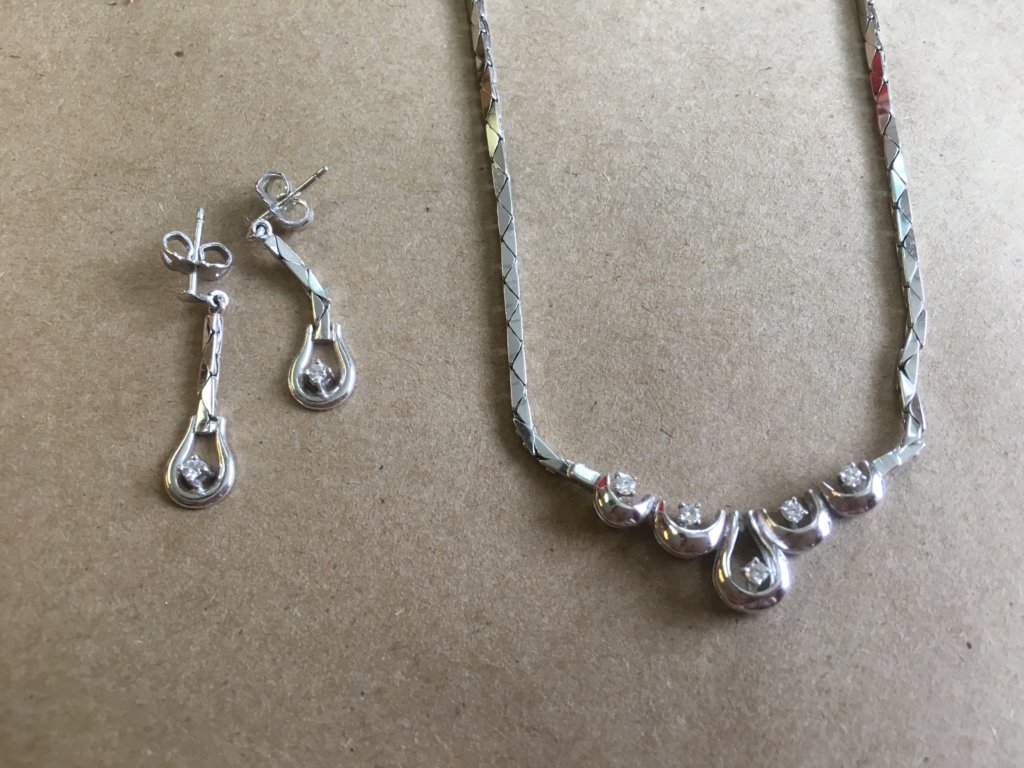
Tiffany brought some gorgeous wedding day jewelry, recently given to her by a dear relative. Could this be more beautiful?
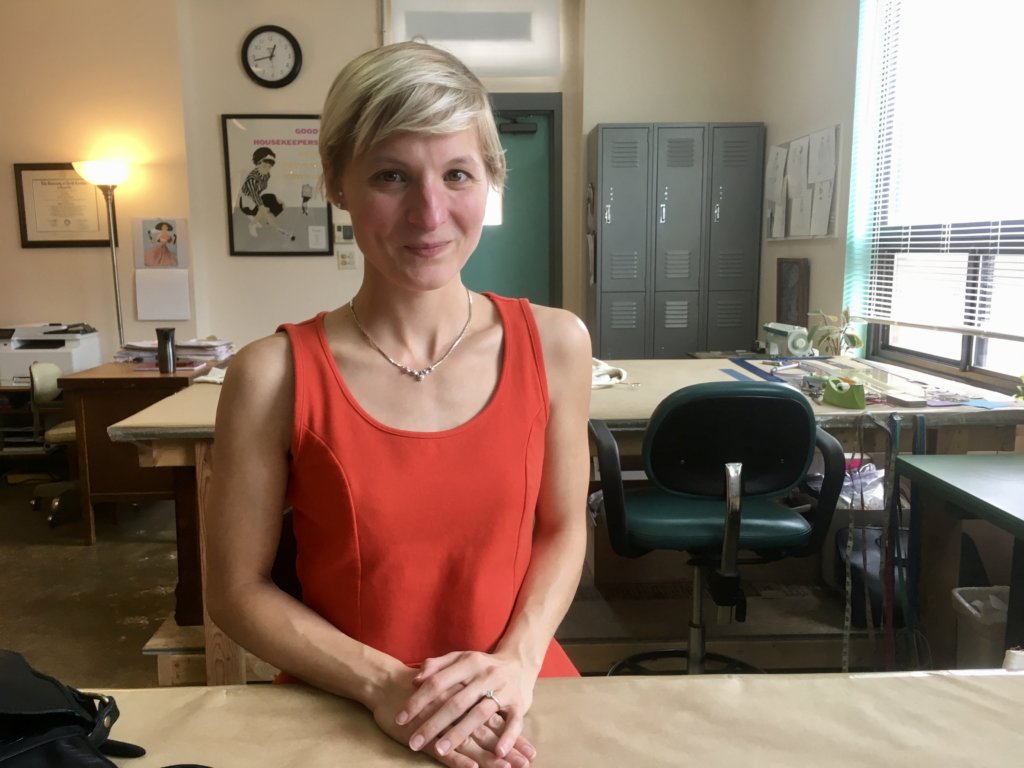
Yes, it can! Look how beautiful Tiffany is!
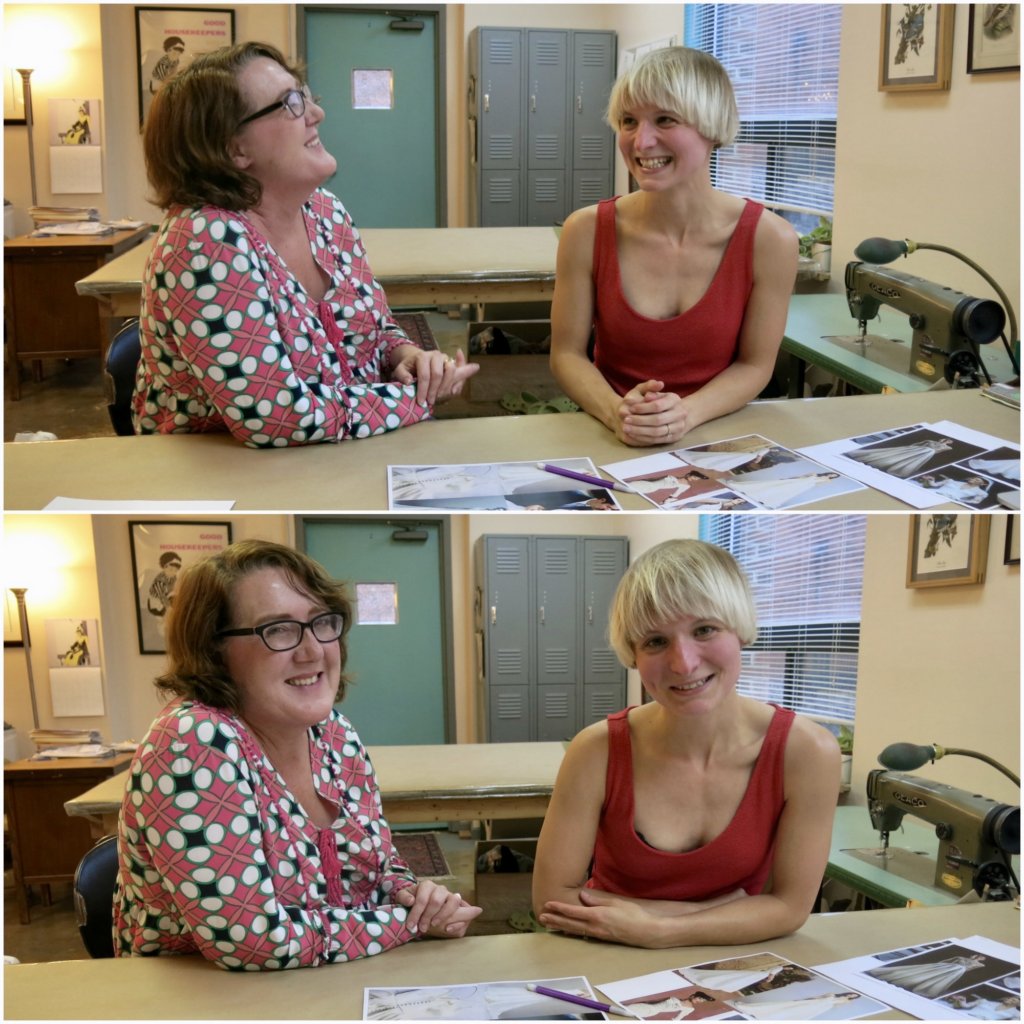
With her friend Laura in on the fun, we had a blast looking through all the images and narrowing our focus toward a unique design!
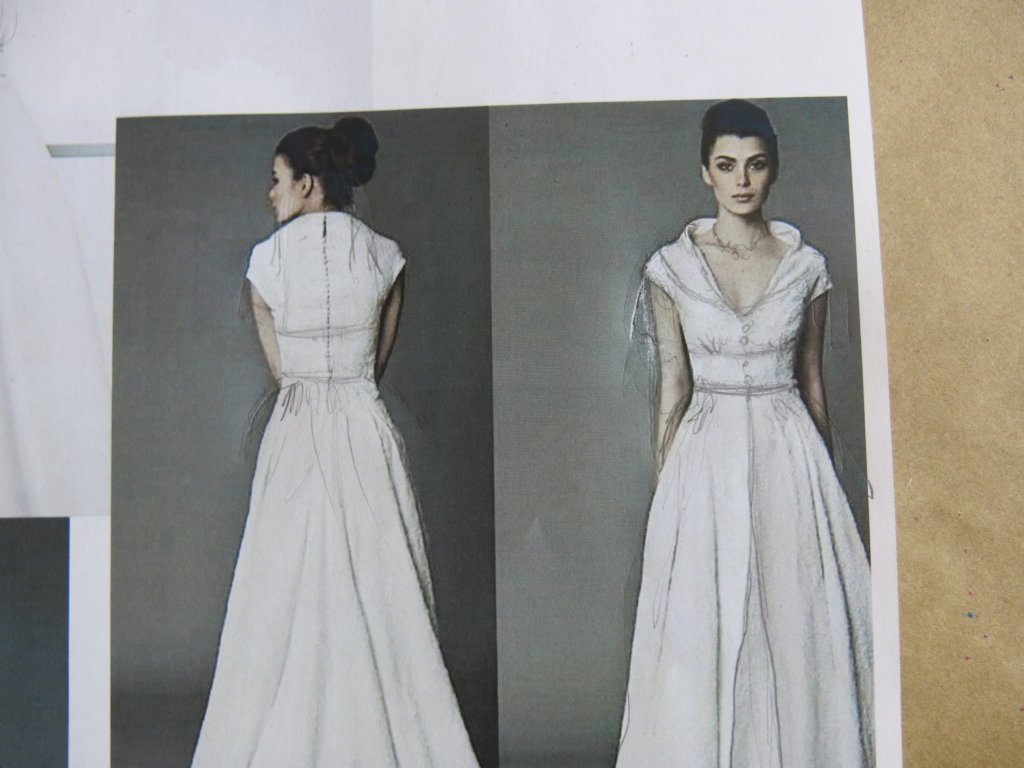
Our main inspiration was this Tony Ward dress but, as you can see, we played around and changed it up quite a bit.
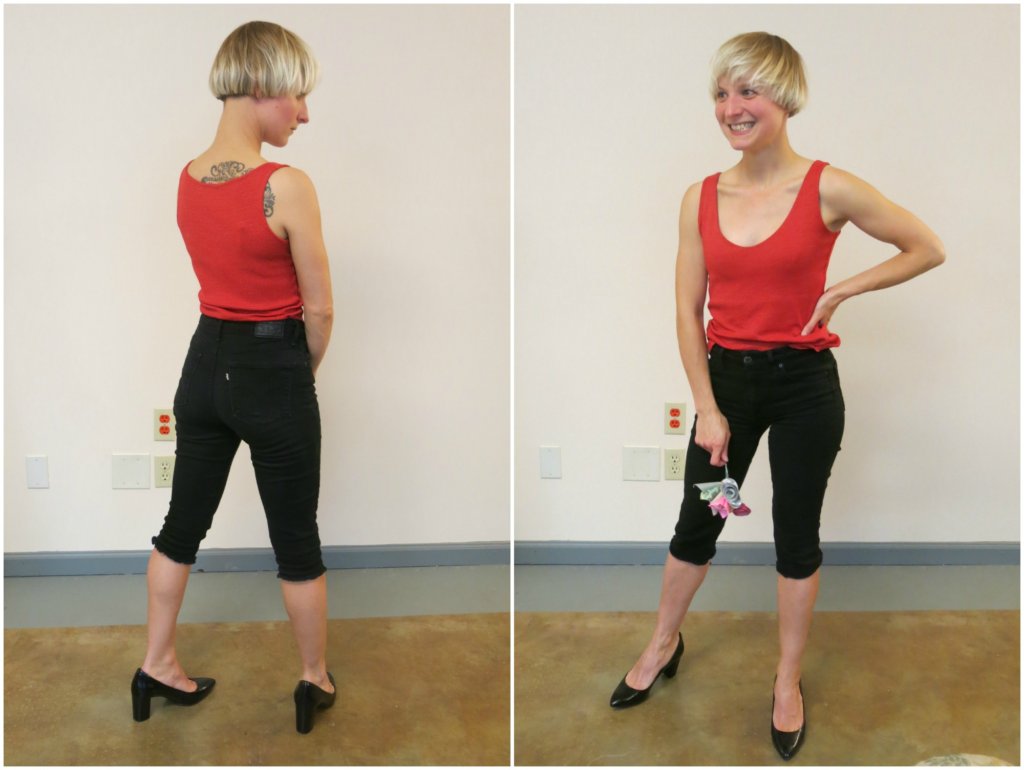
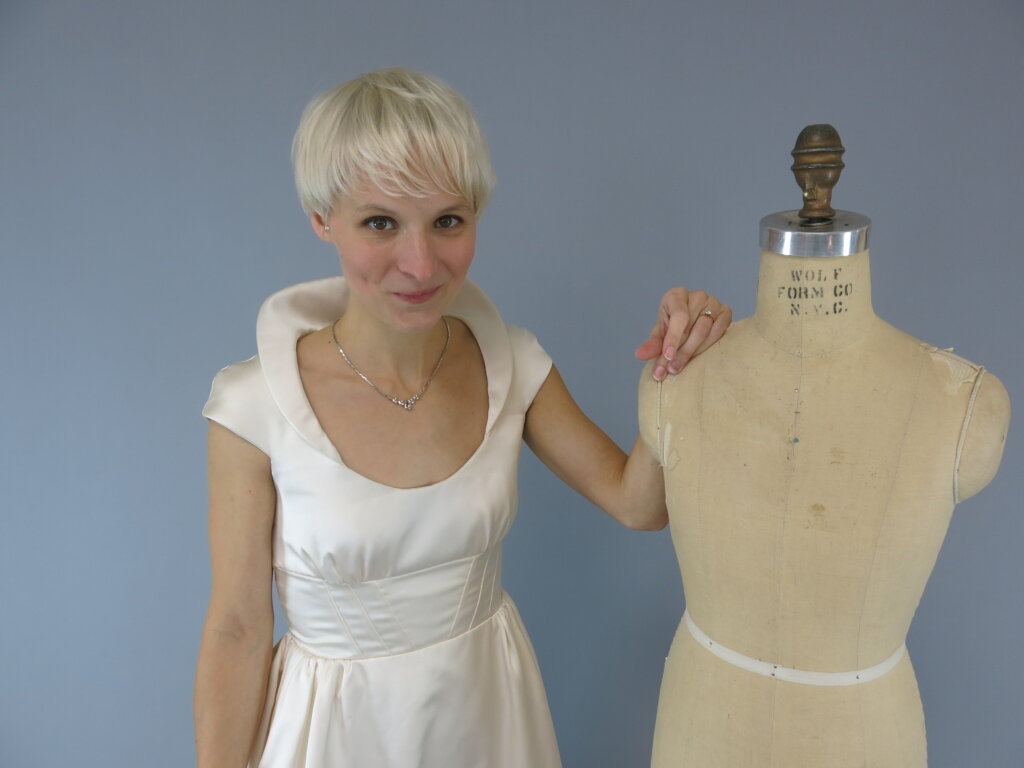
In order to create a custom dress design and have the bride ‘try it on’ before it exists, I’d need some photos to draw my sketch. I snapped a bunch of shots and these are the two I chose for Tiffany’s custom coqui!
The rain stopped as the two friends left the studio and I began to sketch. I’d hopefully have something ready by the end of the week!
Creating Tiffany’s Custom Sketch
Creating a custom sketching model of the bride’s actual body is essential and also easy. I only create one-of-a-kind garments and I love the fun puzzle of figuring out exactly what looks good on each individual and exactly what suits their one-of-a-kind body and style. This is one major differences between fashion sewing and custom sewing.
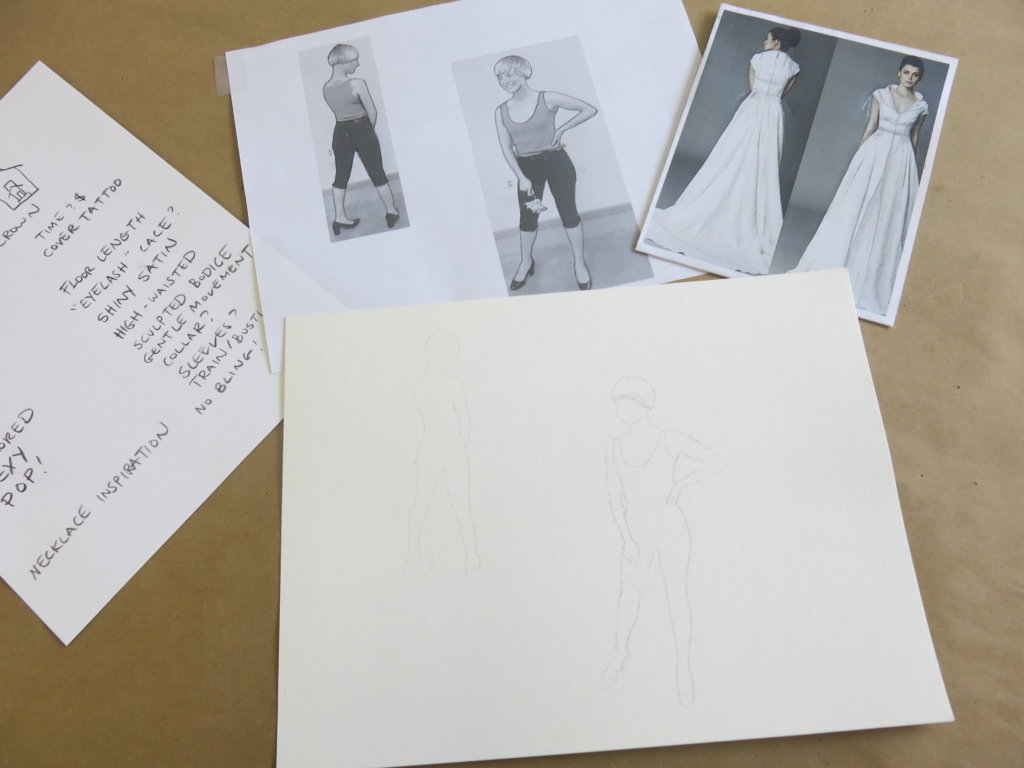
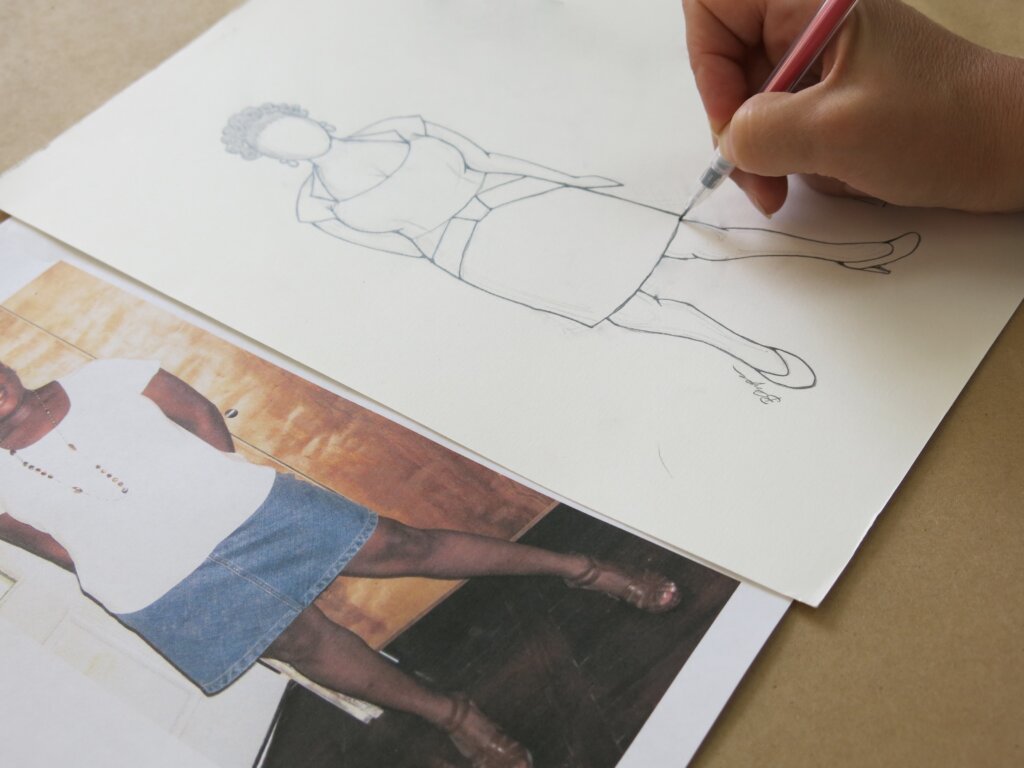
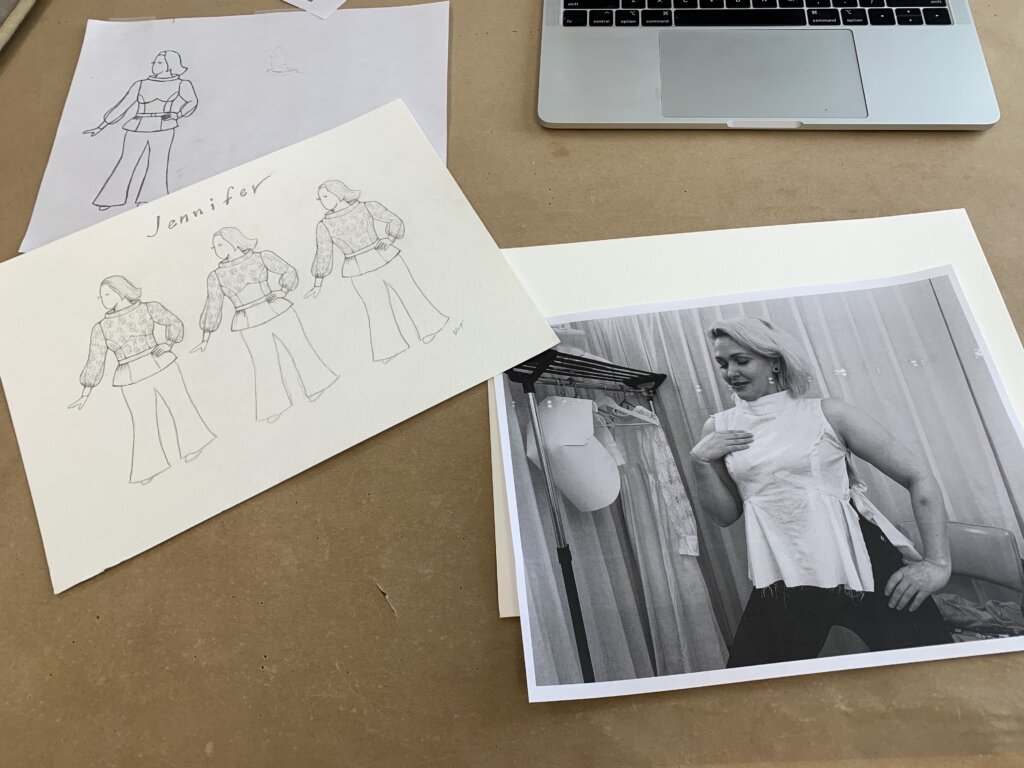
To get started playing around with drawing Tiffany’s design onto her body, I took my two posed photos and printed them out on a sheet of plain paper. I also gathered more tools: my design inspirations, a sheet of watercolor paper, some tape, a mechanical pencil, and a kneaded eraser.
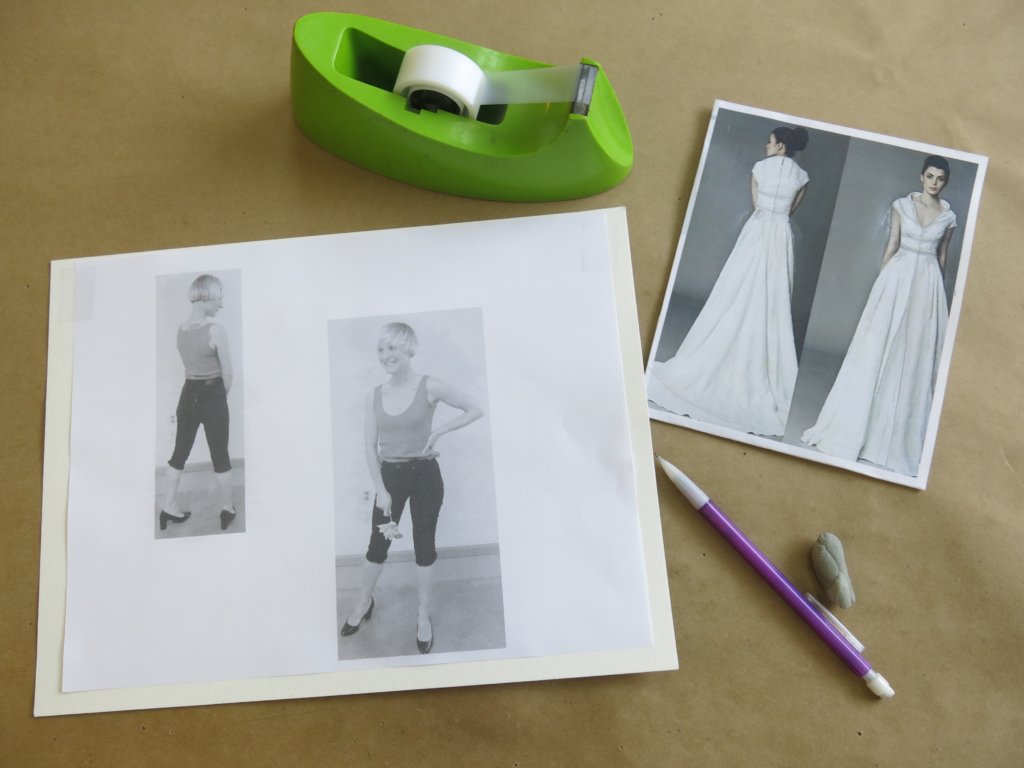
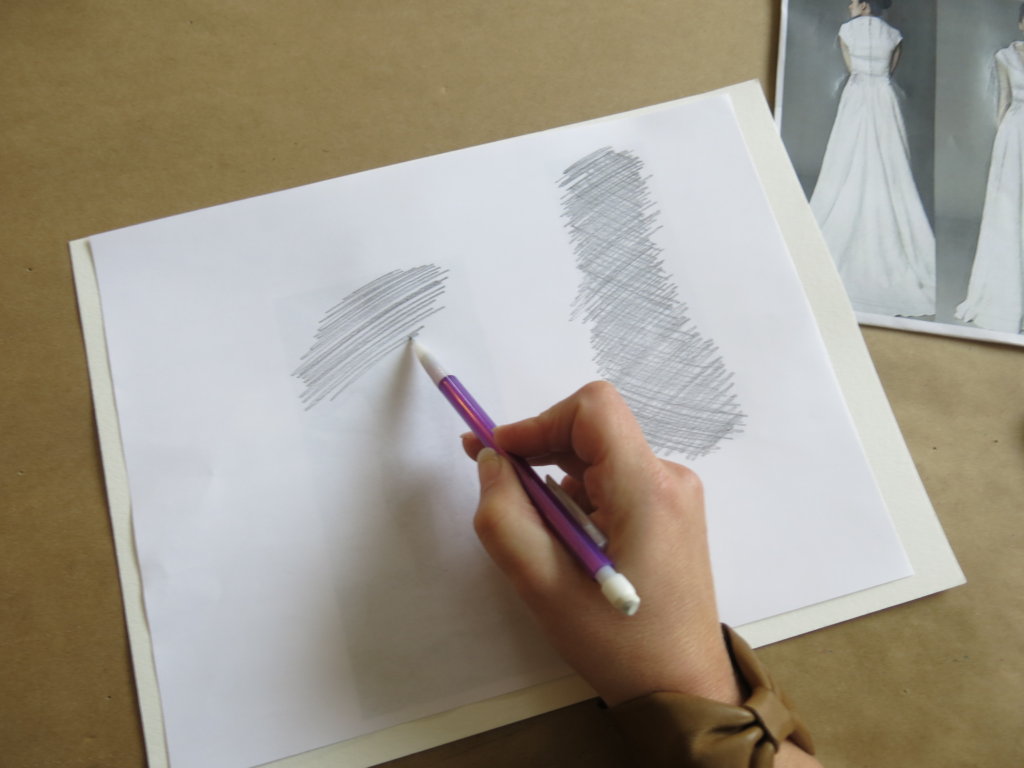
On the back of the photo print-out, I scribbled all over the area with Tiffany’s body.
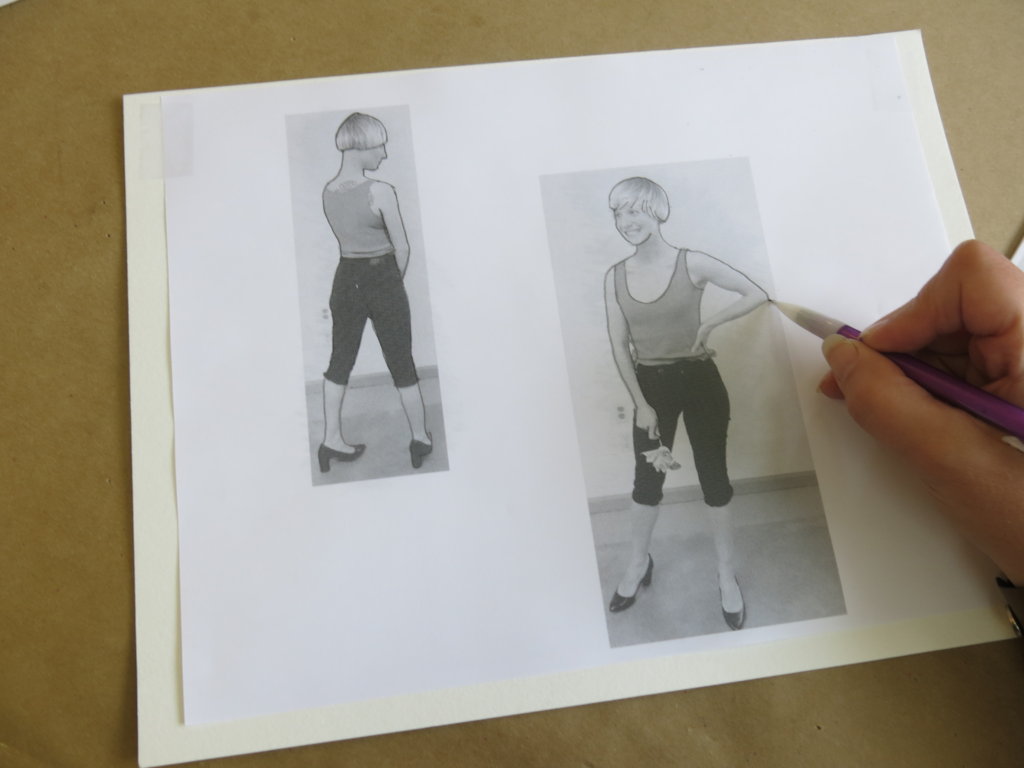
Then, I taped the print-out scribble-side-down before tracing around her silhouette.
When I lift the paper, the scribbles are transferred very lightly to the paper below…
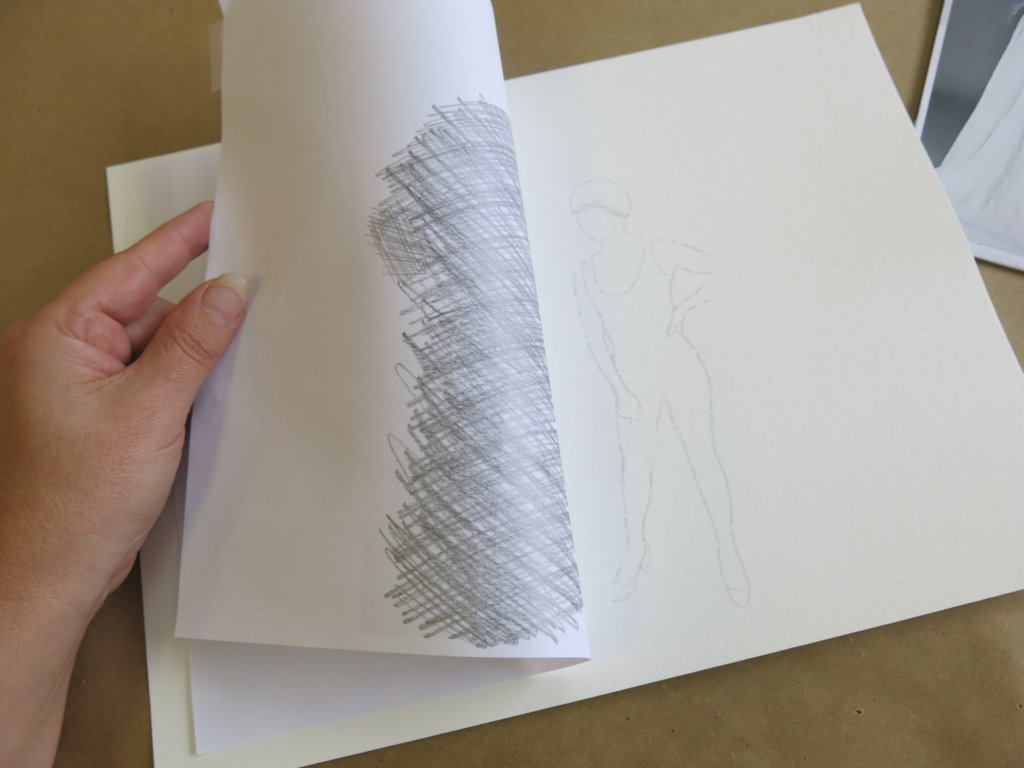
…giving me a faint outline of her exact shape to draw onto!
When sketching, I like to work cautiously. I try my ideas onto her body very delicately and use my eraser as much as my pencil.
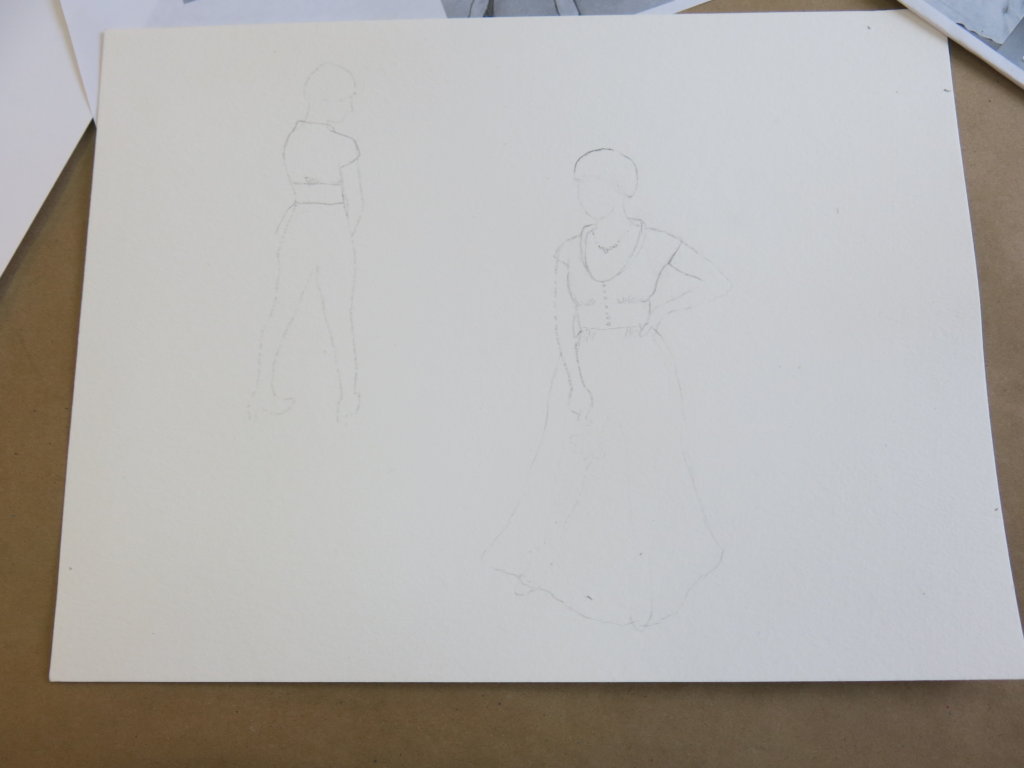
I start to lightly test design ideas and the lines I like best start to gradually get darker and darker…
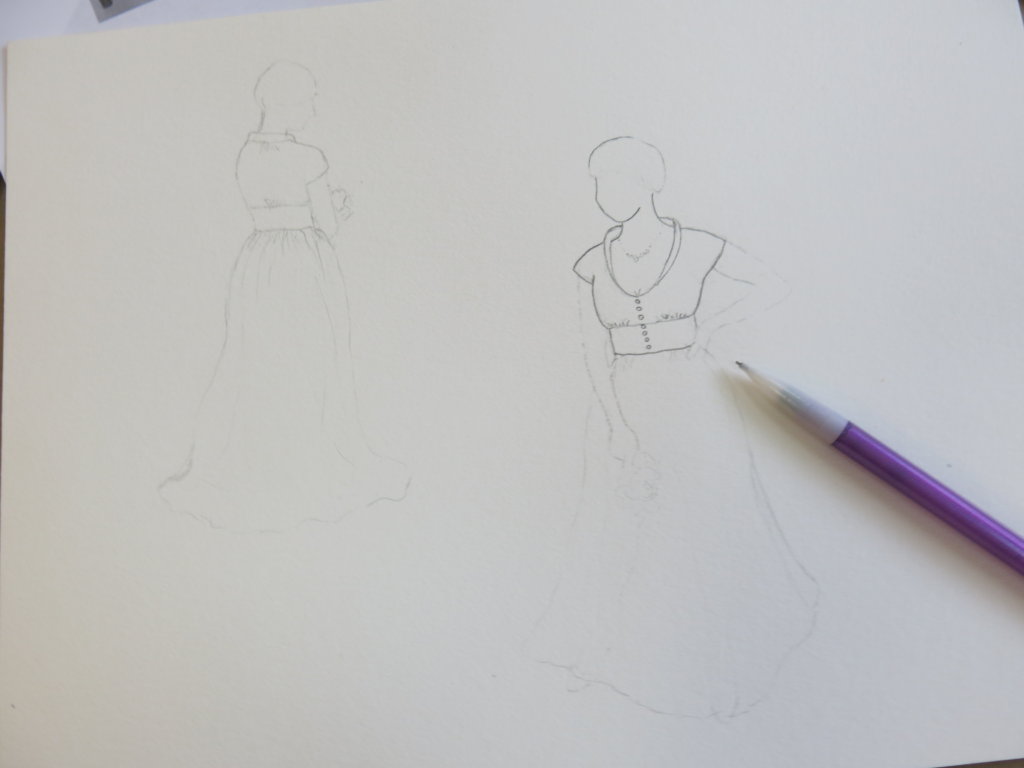
…bit by bit…
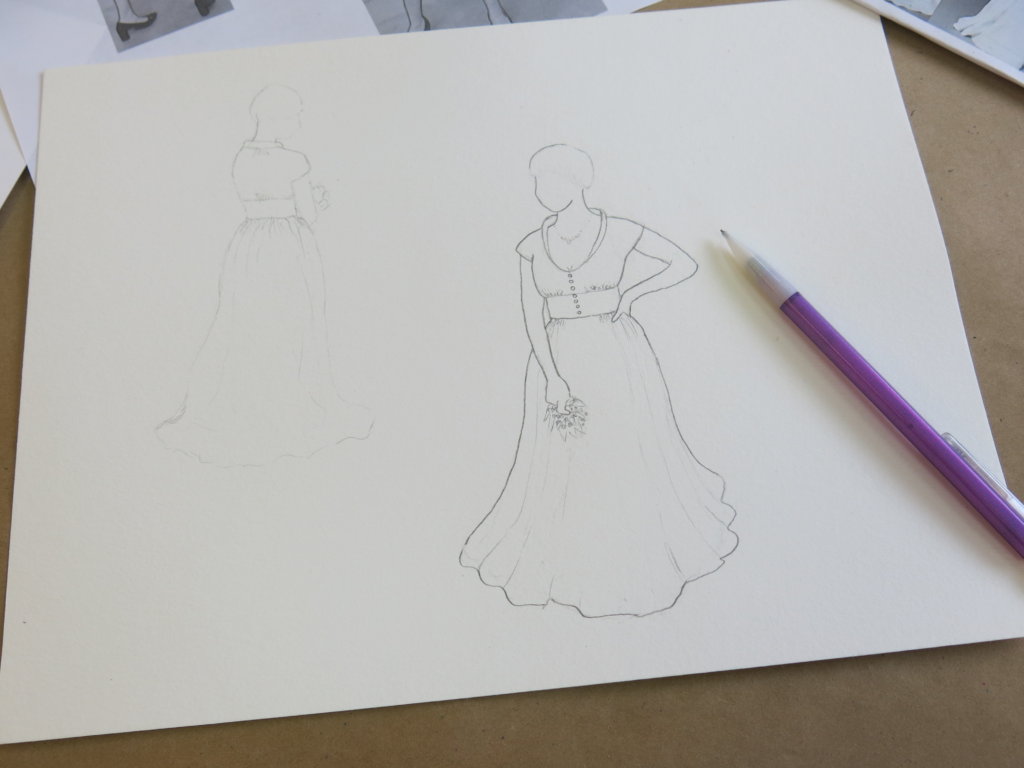
…making no-risk lines that can easily be erased and changed…
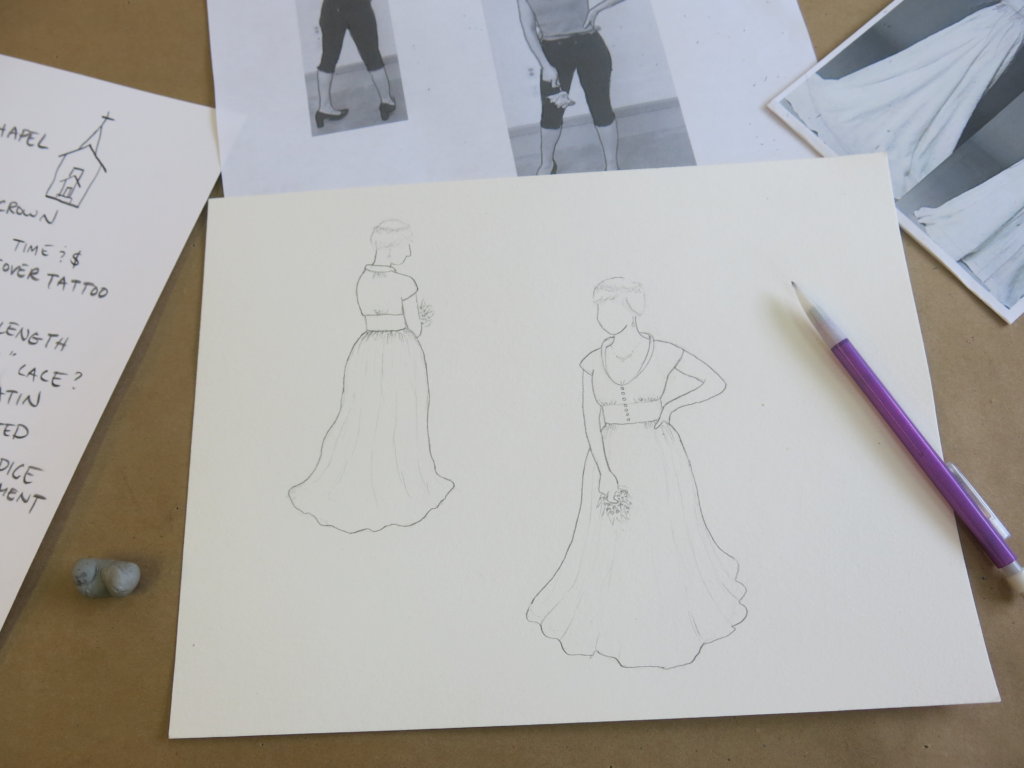
..until the design eventually emerges!
If I want to test different looks onto a completed design, I’ll cut out teeny little pieces of paper and cover the bits I want to change with a hinge of tape at the top.
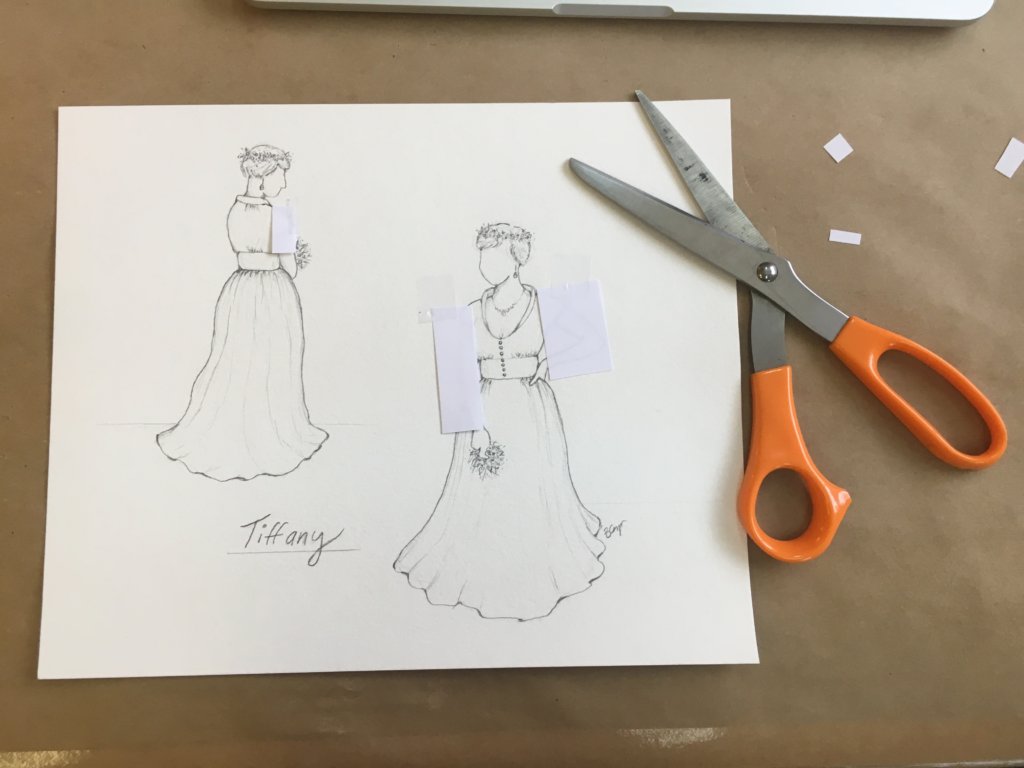
Though we loved the cut-in-one short sleeve idea, I wanted to see what slim long sleeves would look like for her winter wedding dress.
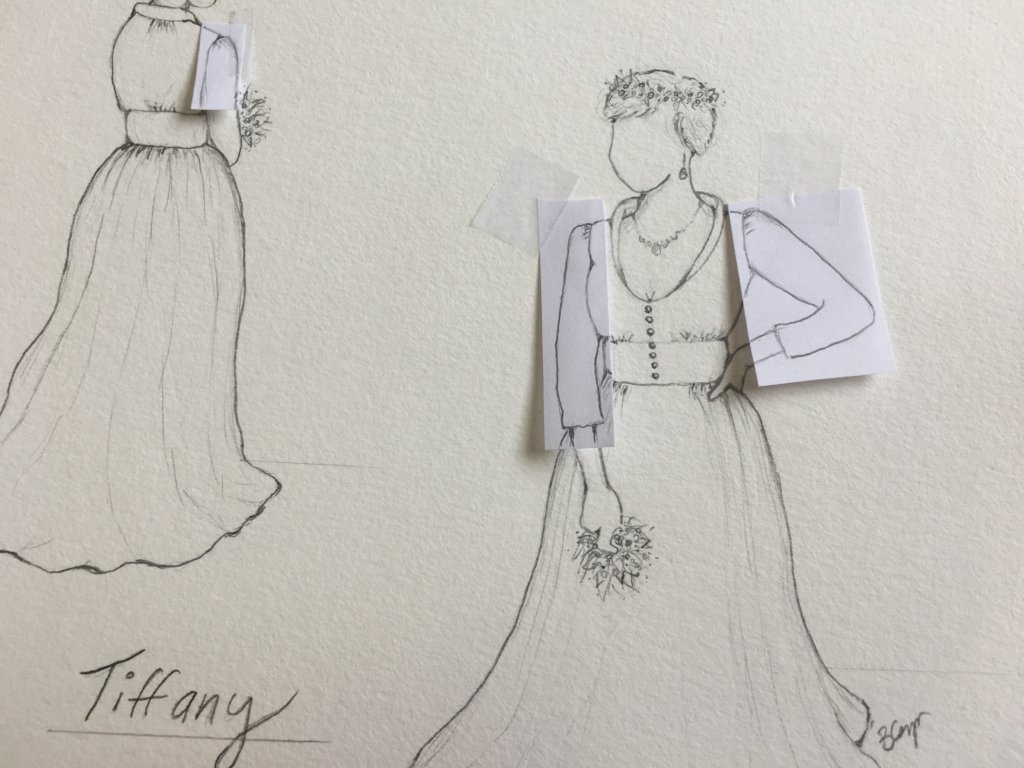
I can flip back and forth to see the two different looks.
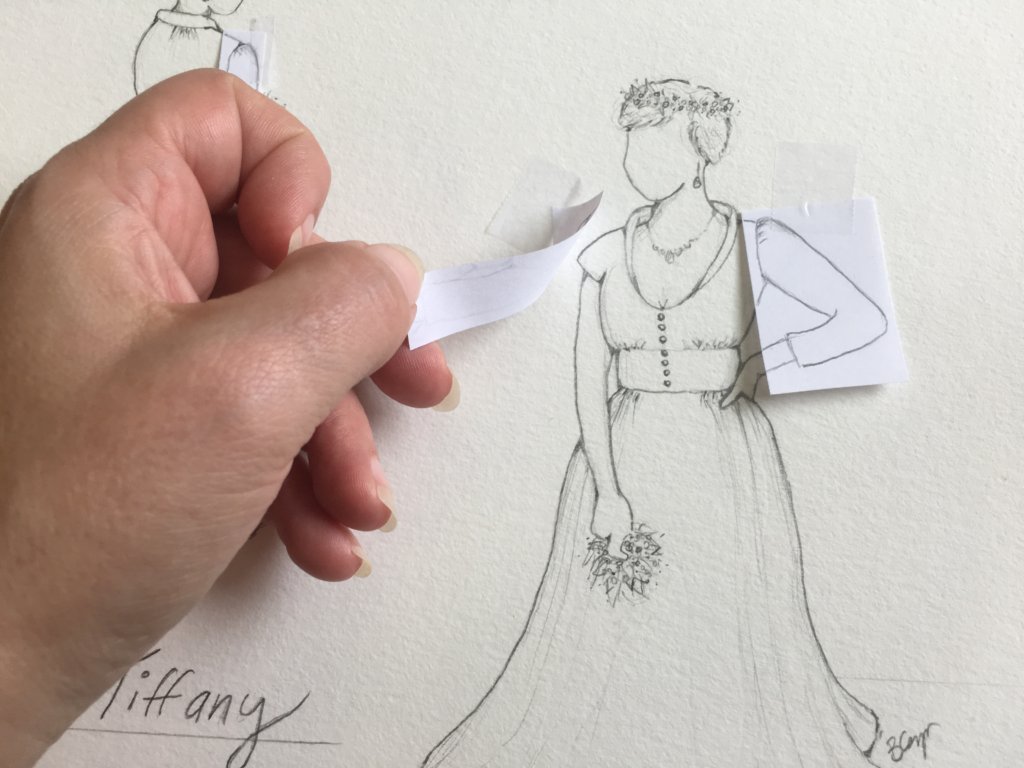
Nah! The short sleeves looked a lot more “Tiffany” to me. I loved this design and thought I really nailed what she was asking for…
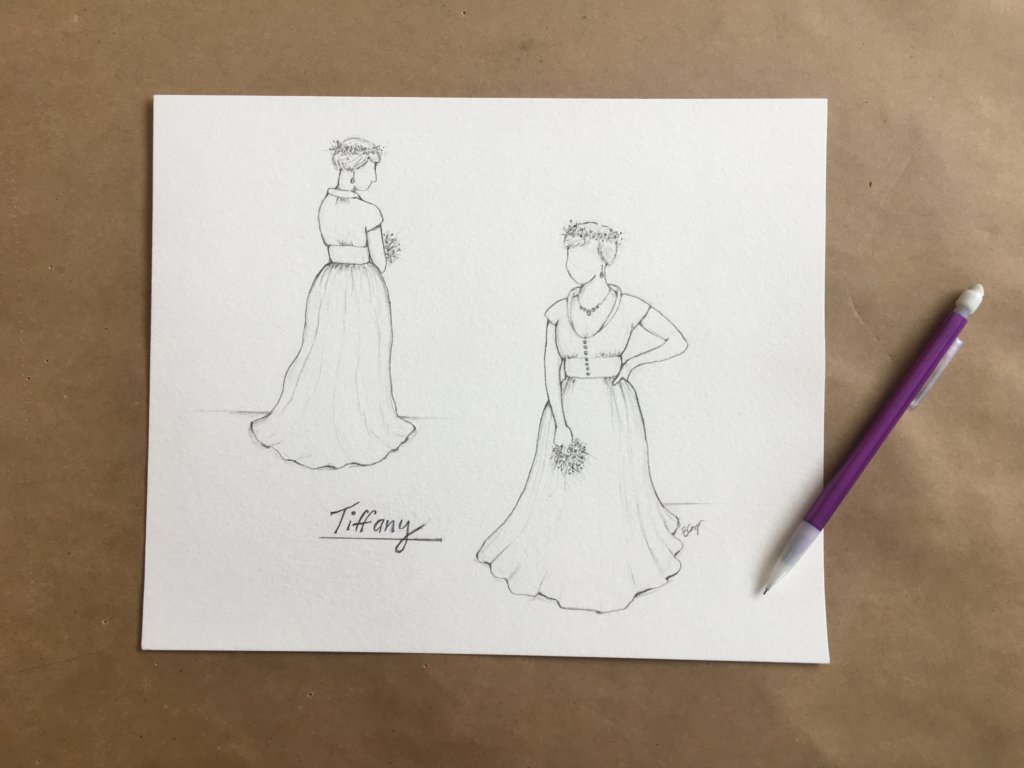
…so I scanned in my design and added it and our inspirations into a Design Proposal webpage shared only with the bride!
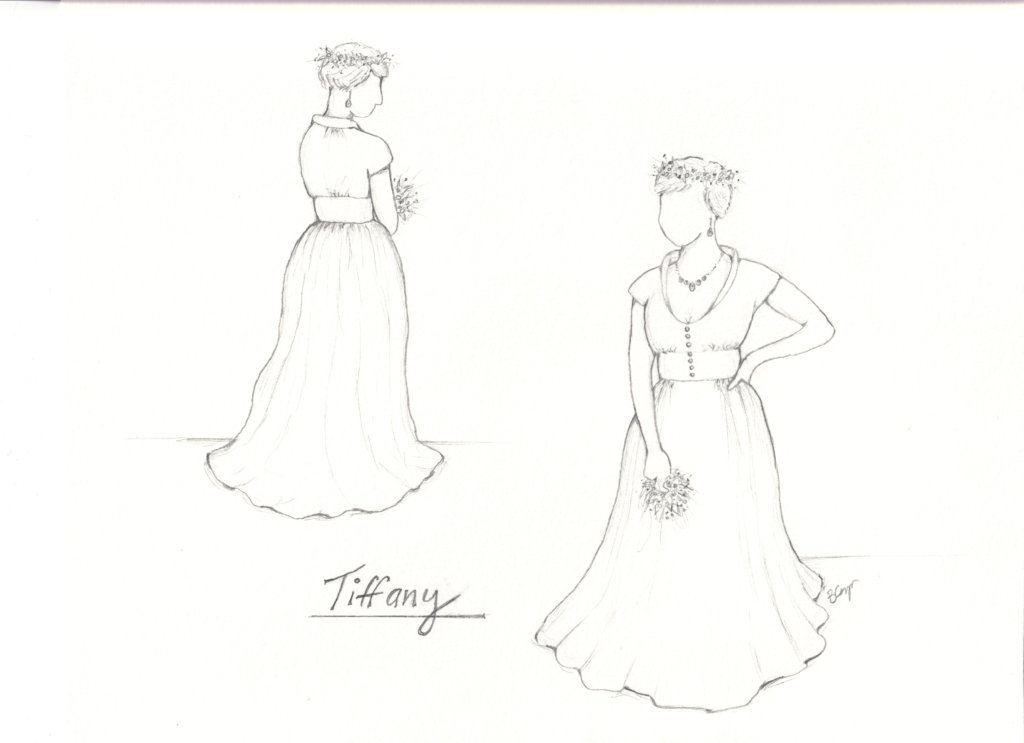
Aaaaaaannd…. Tiffany liked it! But she didn’t love it.
No worries! Seeing this first sketch helped her figure out exactly where we could make some changes to turn this starting point into her Dream Dress!
Design #2!
Tiffany wanted to nix the buttons-down-the-front idea and try a more open sweetheart neckline with a larger squarish topped collar. She also wanted to see some decorative diagonal lines on the midriff band and for the short sleeves to stand away from the body more.
So with a little bit of paper and tape, I drew the new ideas onto the original sketch.
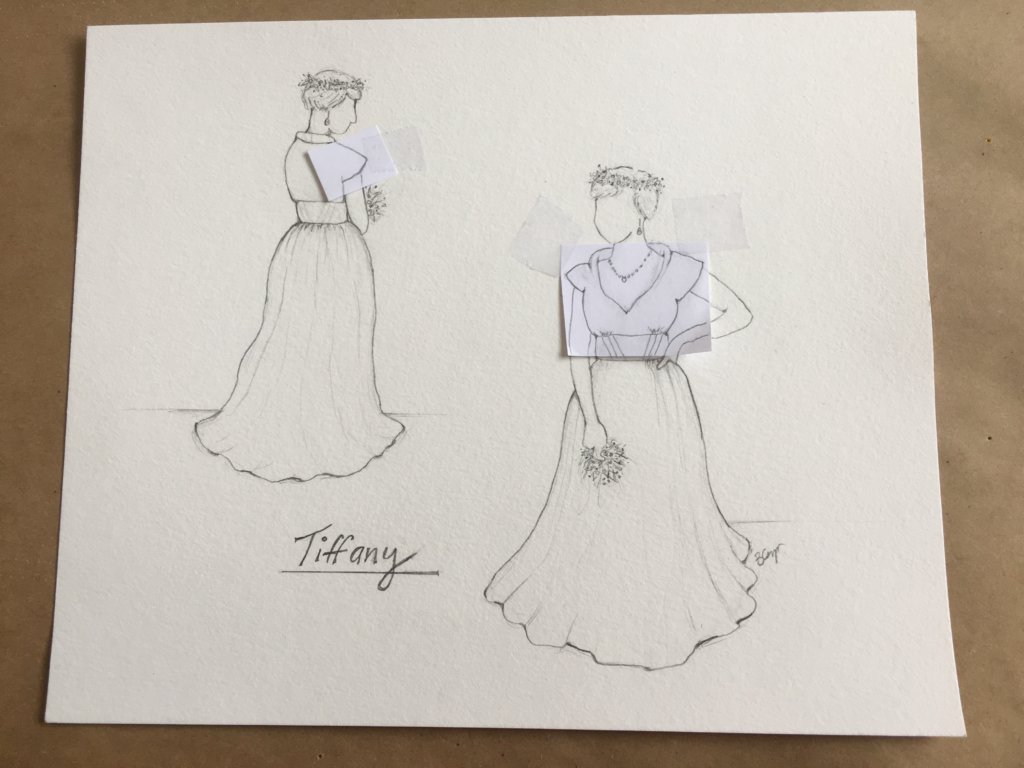
Once I was happy with the changes, I photo-copied the revision…
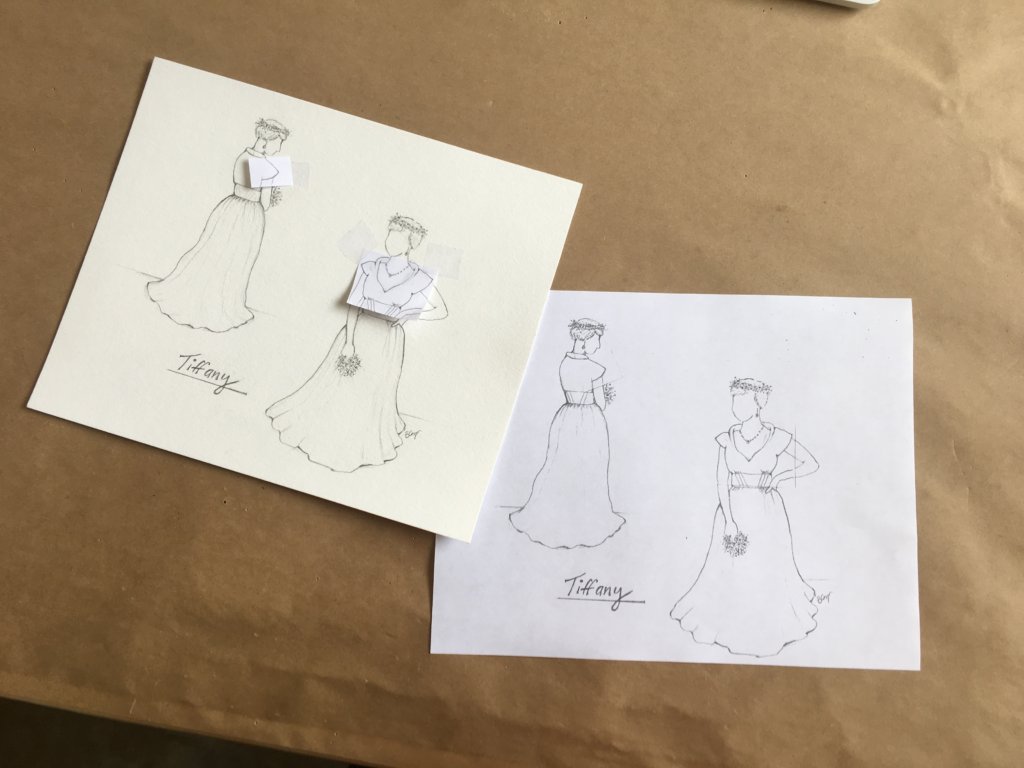
…and transferred it to the fancy paper. This way I could keep both sketches and not have to struggle to erase any lines that were already darkened.
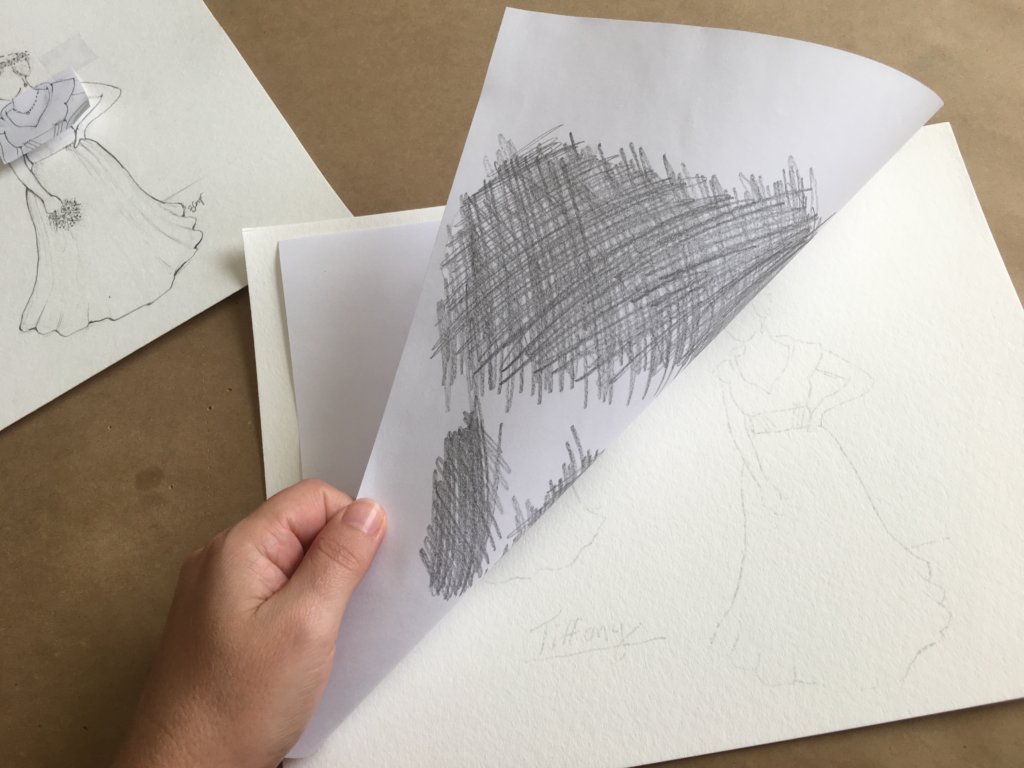
Following a similar process as before, this transfer was fairly quick because all the decisions were already made.
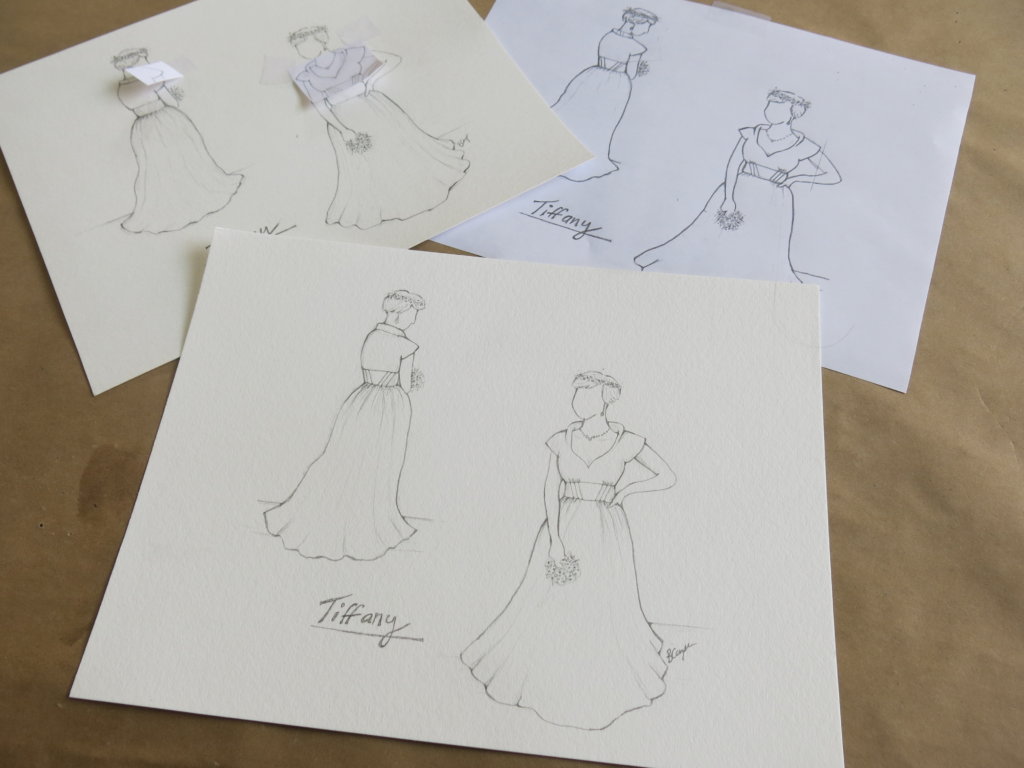
I shared Sketch #2 with Tiffany aaaaaannnd…
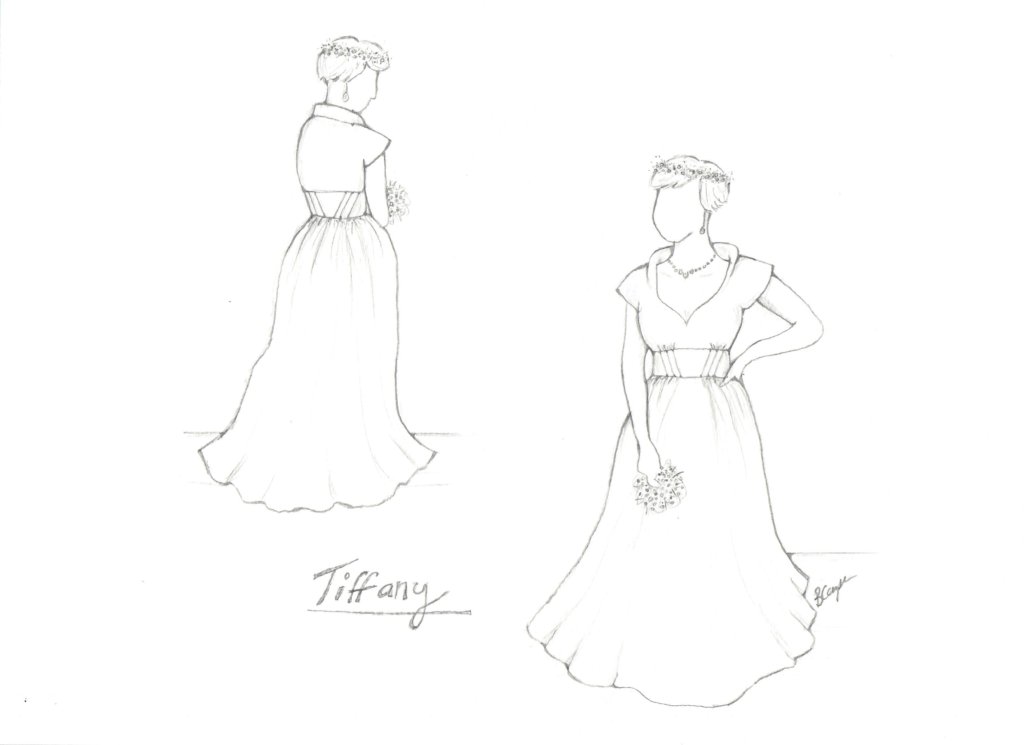
She liked it enough to book the dress! Whoo hoo!
What do you think? Do you like the first or second design better? Do you have ideas for more changes? The sketch is only the beginning of something beautiful…
NEXT POST: I get a new dressform for draping Tiffany’s custom-fit patterns!
















6 Responses
Yay! A new dress. I so love following your process with the different wedding gowns, you give such great information and each one is so different. You insspired me to make my daughter’s wedding dress which was just a few weeks ago and I am so happy with it. Even made my own with underlining and all. Thank you so much and I will be eagerly following your journey with this dress.
Thanks so much for following along! I am thrilled to hear that my blog inspired you to make your daughter’s wedding dress. Congratulations!
I am in the process of designing making my eldest daughter’s wedding dress and was seeking to add to my skills and knowledge base. I came across your website today and have spent hours looking through your blog and taking note of the depth of information available. I have already completed my youngest daughter’s wedding dress (a medieval based design) last year and this has given me more confidence this time around, however I still find it a steep learning curve as there are new challenges with different design details to incorporate. Your work is such an inspiration, and I will find it a great help as I go onto the next stage of wedding dress making. Thank you for freely sharing your work.
My pleasure! I love making wedding dresses and it is so special that you are doing this for your daughters. Congratulations on the engagement and thanks for following along!
That sketch trick is SO COOL!!!!! I love reading your design process, and I love that you encourage brides who can find what they want to just go and buy it. (i’ve read both posts in the series backwards;) It must be so much more rewarding to give a bride who struggles in the store the perfect dress.
Yes! Thanks for following along Marcy!