

Once all the flat fabric pieces of Deborah’s custom wedding dress were cut and underlined, it was finally time to give them some shape. In the previous eight blog posts in this series (which starts here), I’ve shared a lot of the prep work of designing and patternmaking and mockups and fittings and preparing the fabrics for Deborah’s dress. Though I knew there would still be many questions to answer, many experiments to test, and many puzzles still to solve, I felt confident moving into permanent stitches for the first time in the custom process!
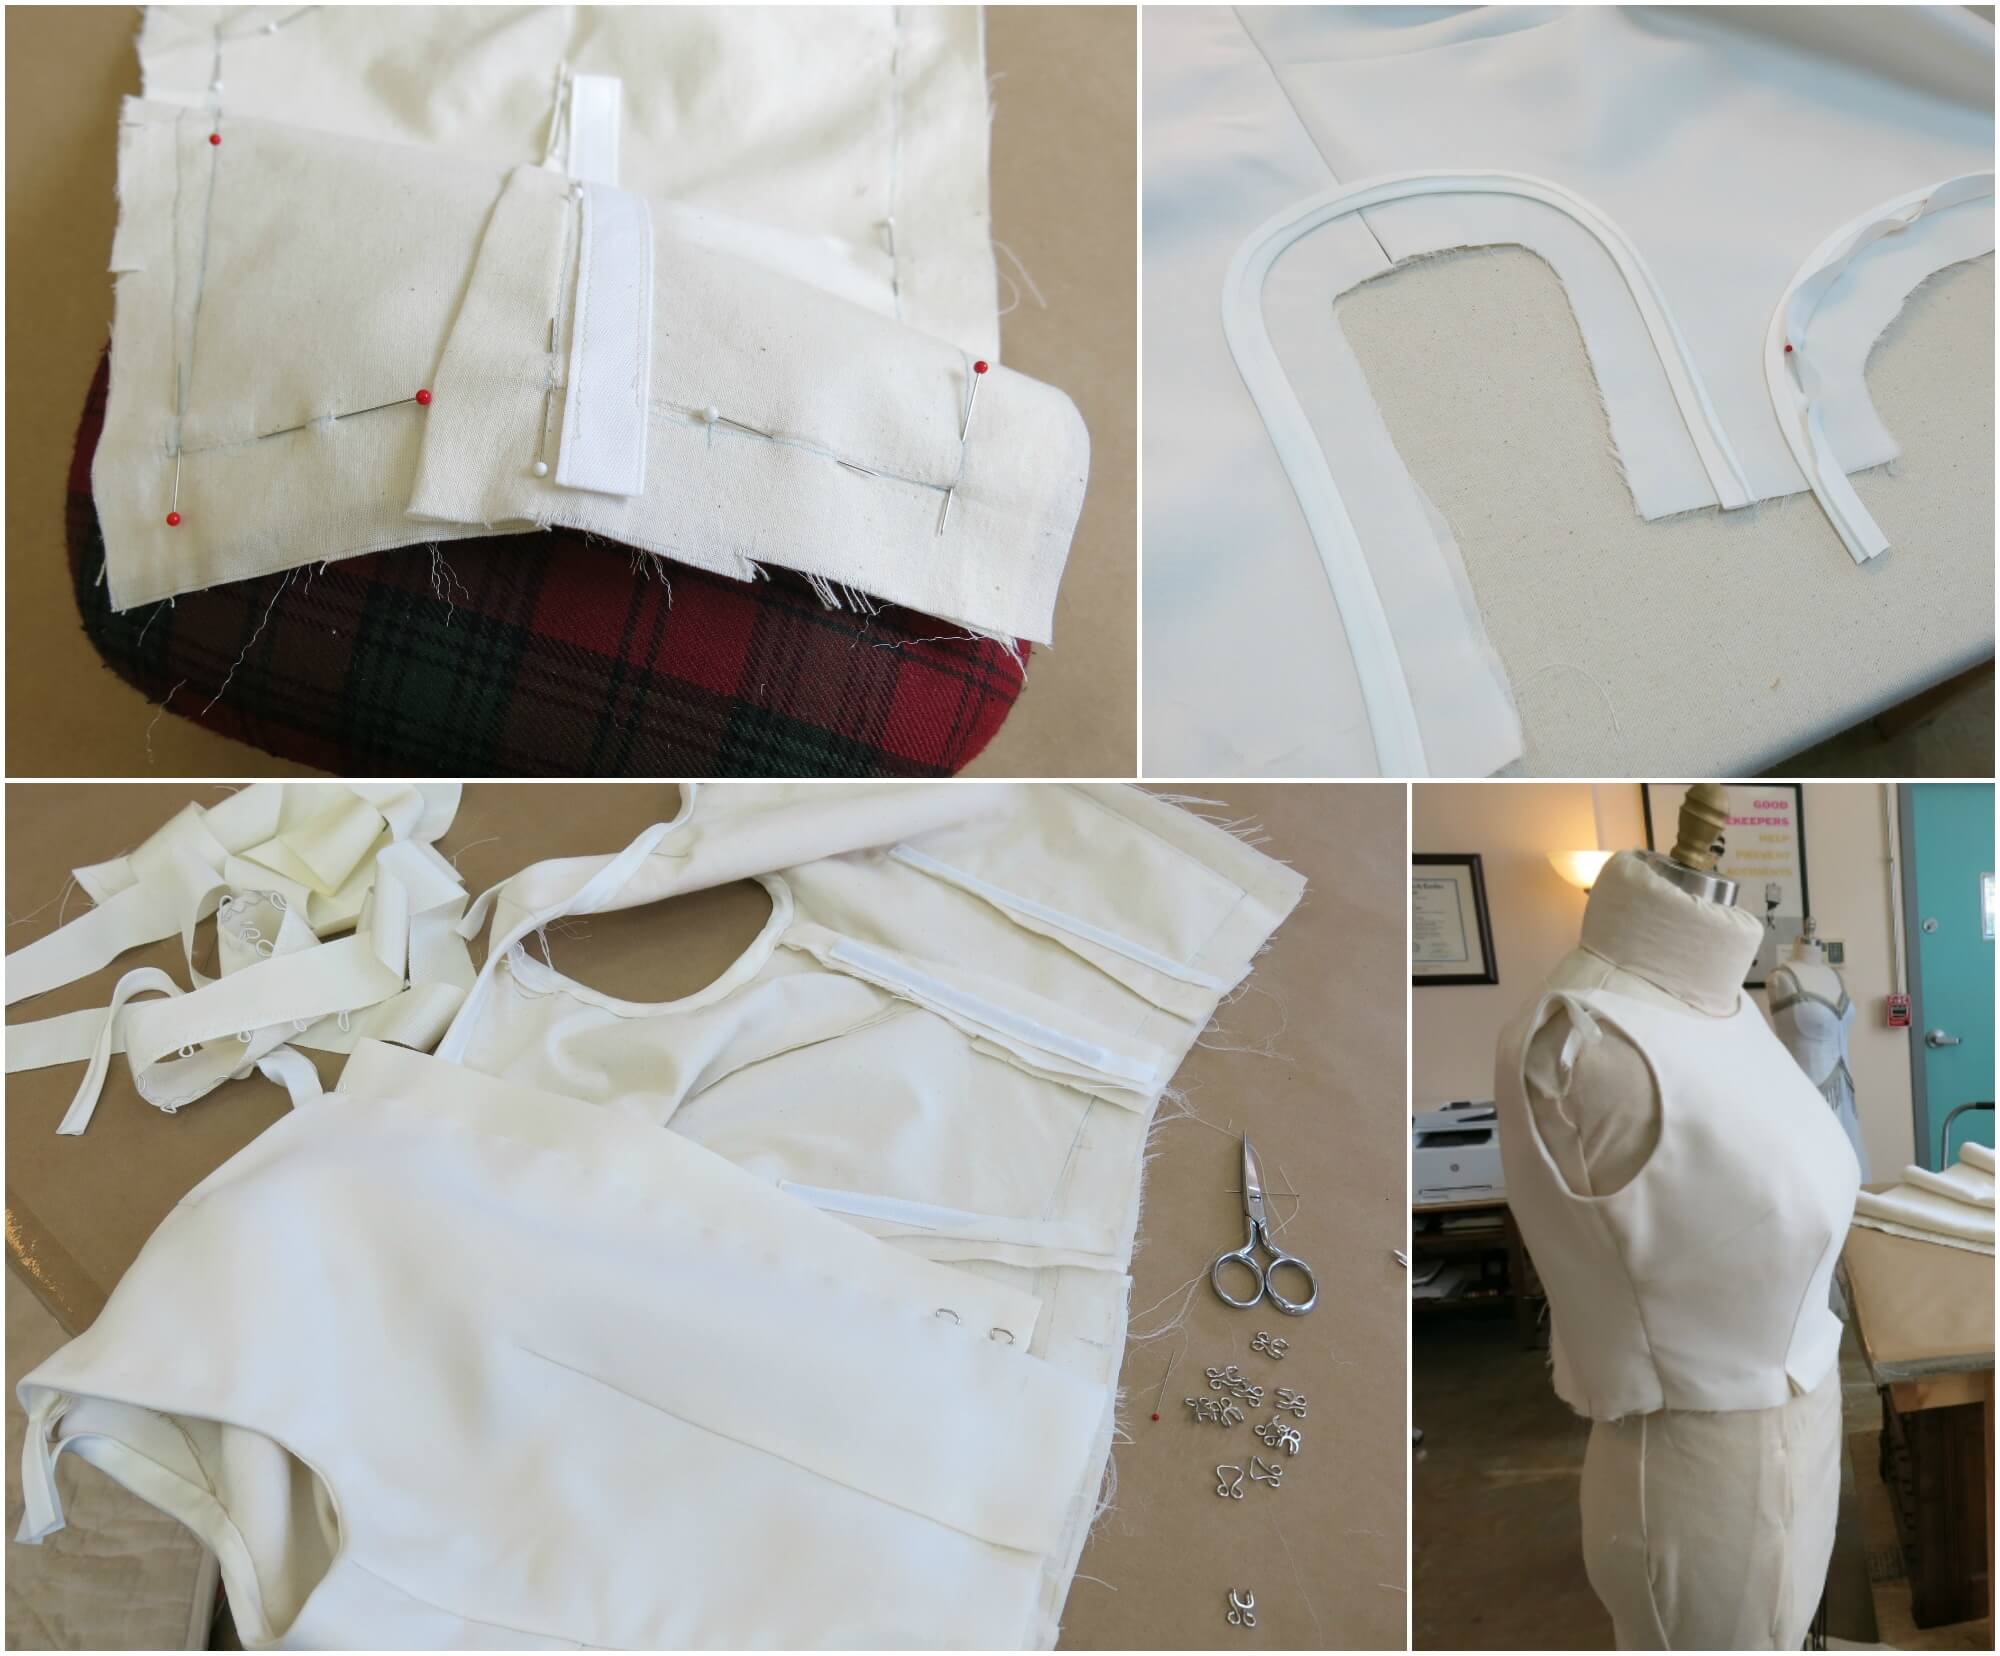
Below you’ll see the cut silk/wool of Deborah’s bodice (aka the top of her dress) pinned to her custom dress form. The flat pieces would need darts to create their shape. Darts are triangle(-ish) folds that are stitched specifically to shape flat fabrics to match the body’s contours. Deborah’s bodice will have eight darts…

I started with the largest dart on the back piece and, as soon as I stitched it up and pressed it, I knew I was unhappy with the thickness and bulk it created. I also realized that I had missed an important step: adding the bone casings. Doh!
So after my very first line of permanent stitching, I was already ripping it out… and the permanent stitches left teeny scars in the fabric! It was time for a new plan…
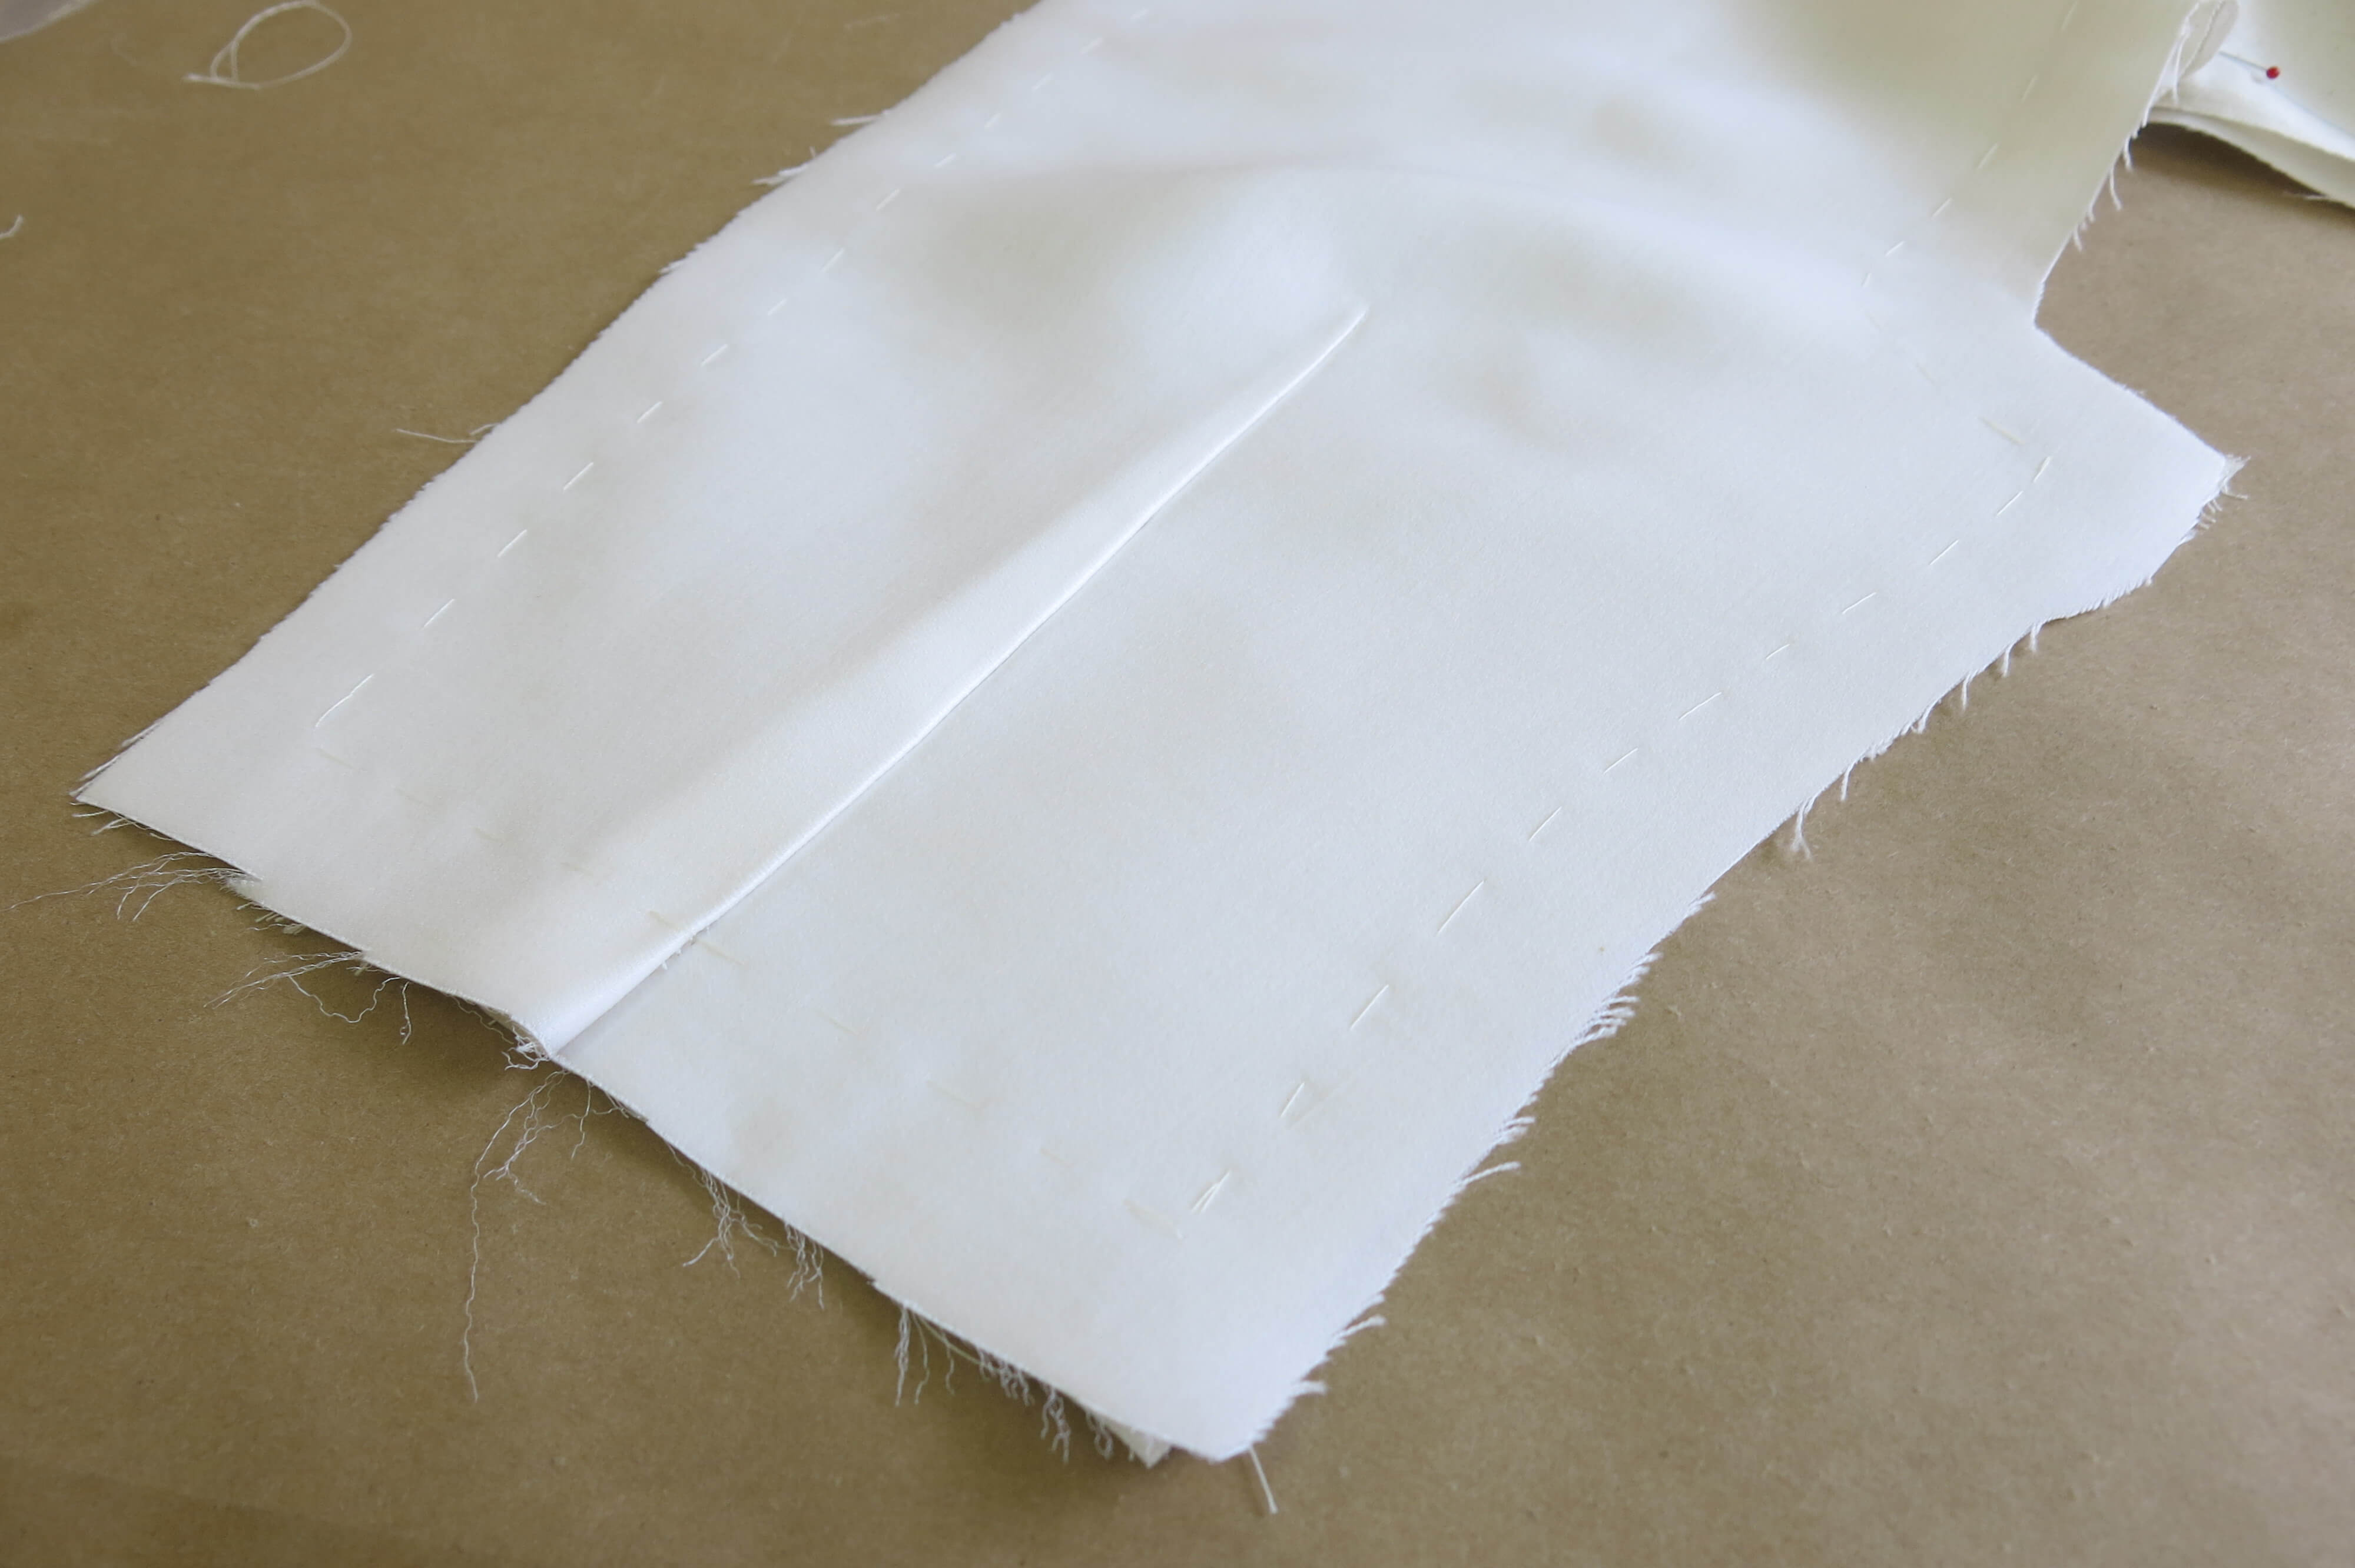
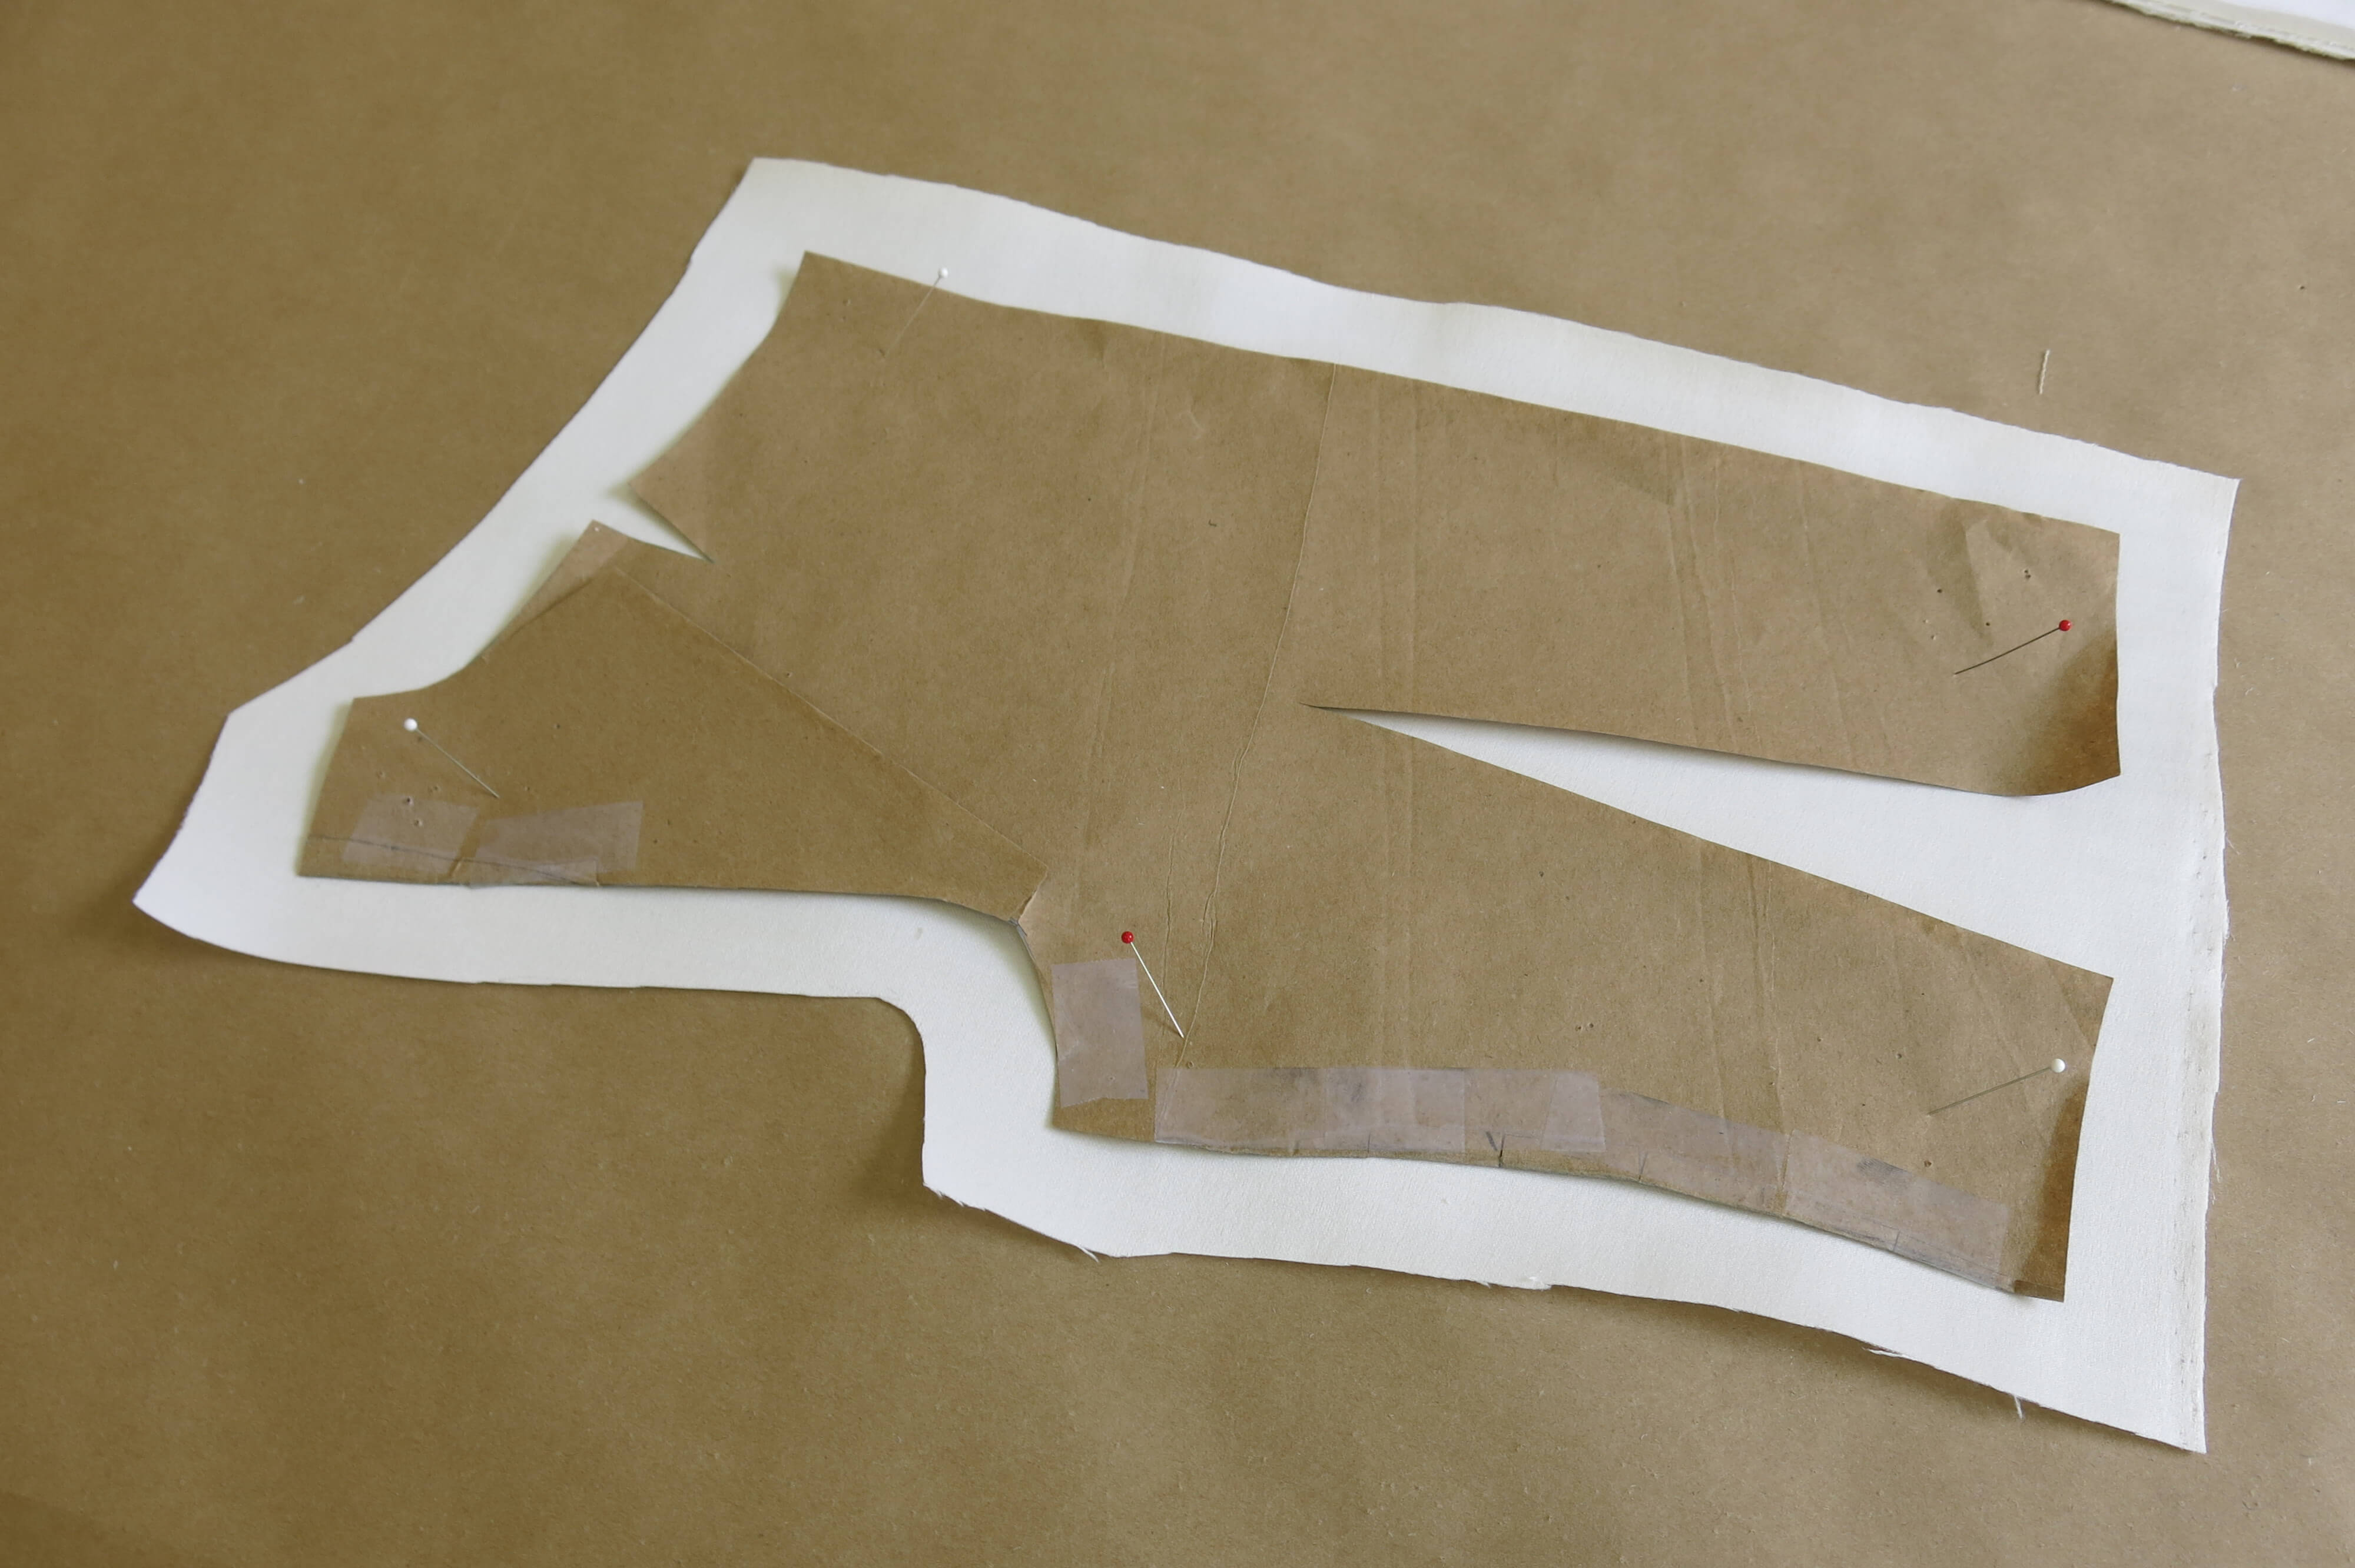
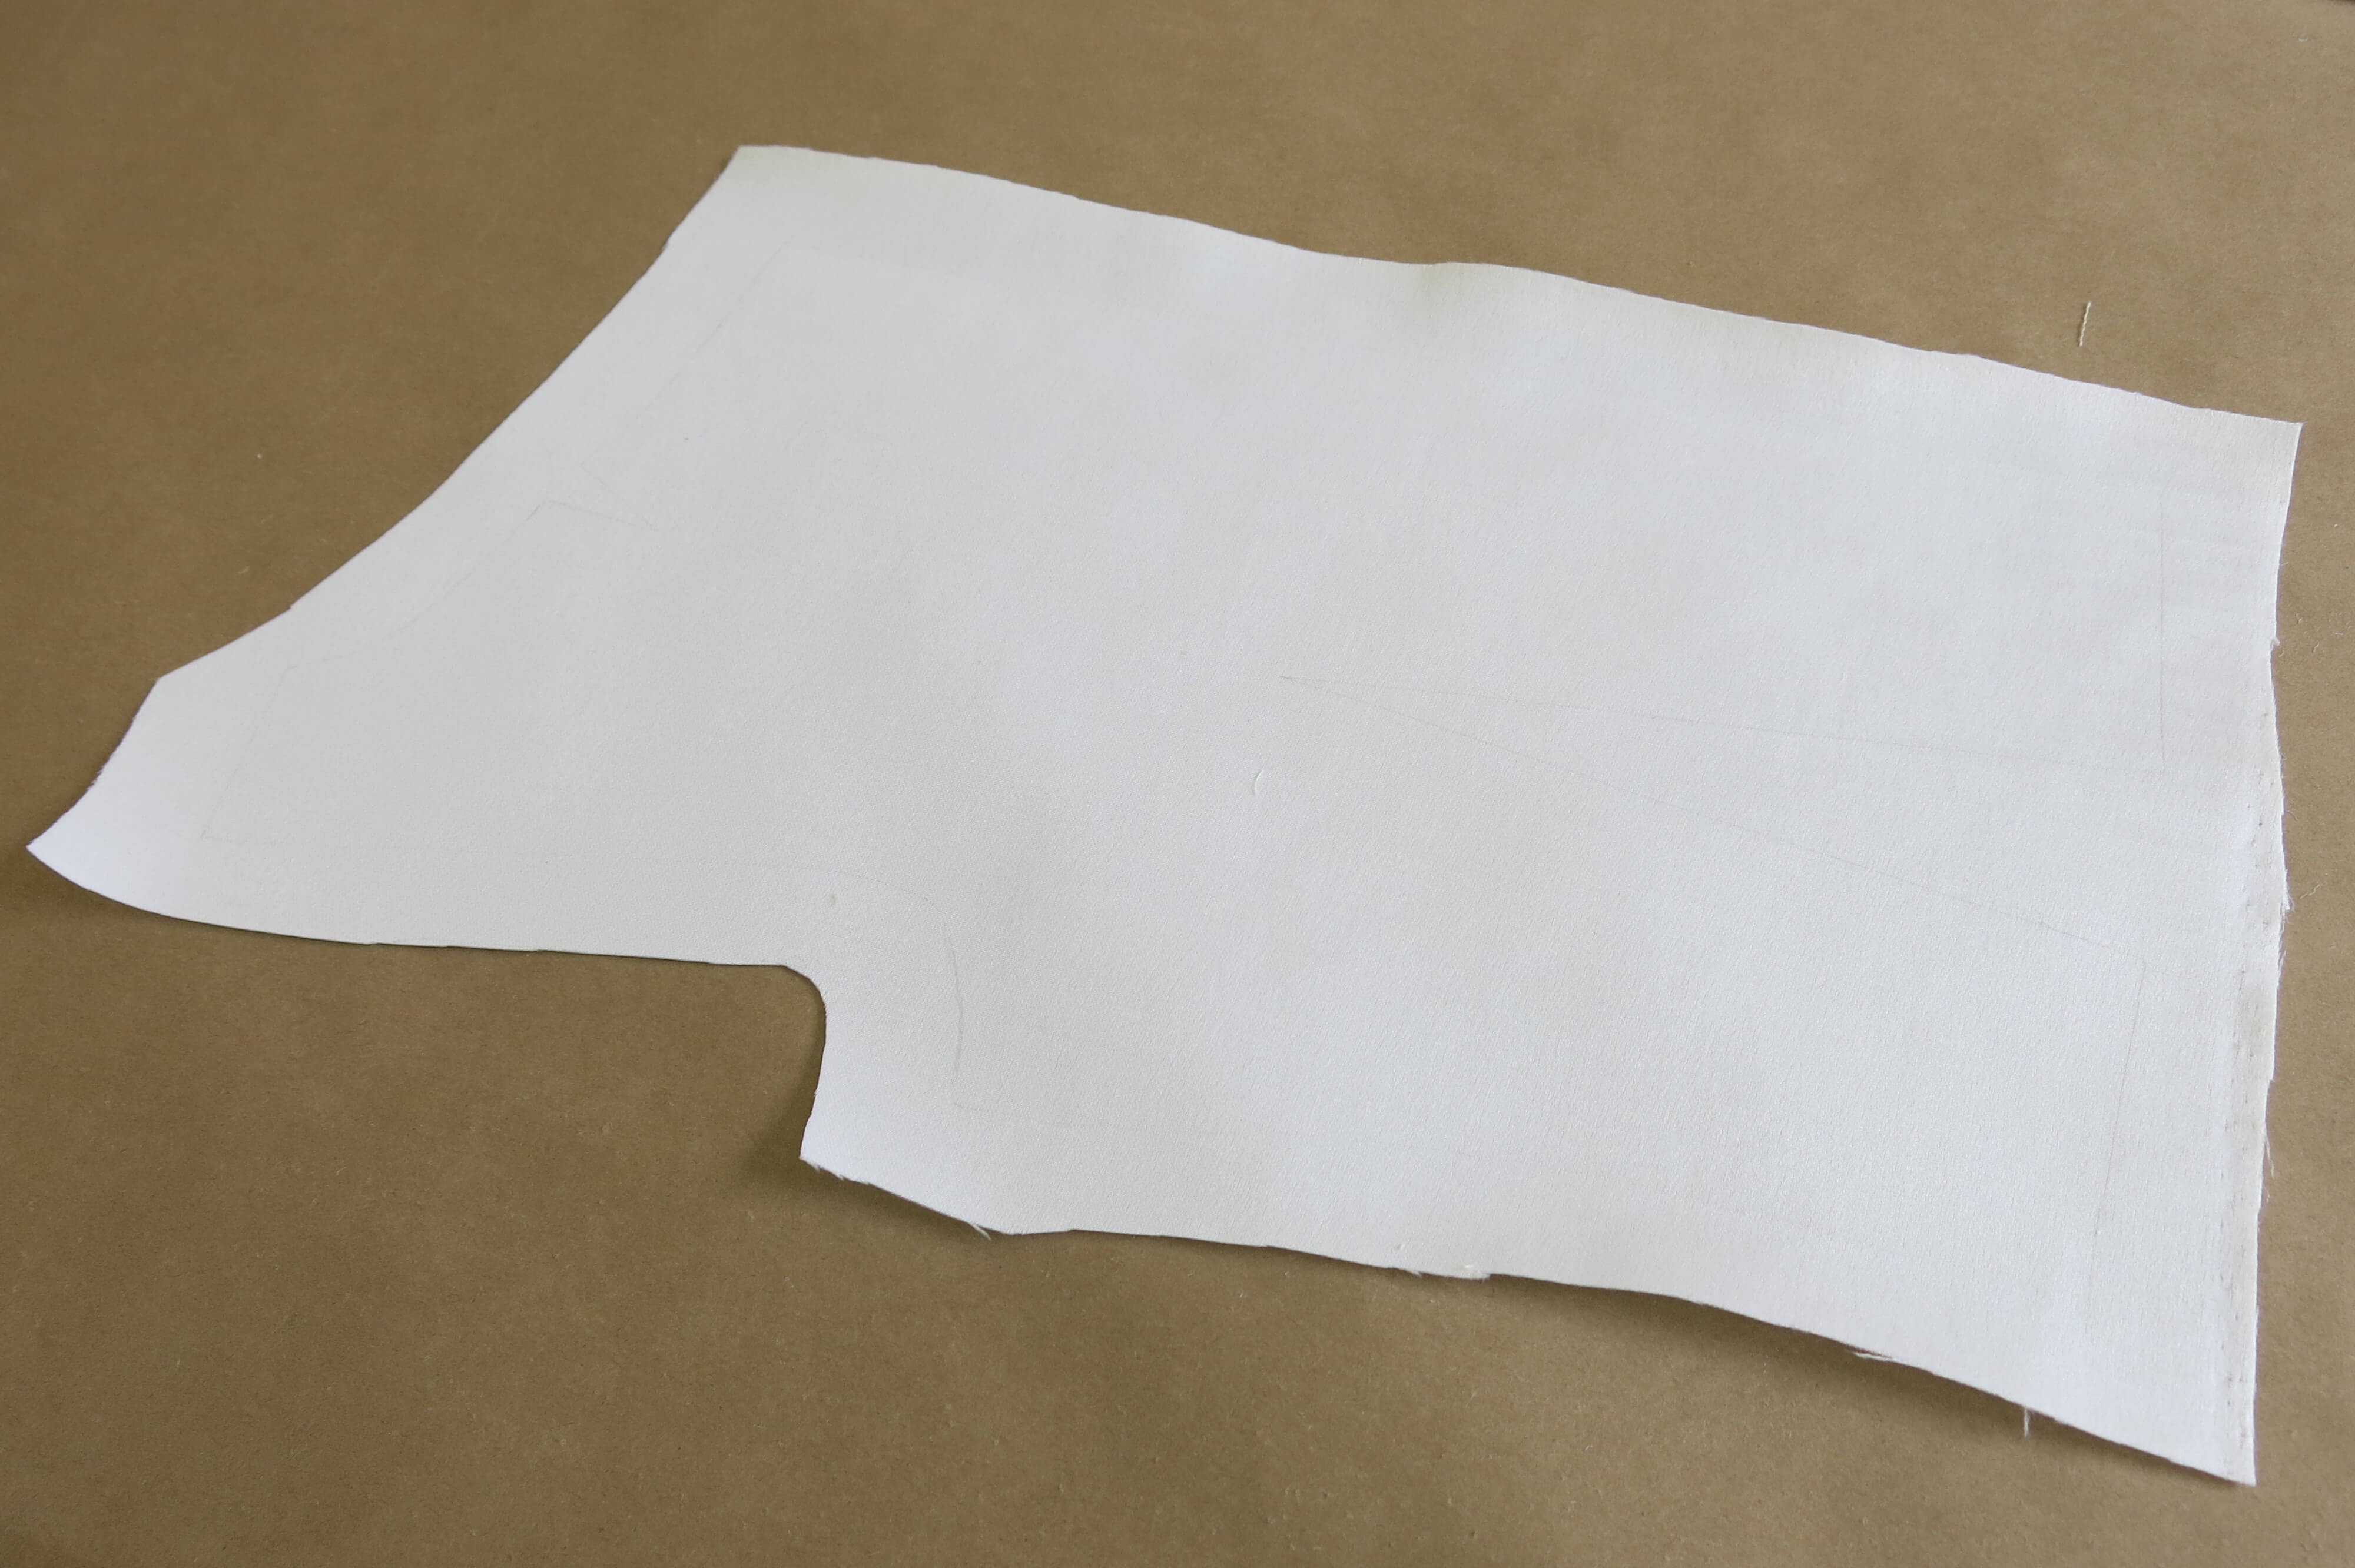
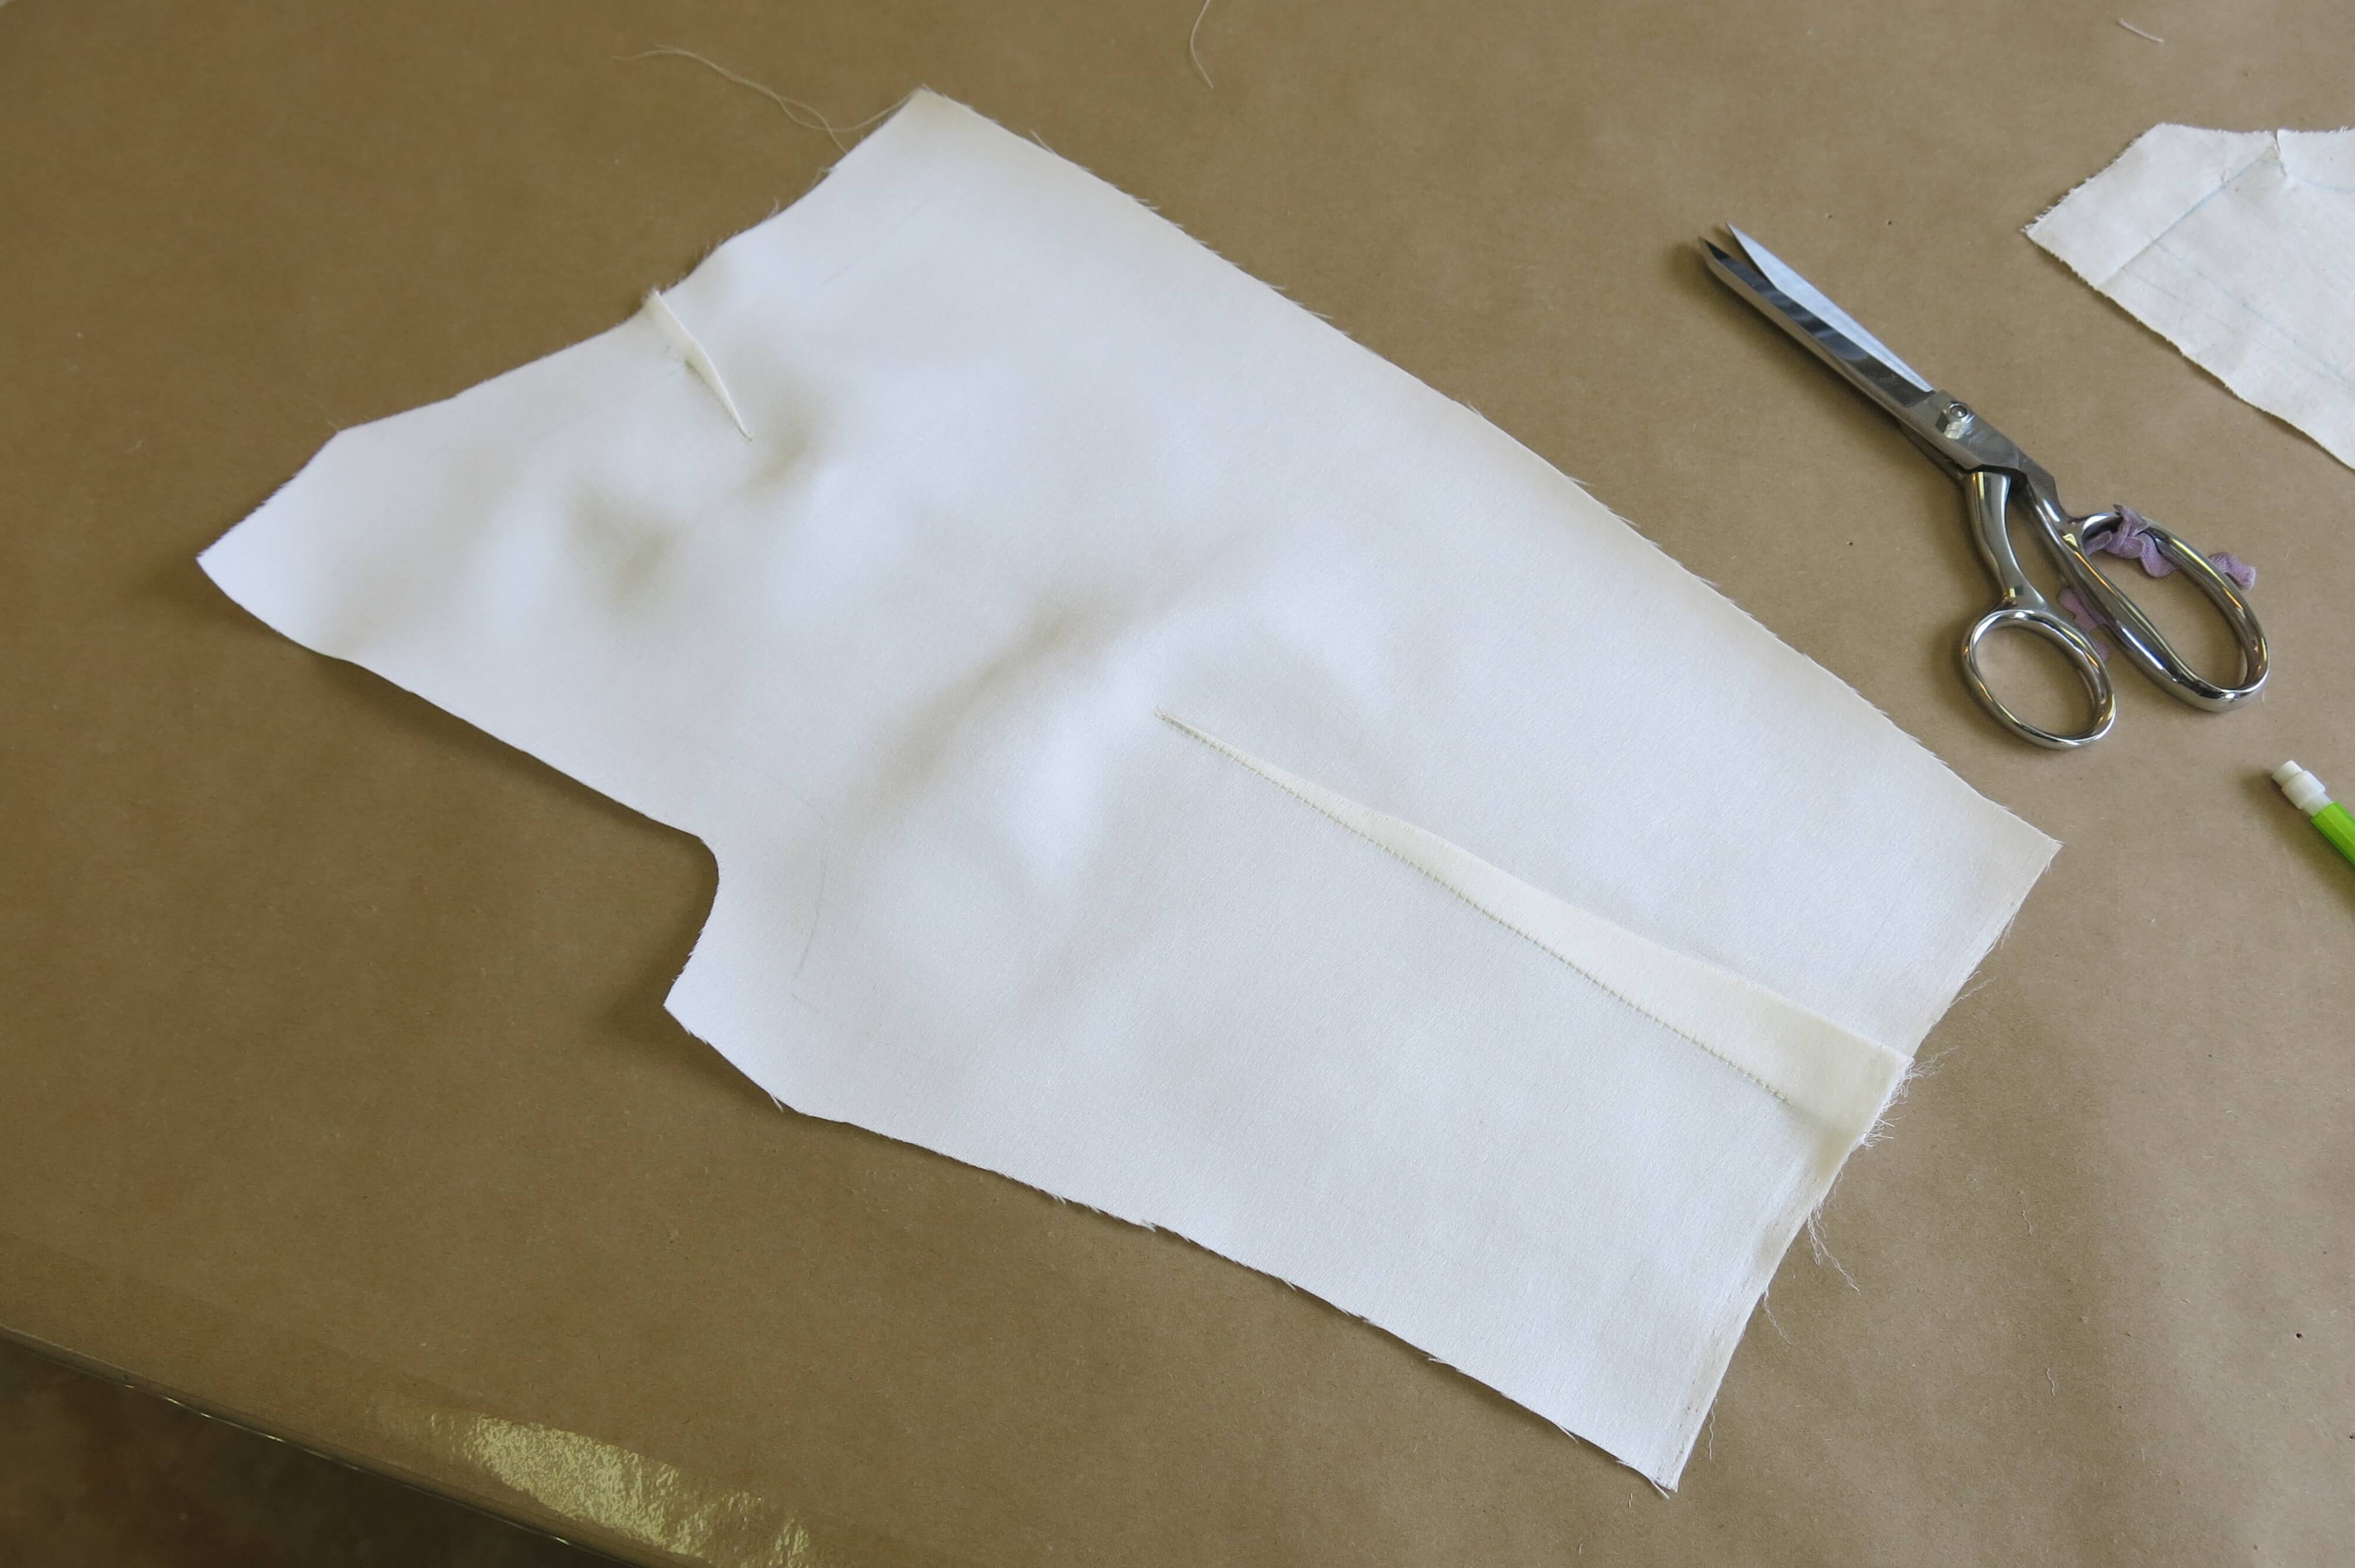
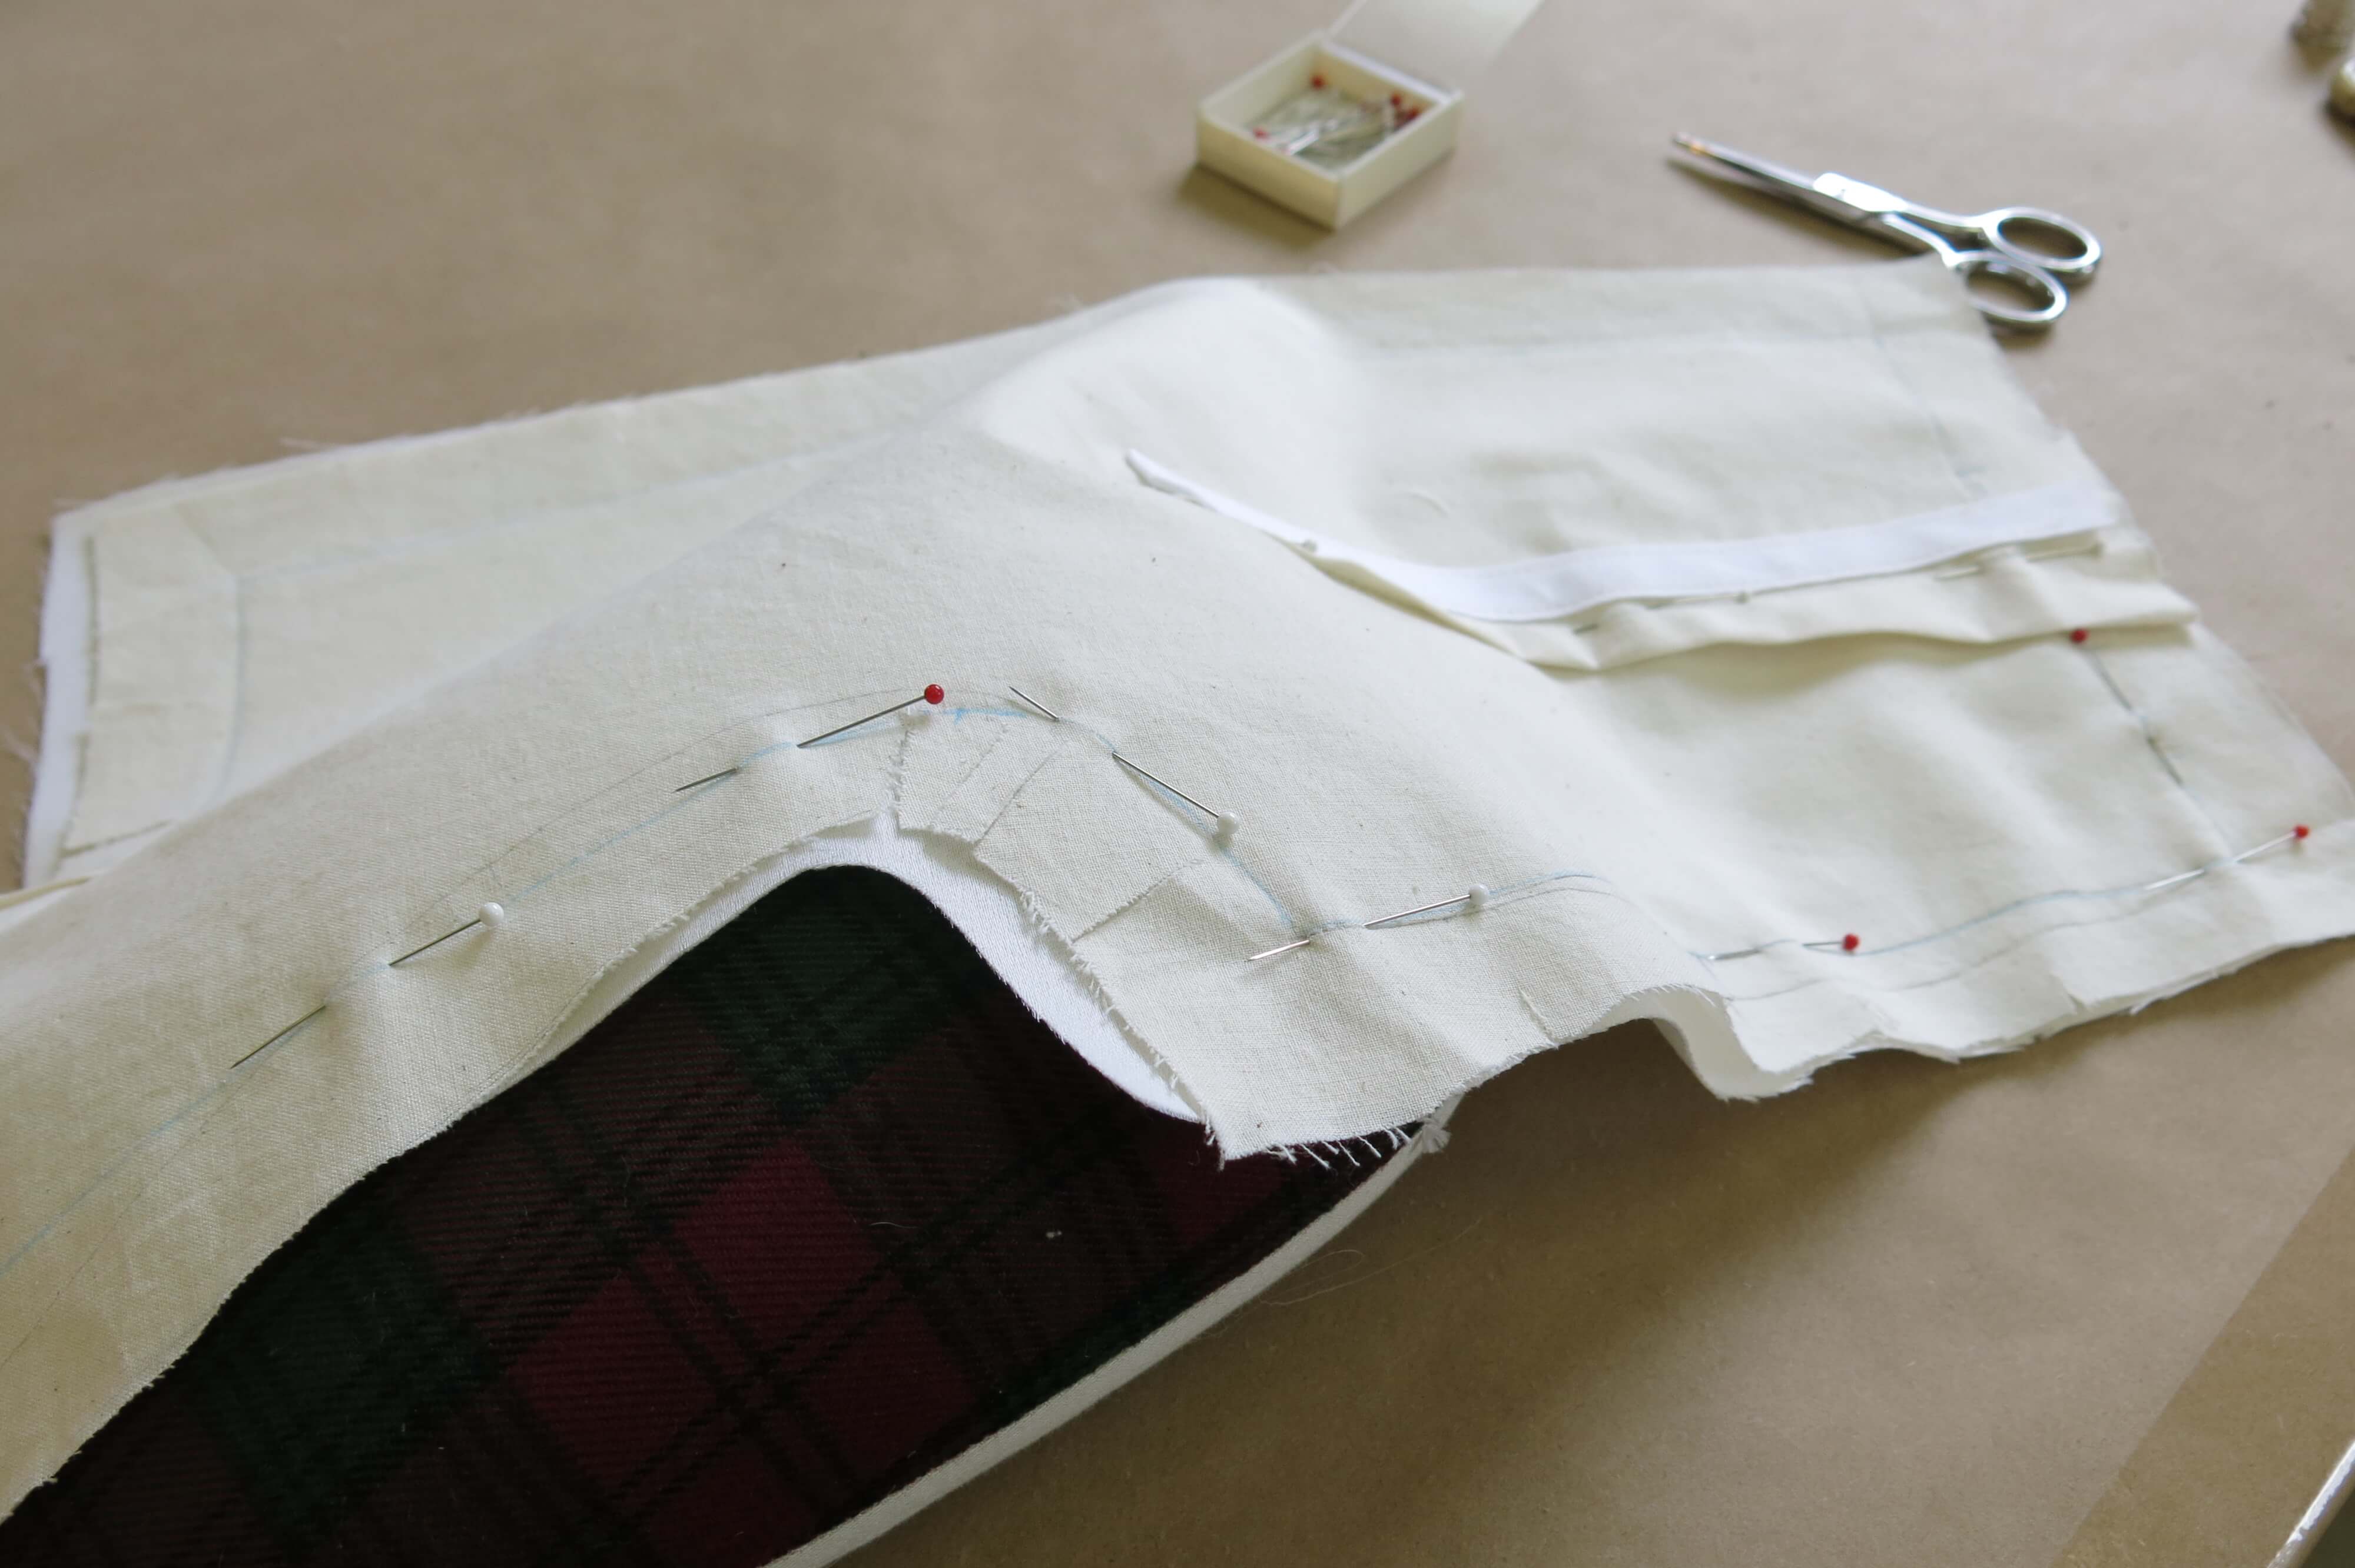
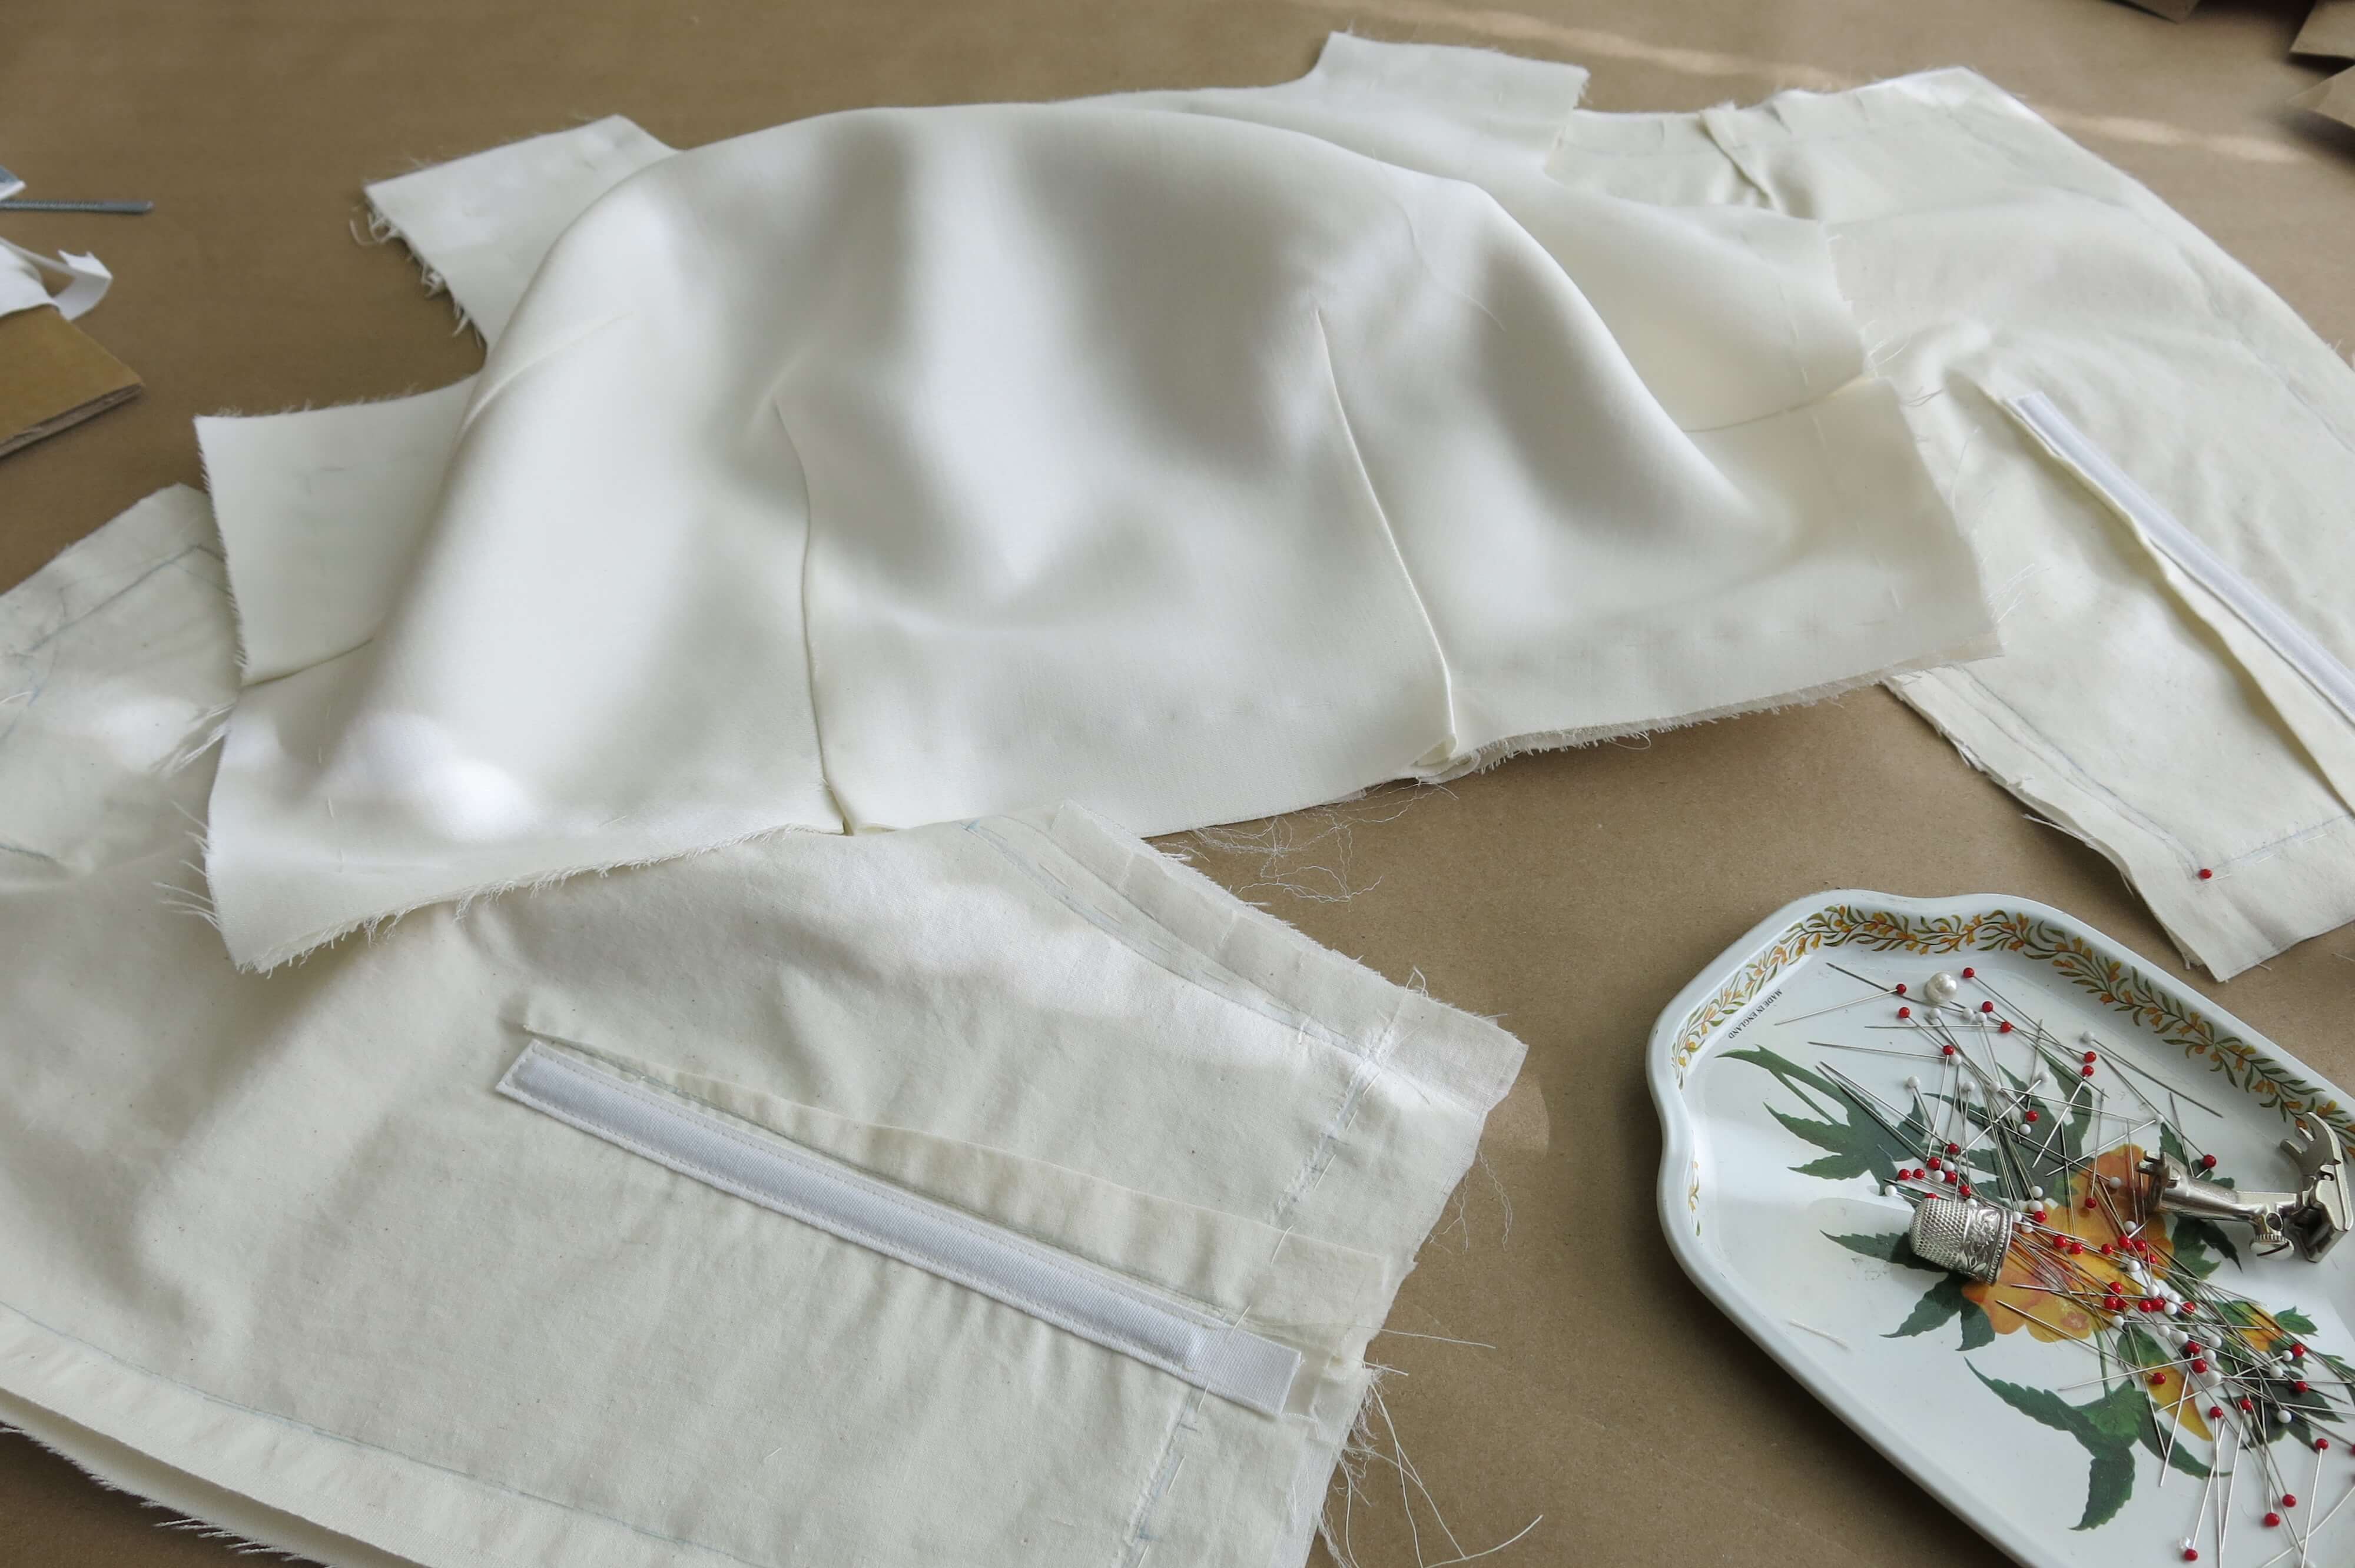
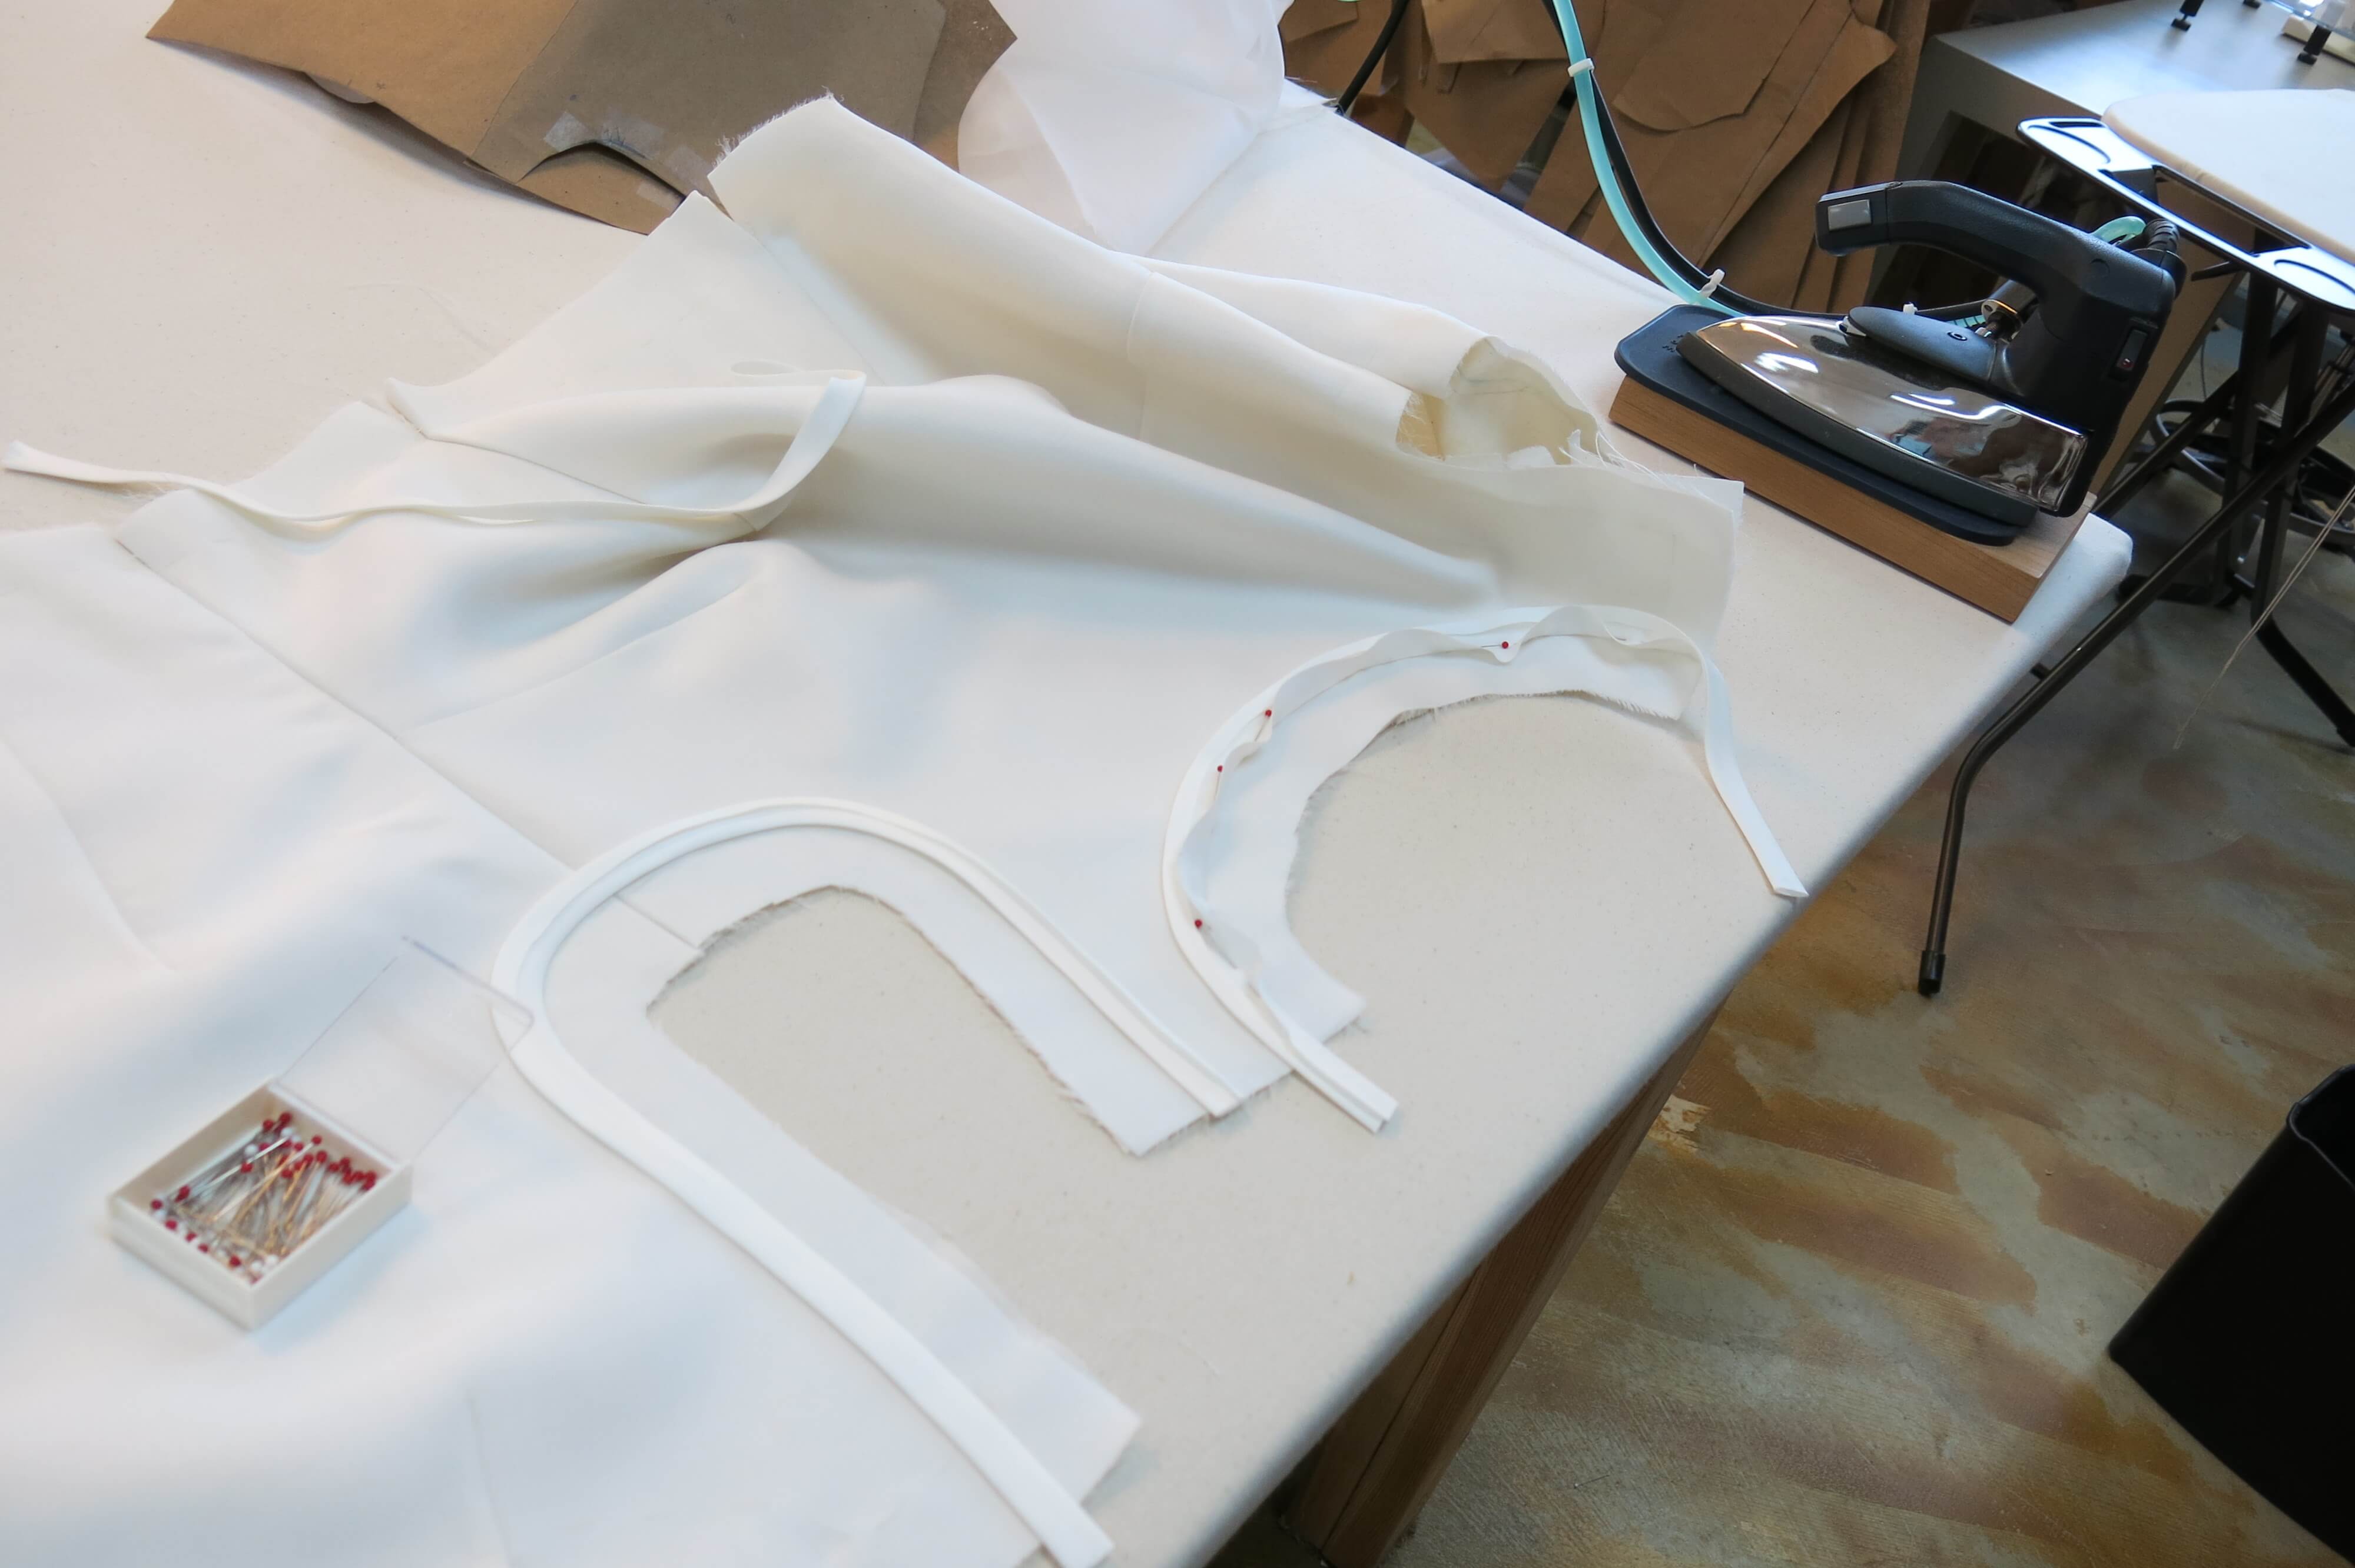
I decided to cut a fresh unscarred back piece out of the silk/wool and sew the darts without including the underlining layer to reduce some of the bulk. I used my corrected paper pattern to mark the stitching lines really lightly onto the fabric.
I almost always sew using marked stitch lines, but they are usually drawn onto the underlining fabric. Whenever I’m marking directly onto the fancy fabric, a light touch is the right touch!
Can you see my lines? (I have surprisingly good eyesight…)
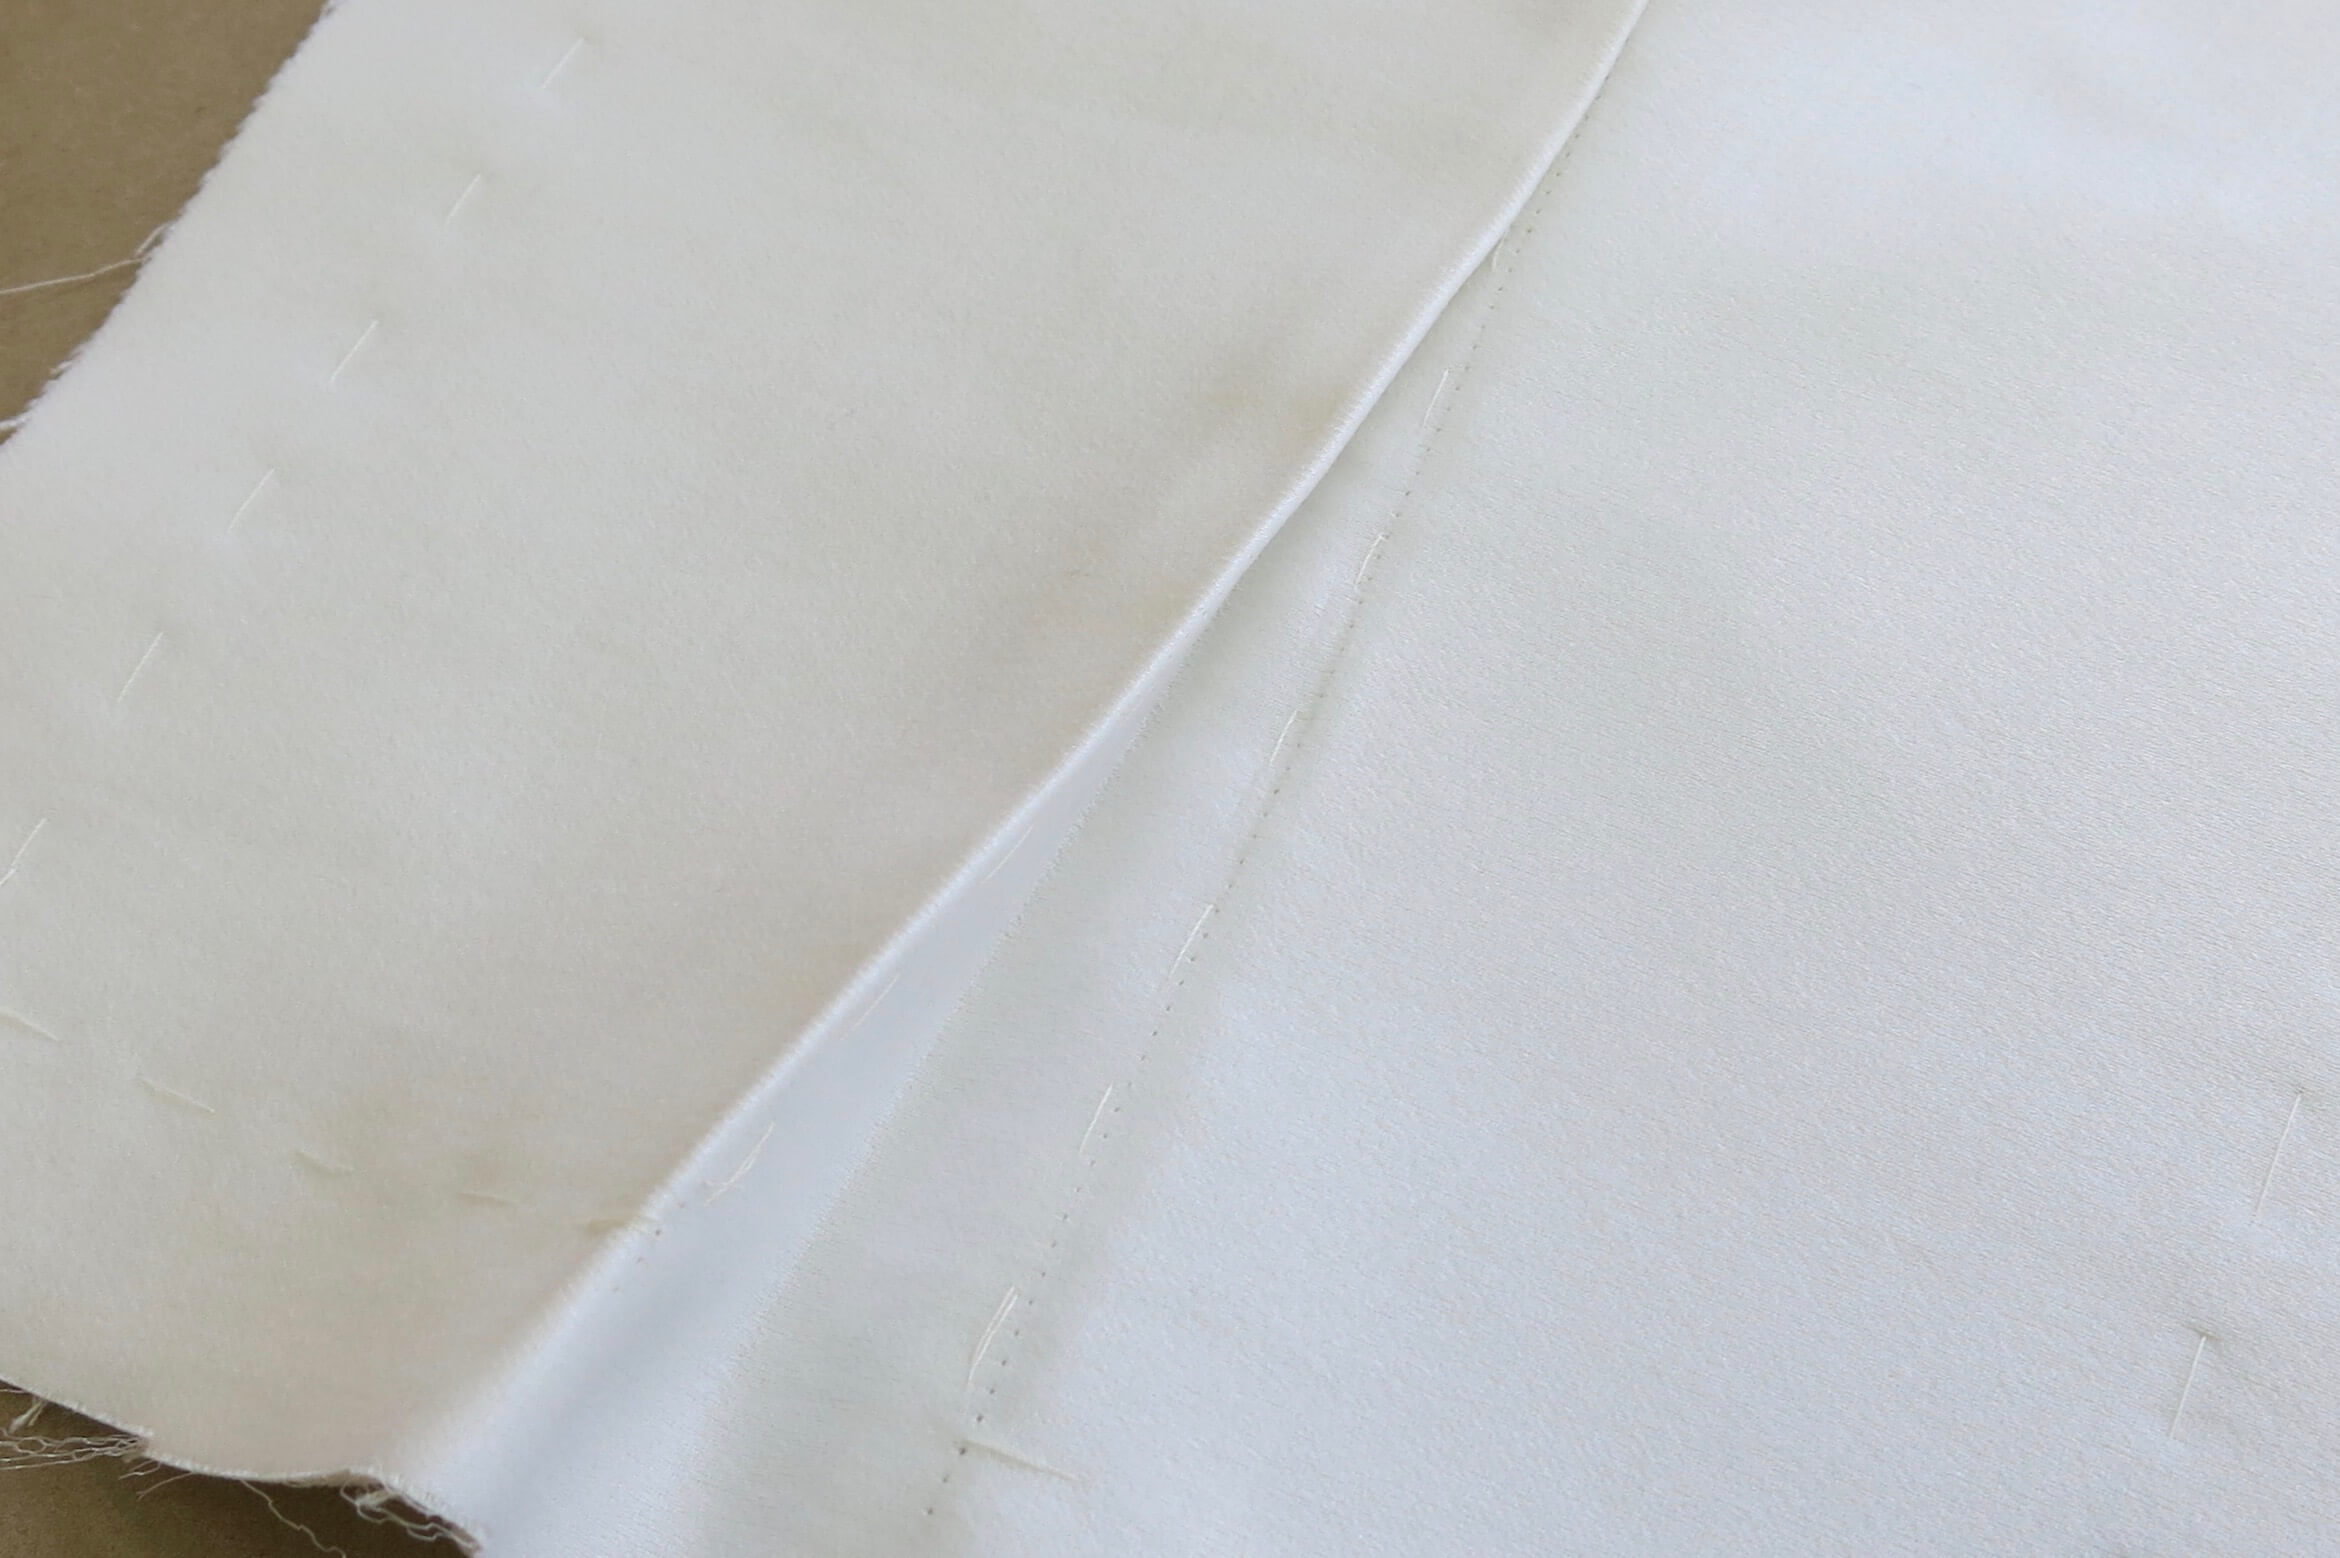
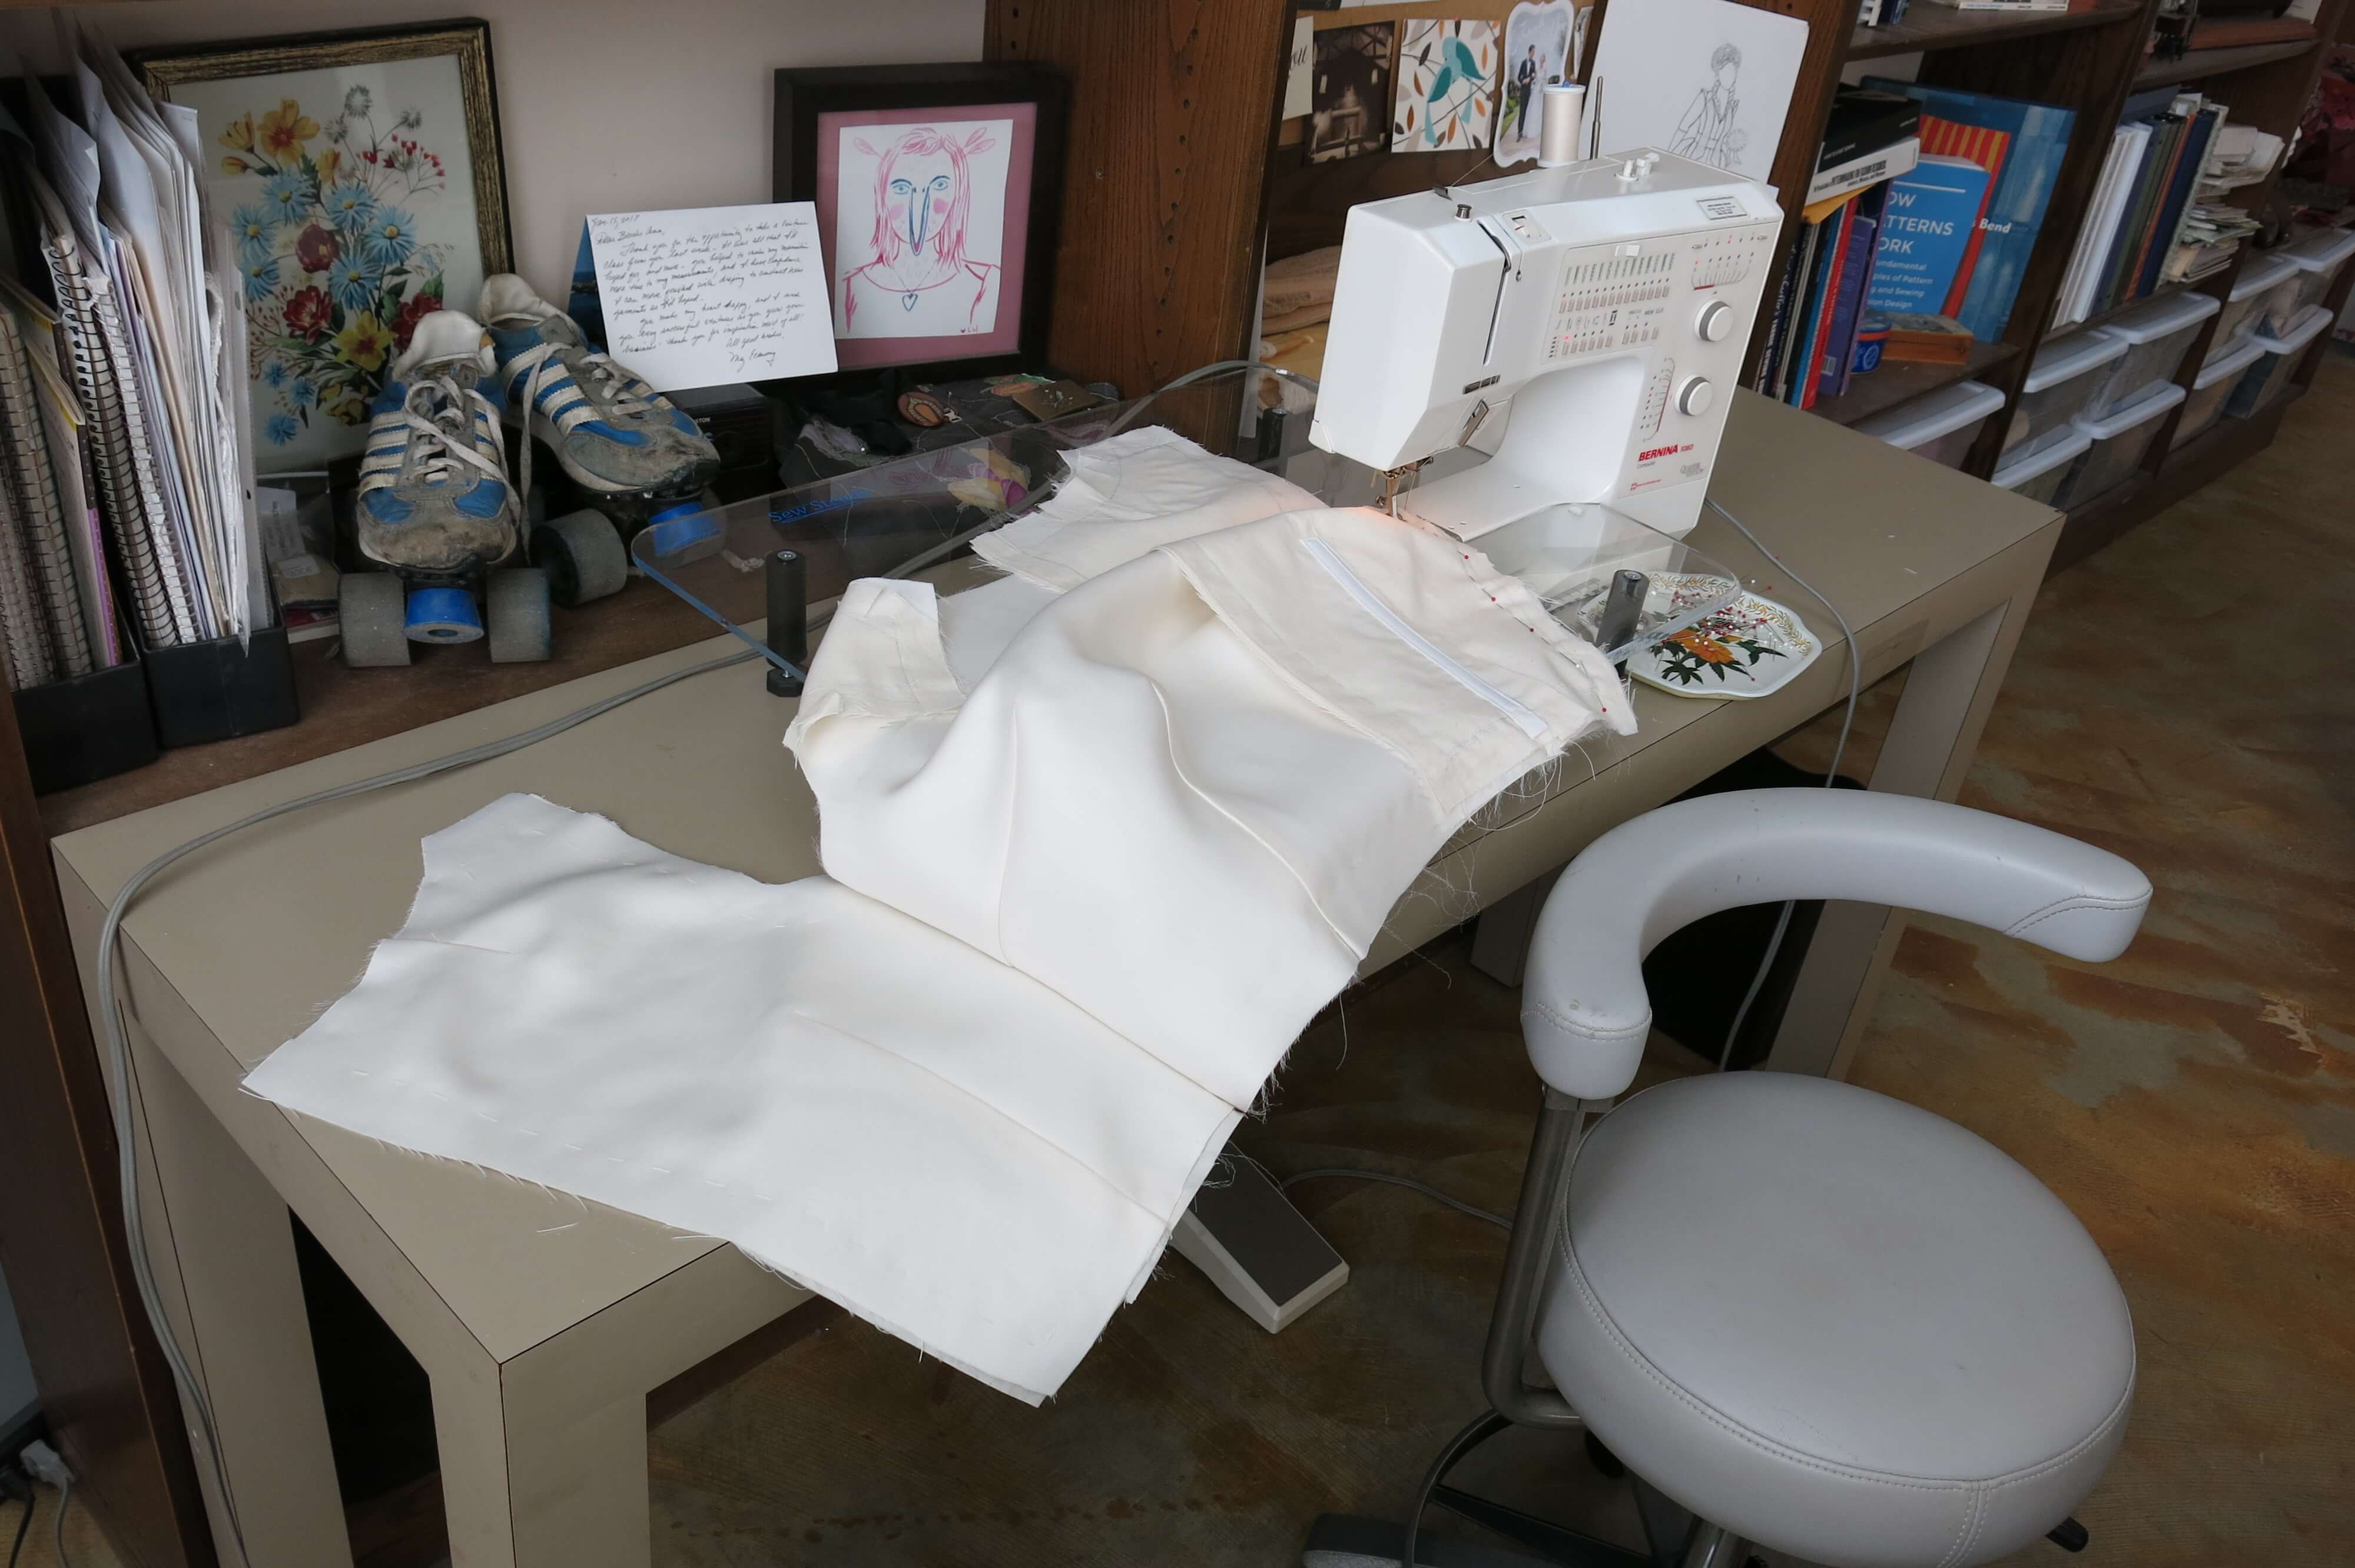
Next, I pinned the waist dart and the little shoulder dart…
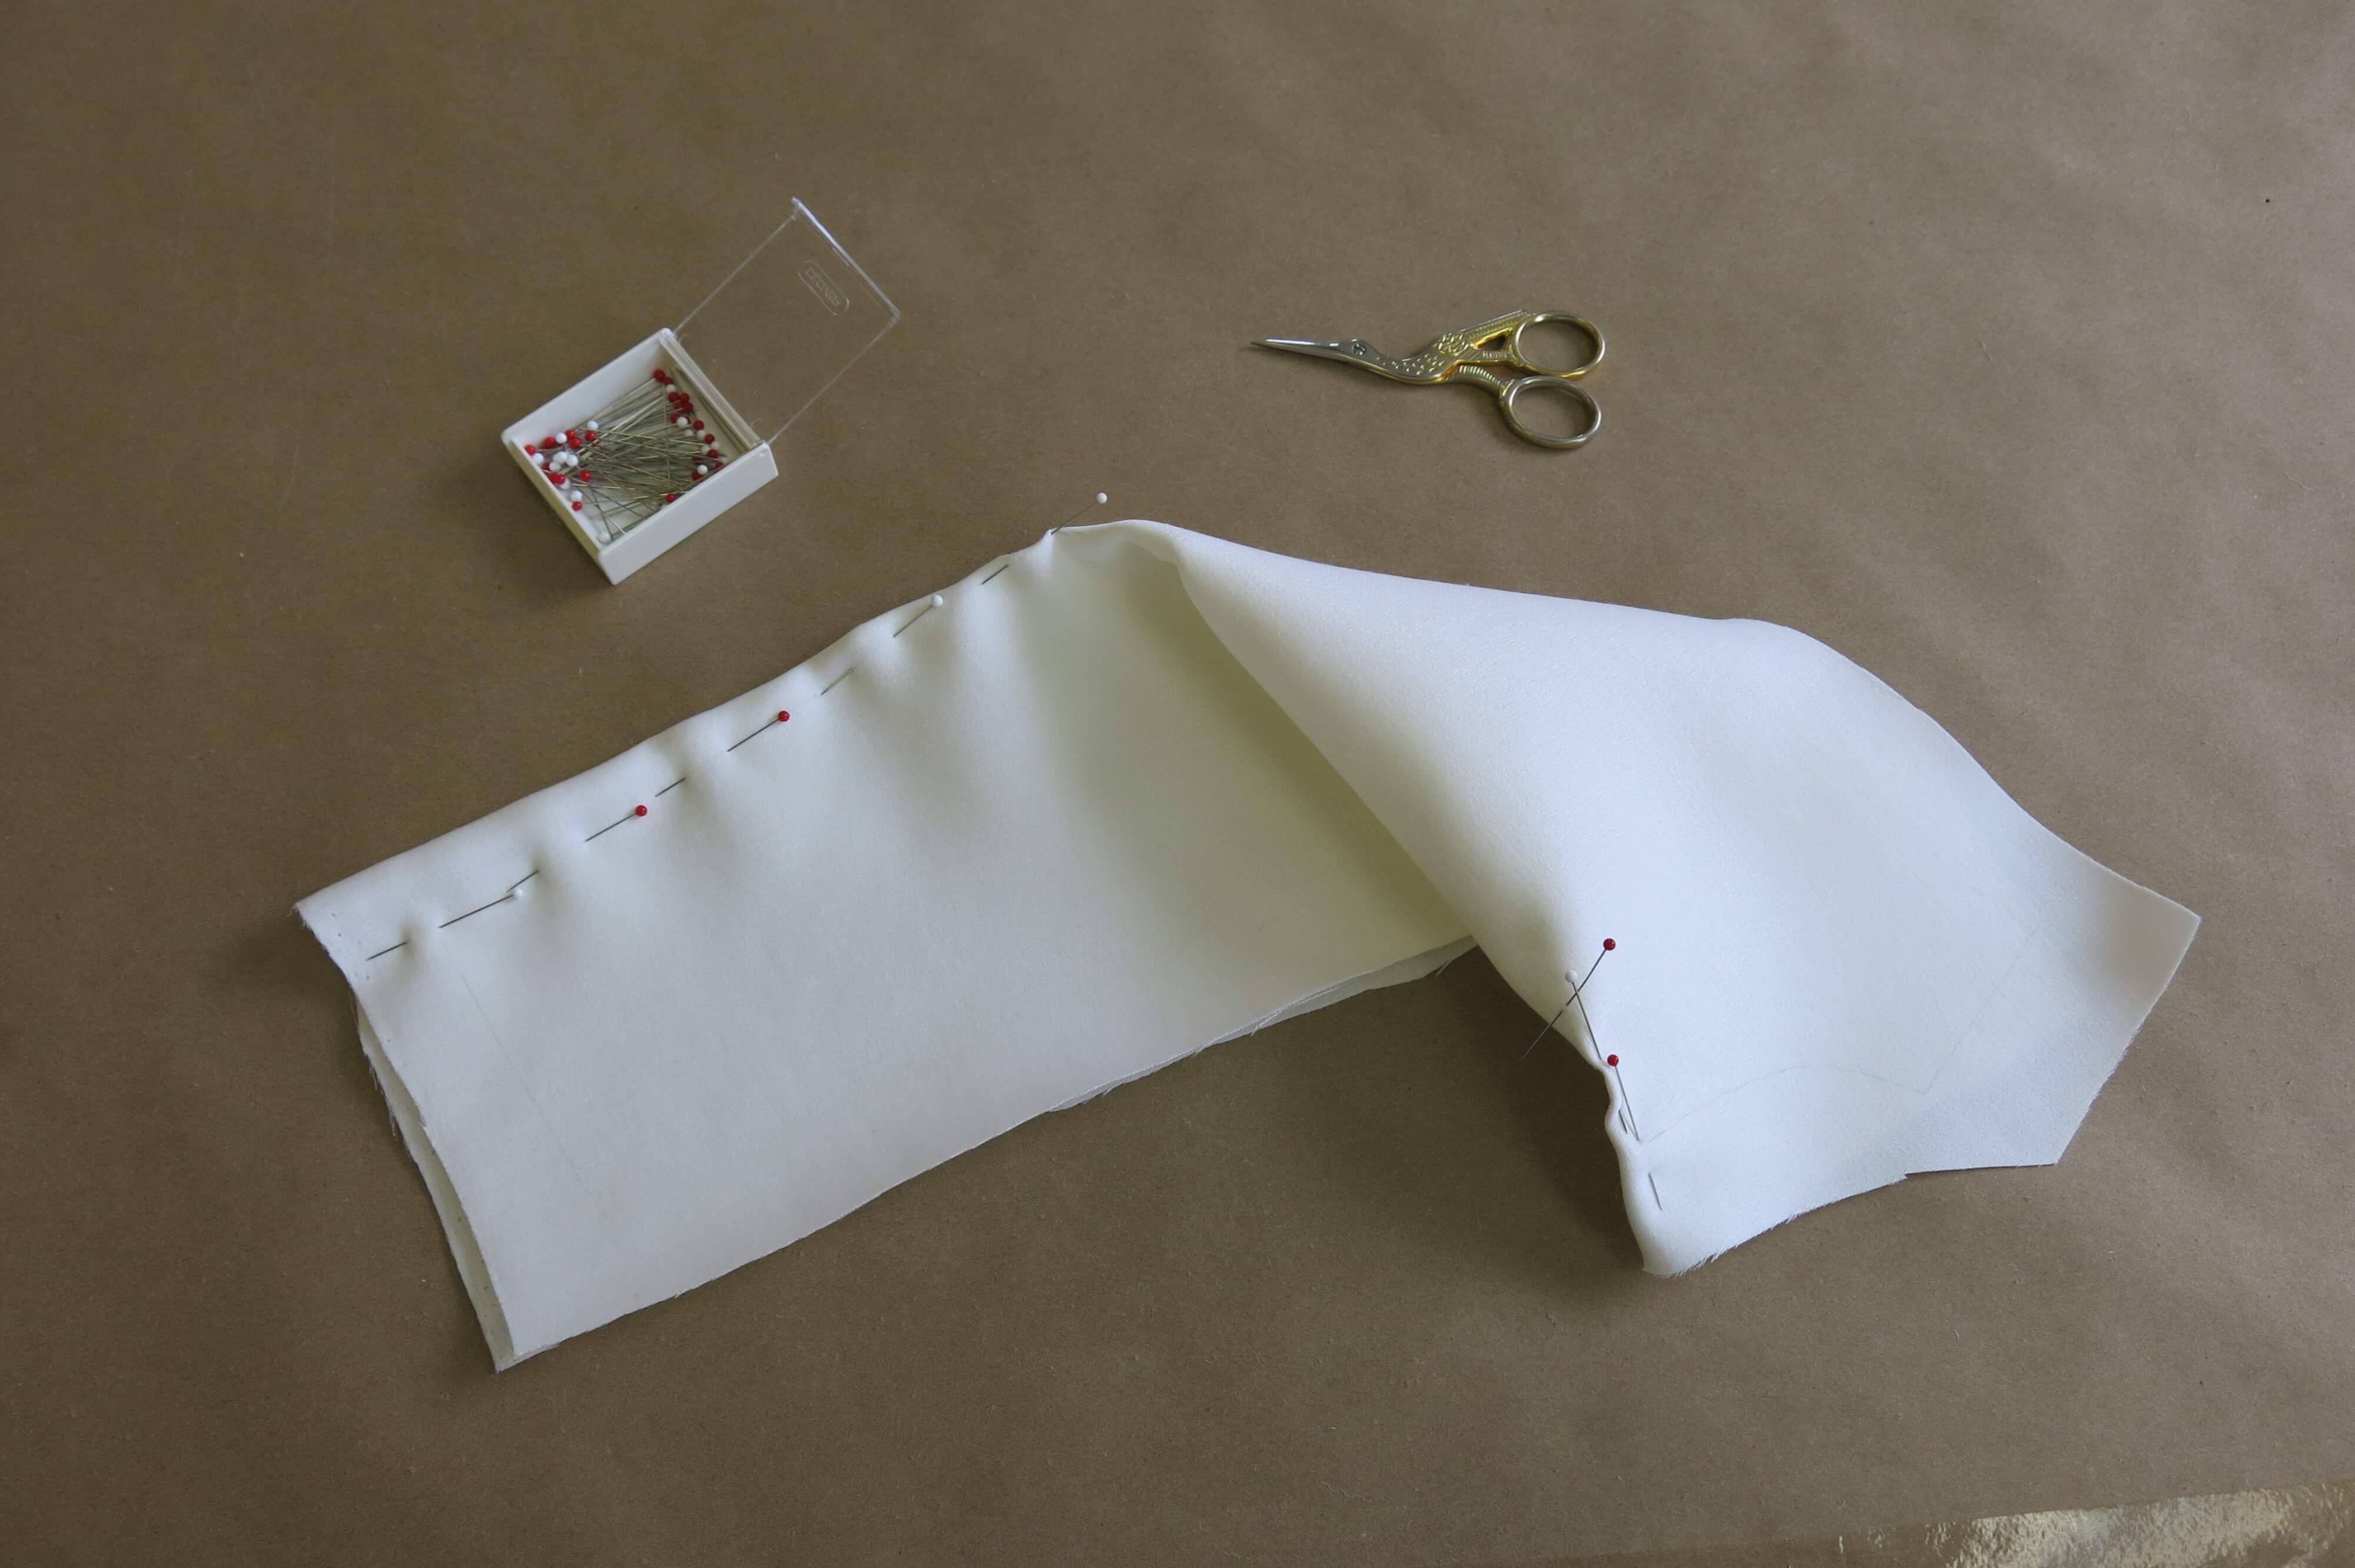
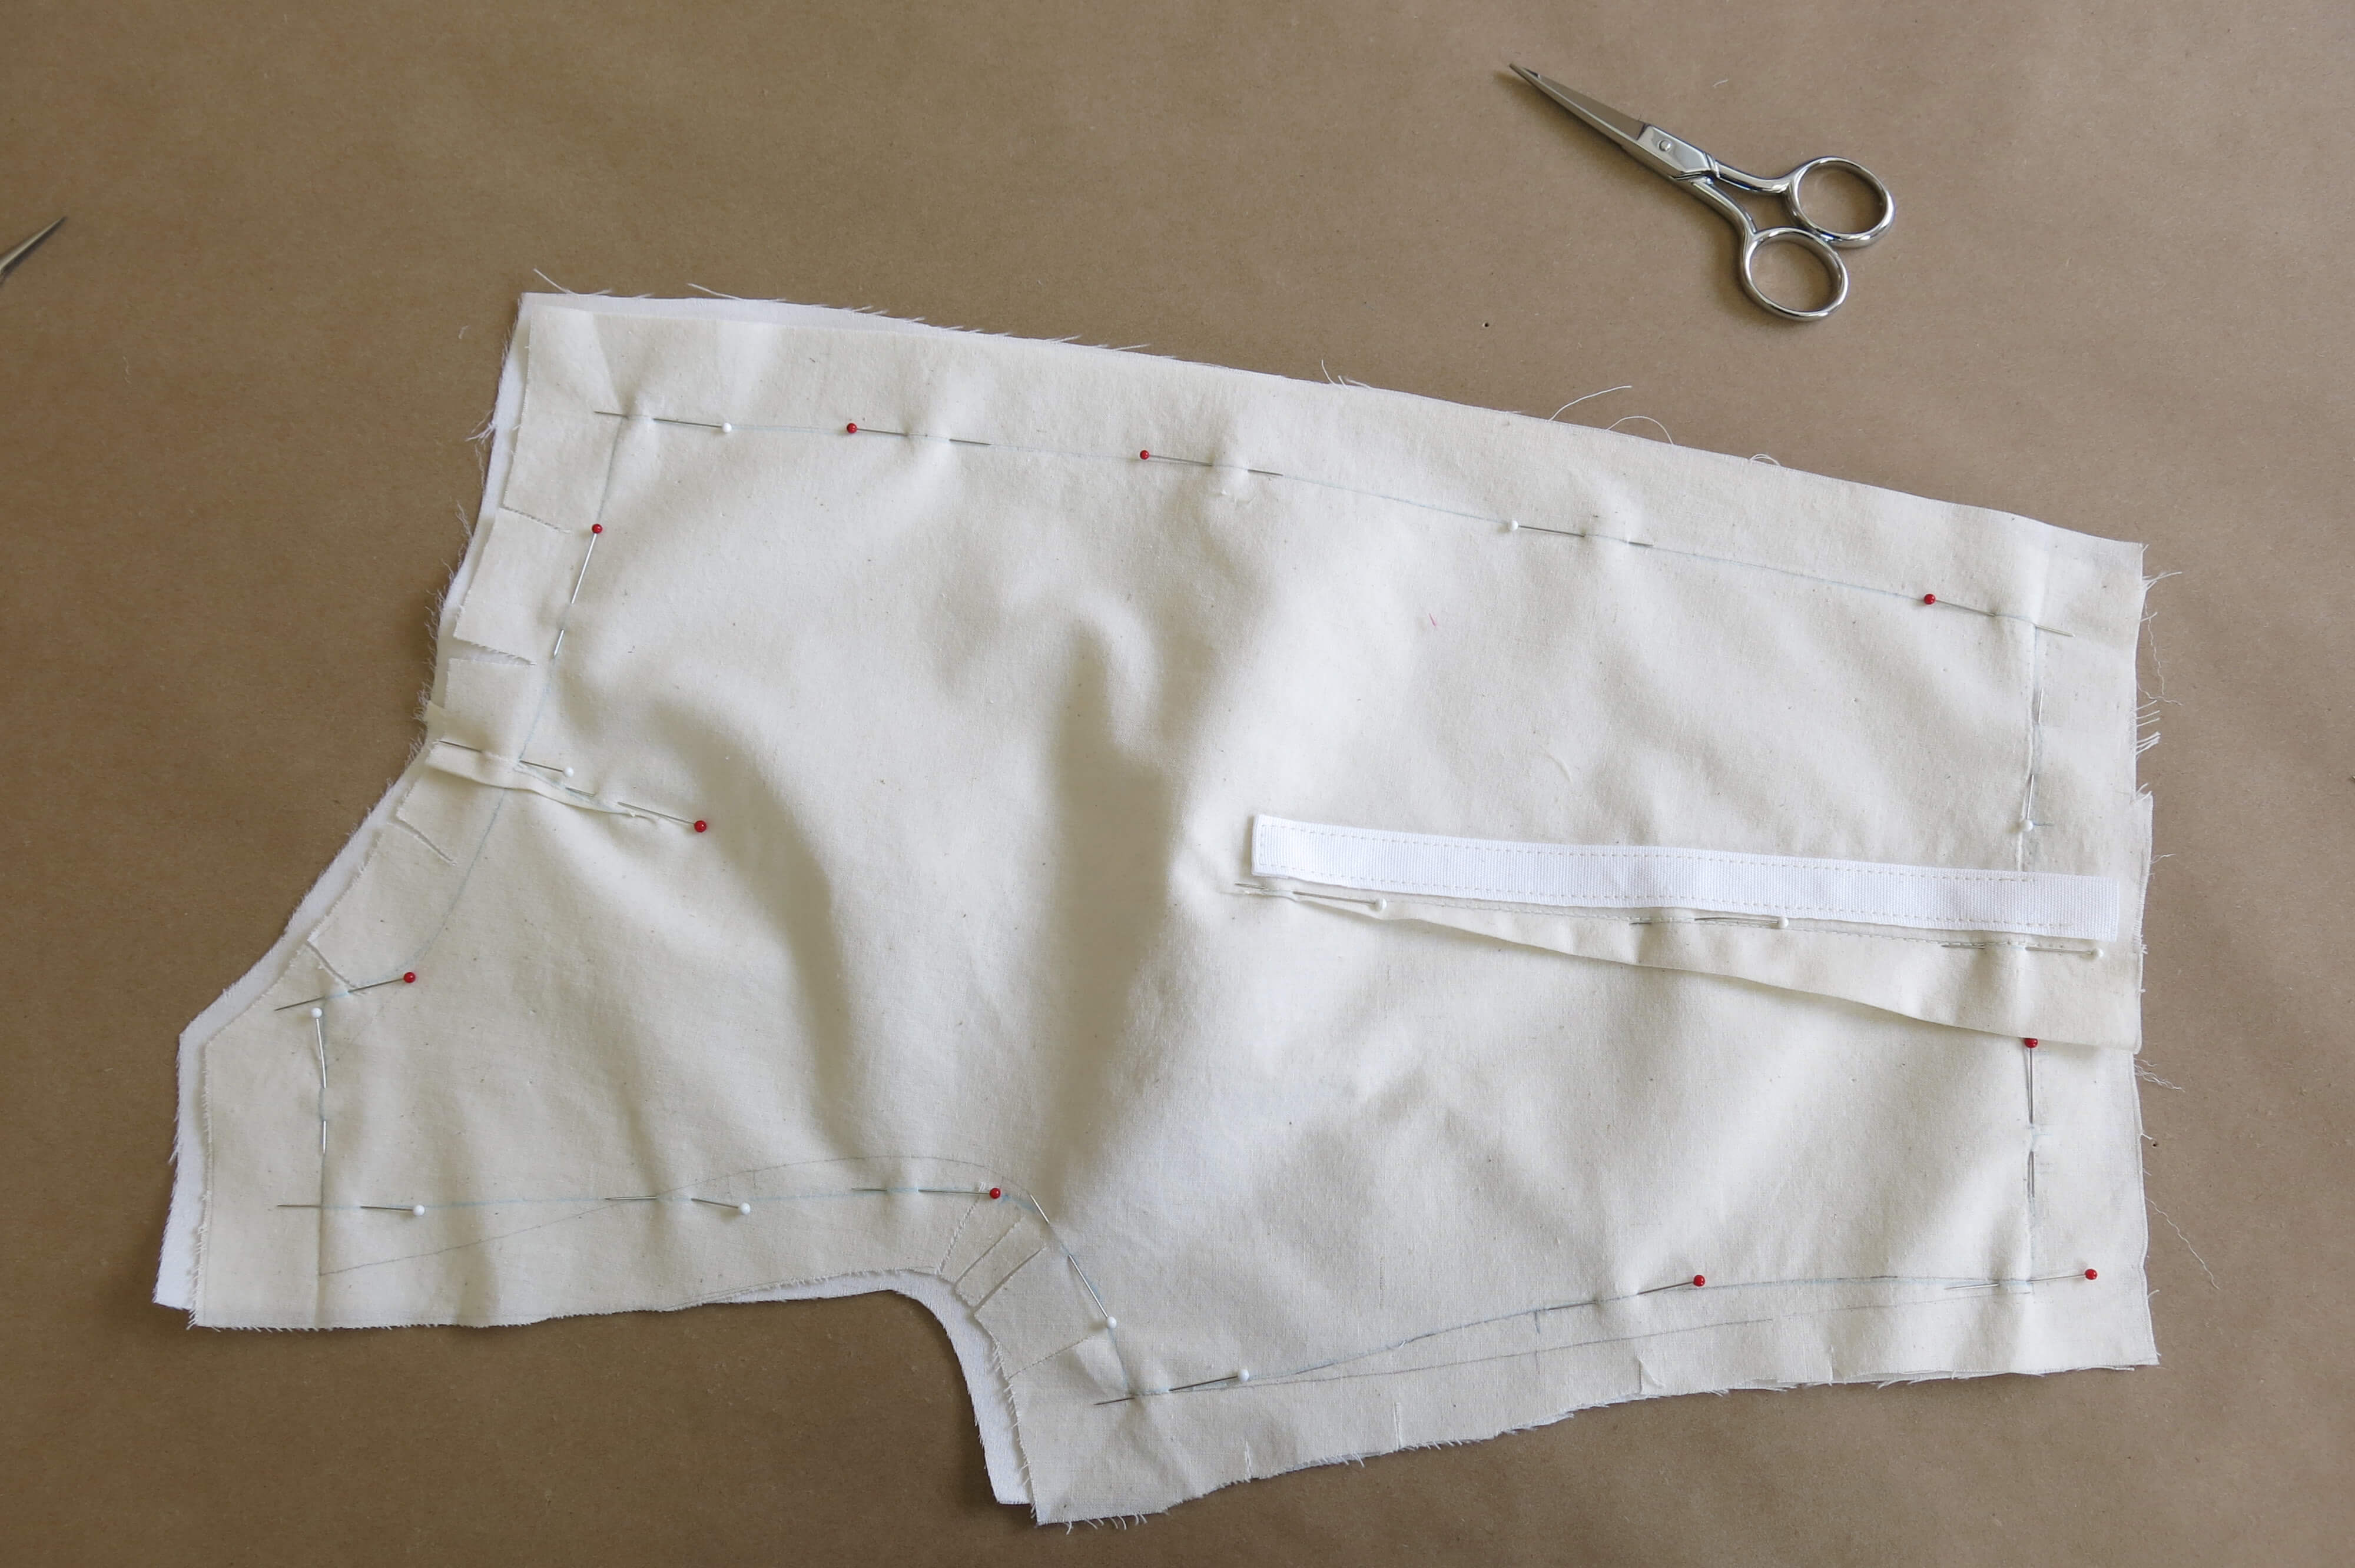
…and stitched them up on the machine with a permanent stitch…
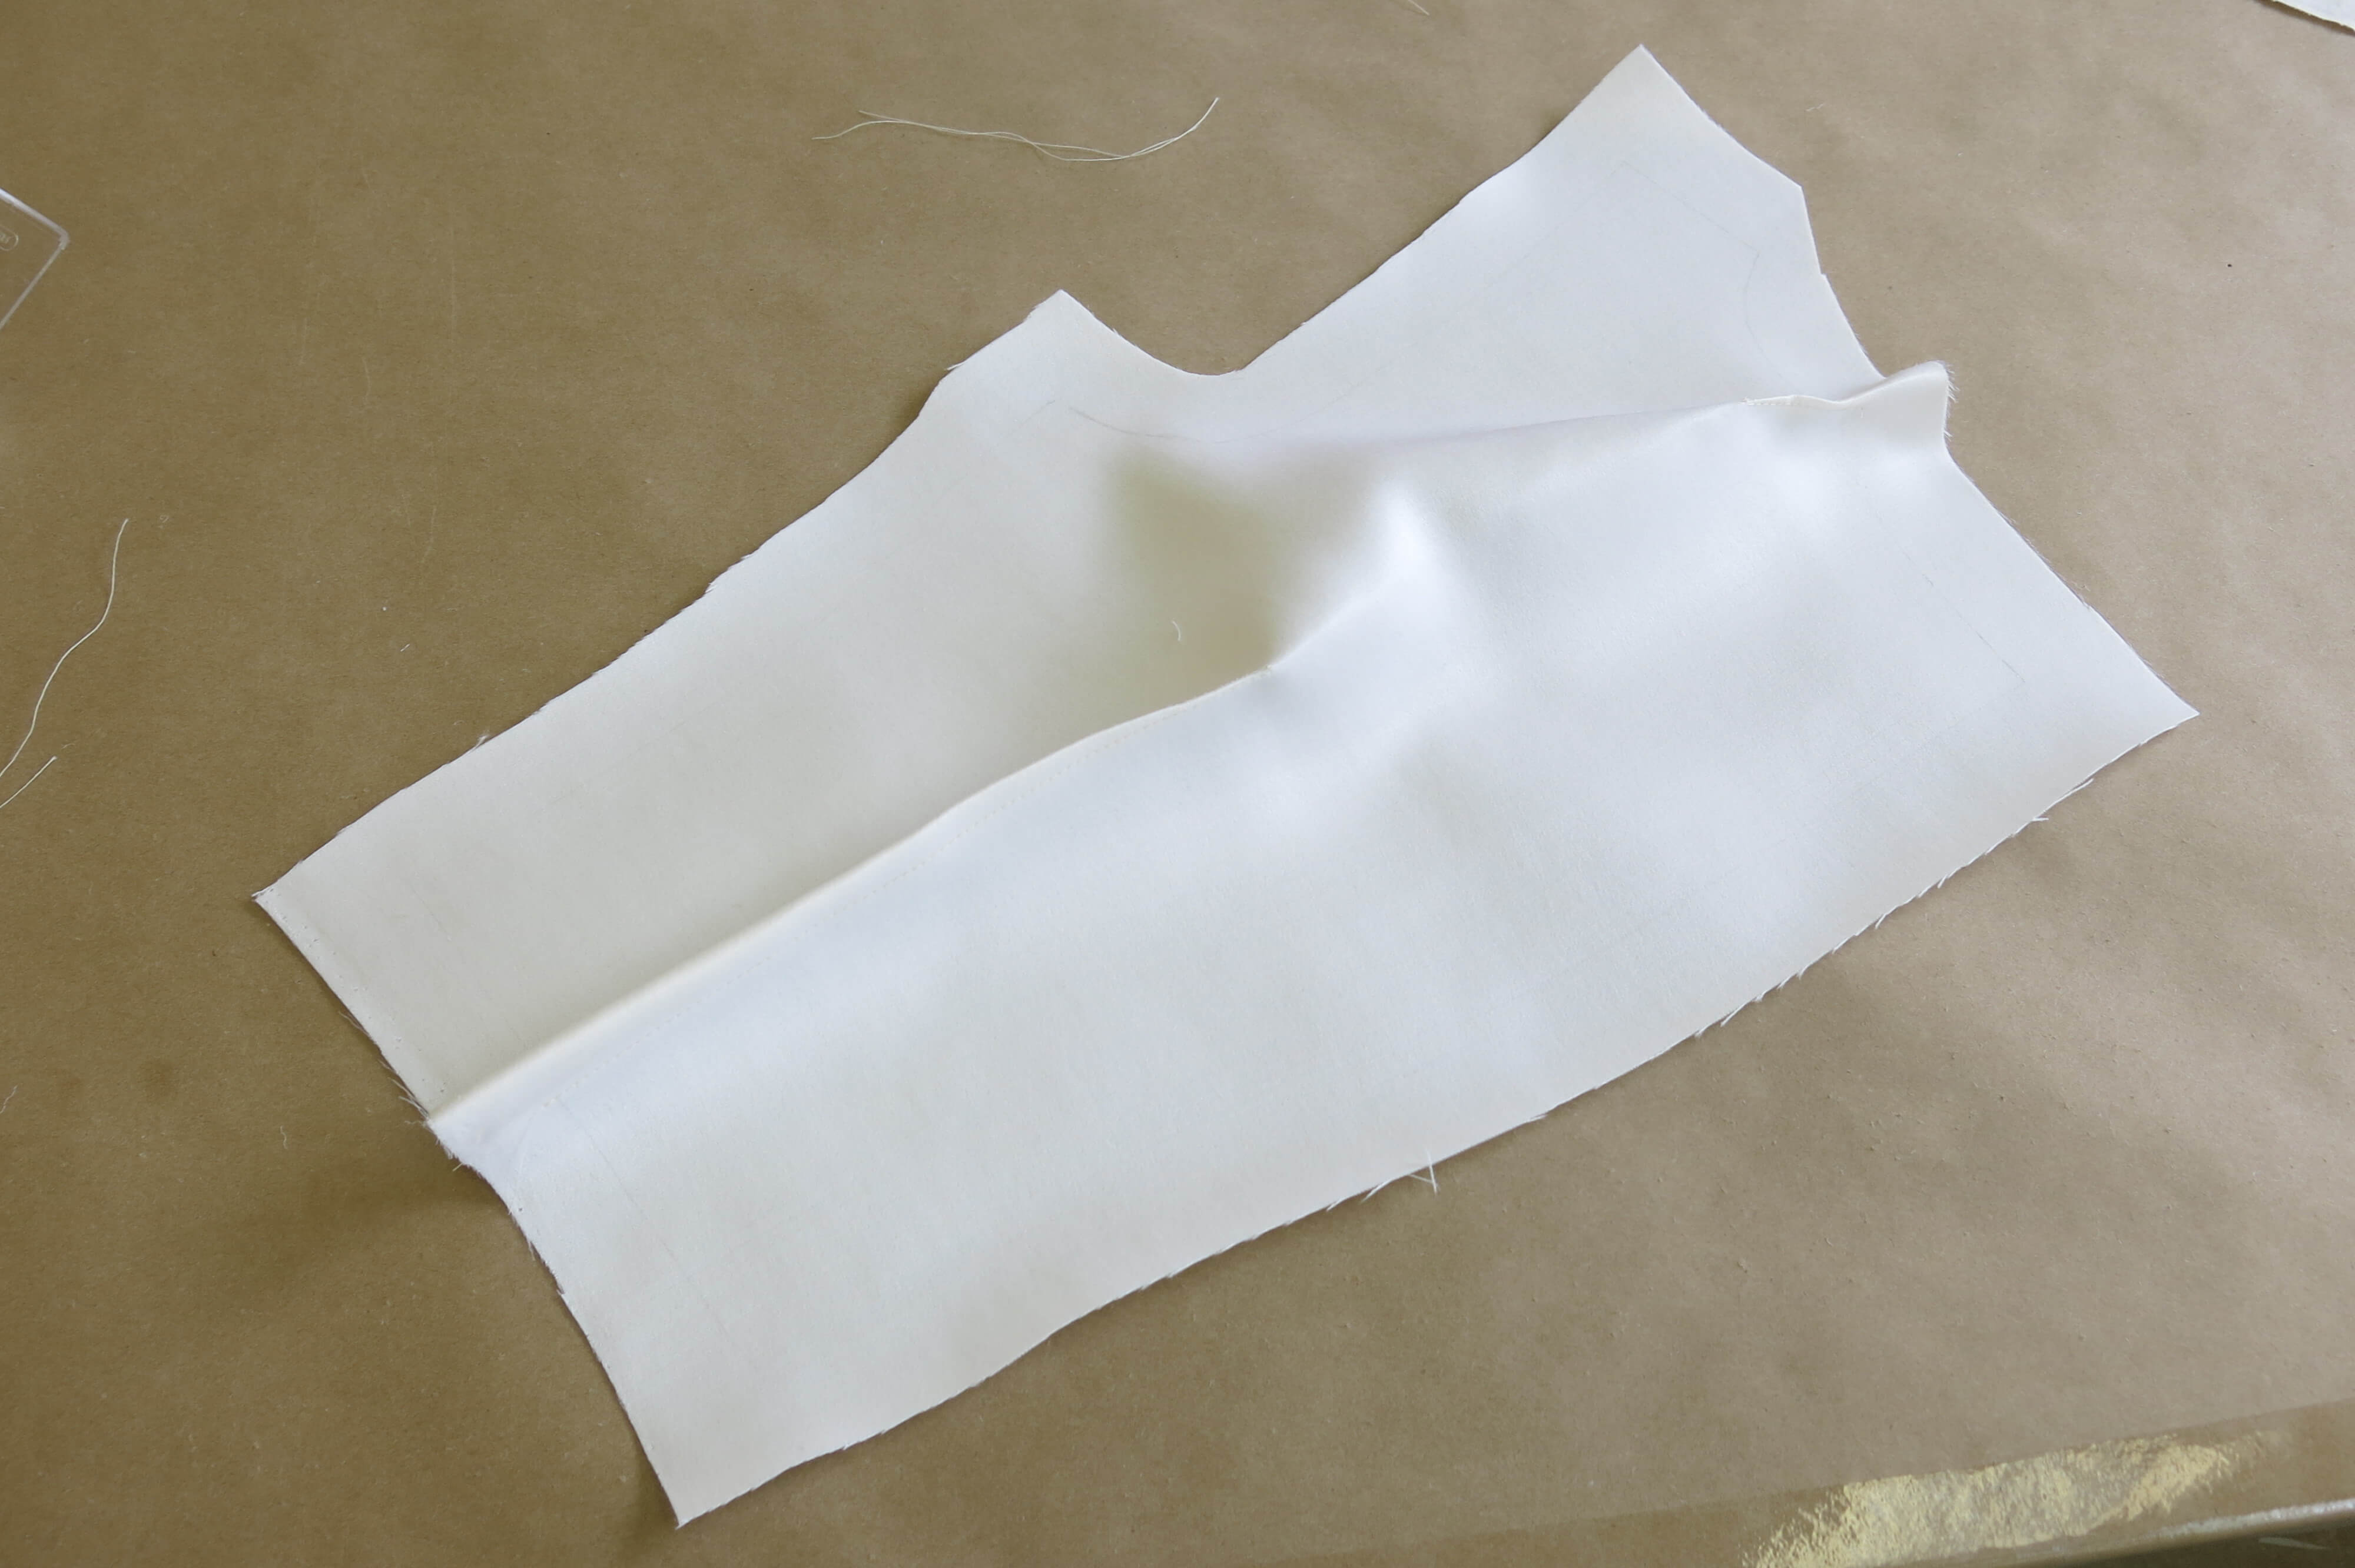
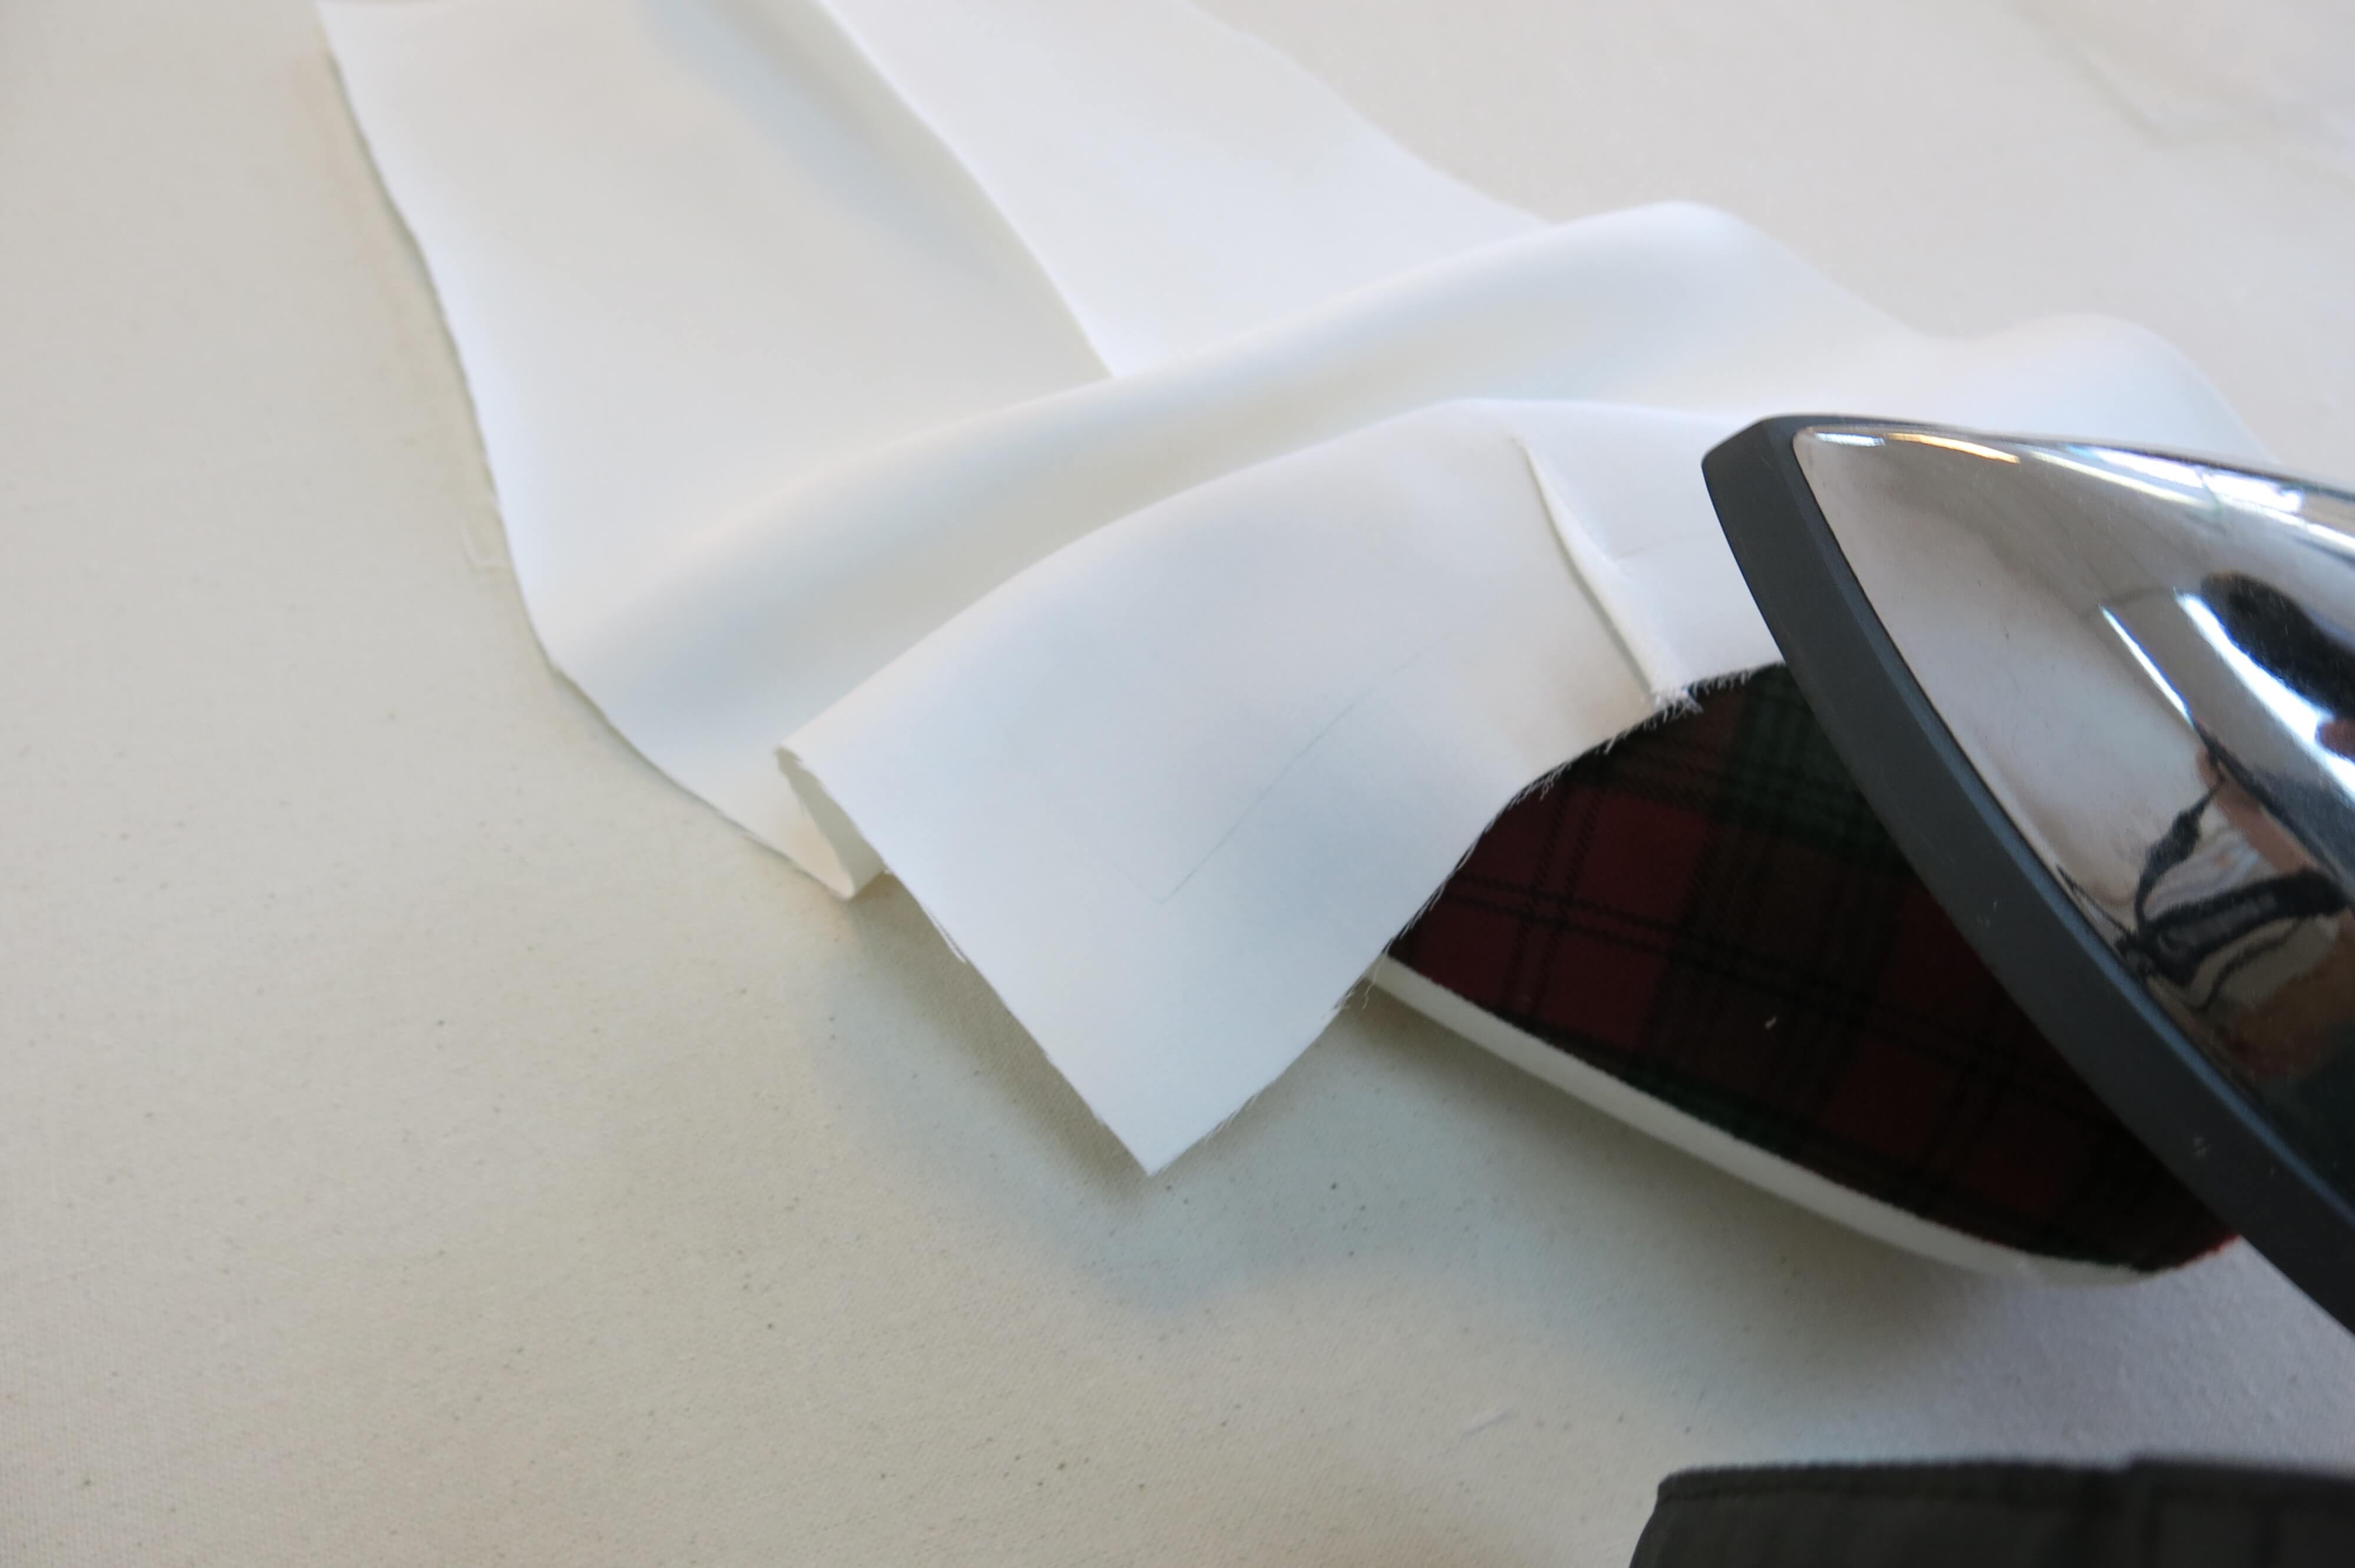
…before pressing them toward the center.
So far, so good!
Next, I trimmed each side of the dart’s bulk at a slightly different length. This would hopefully create a smooth transition without any distinct bumps.

So… now I needed to add the underlining back inside, and while I was at it, I needed to add the forgotten bone casings. Each waist dart and side seam would have one sprung steel bone added for light structure.
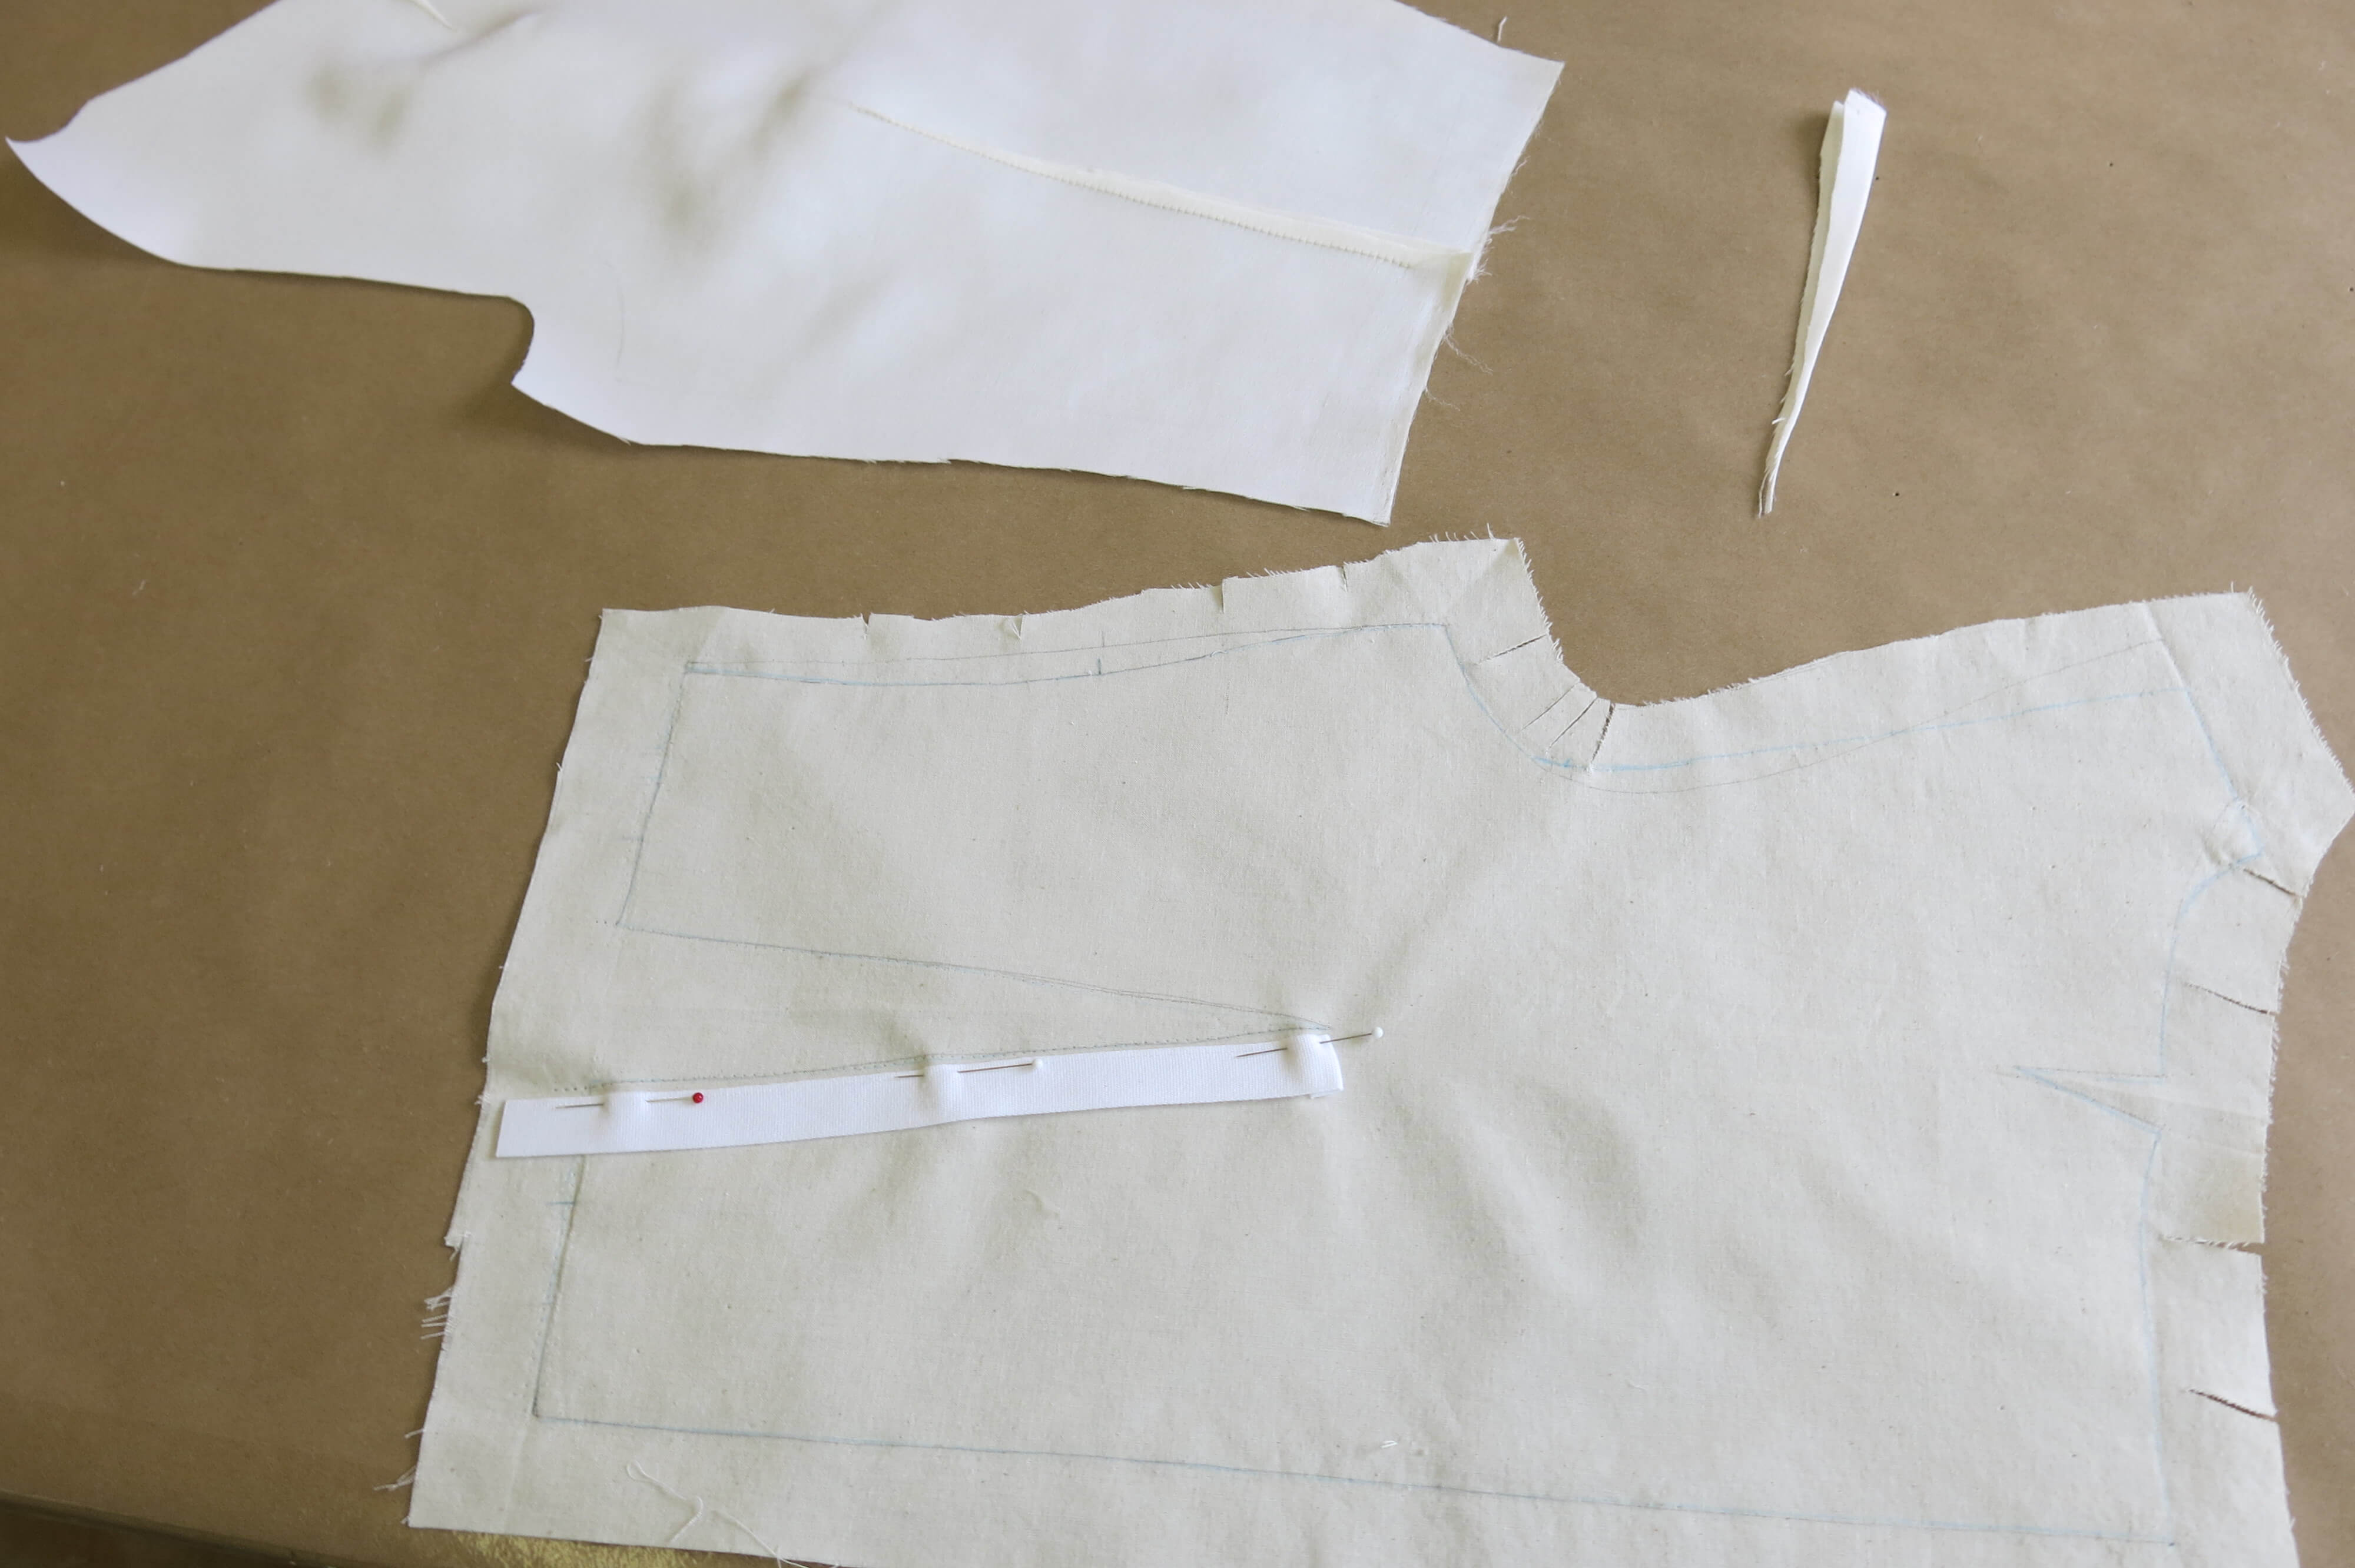
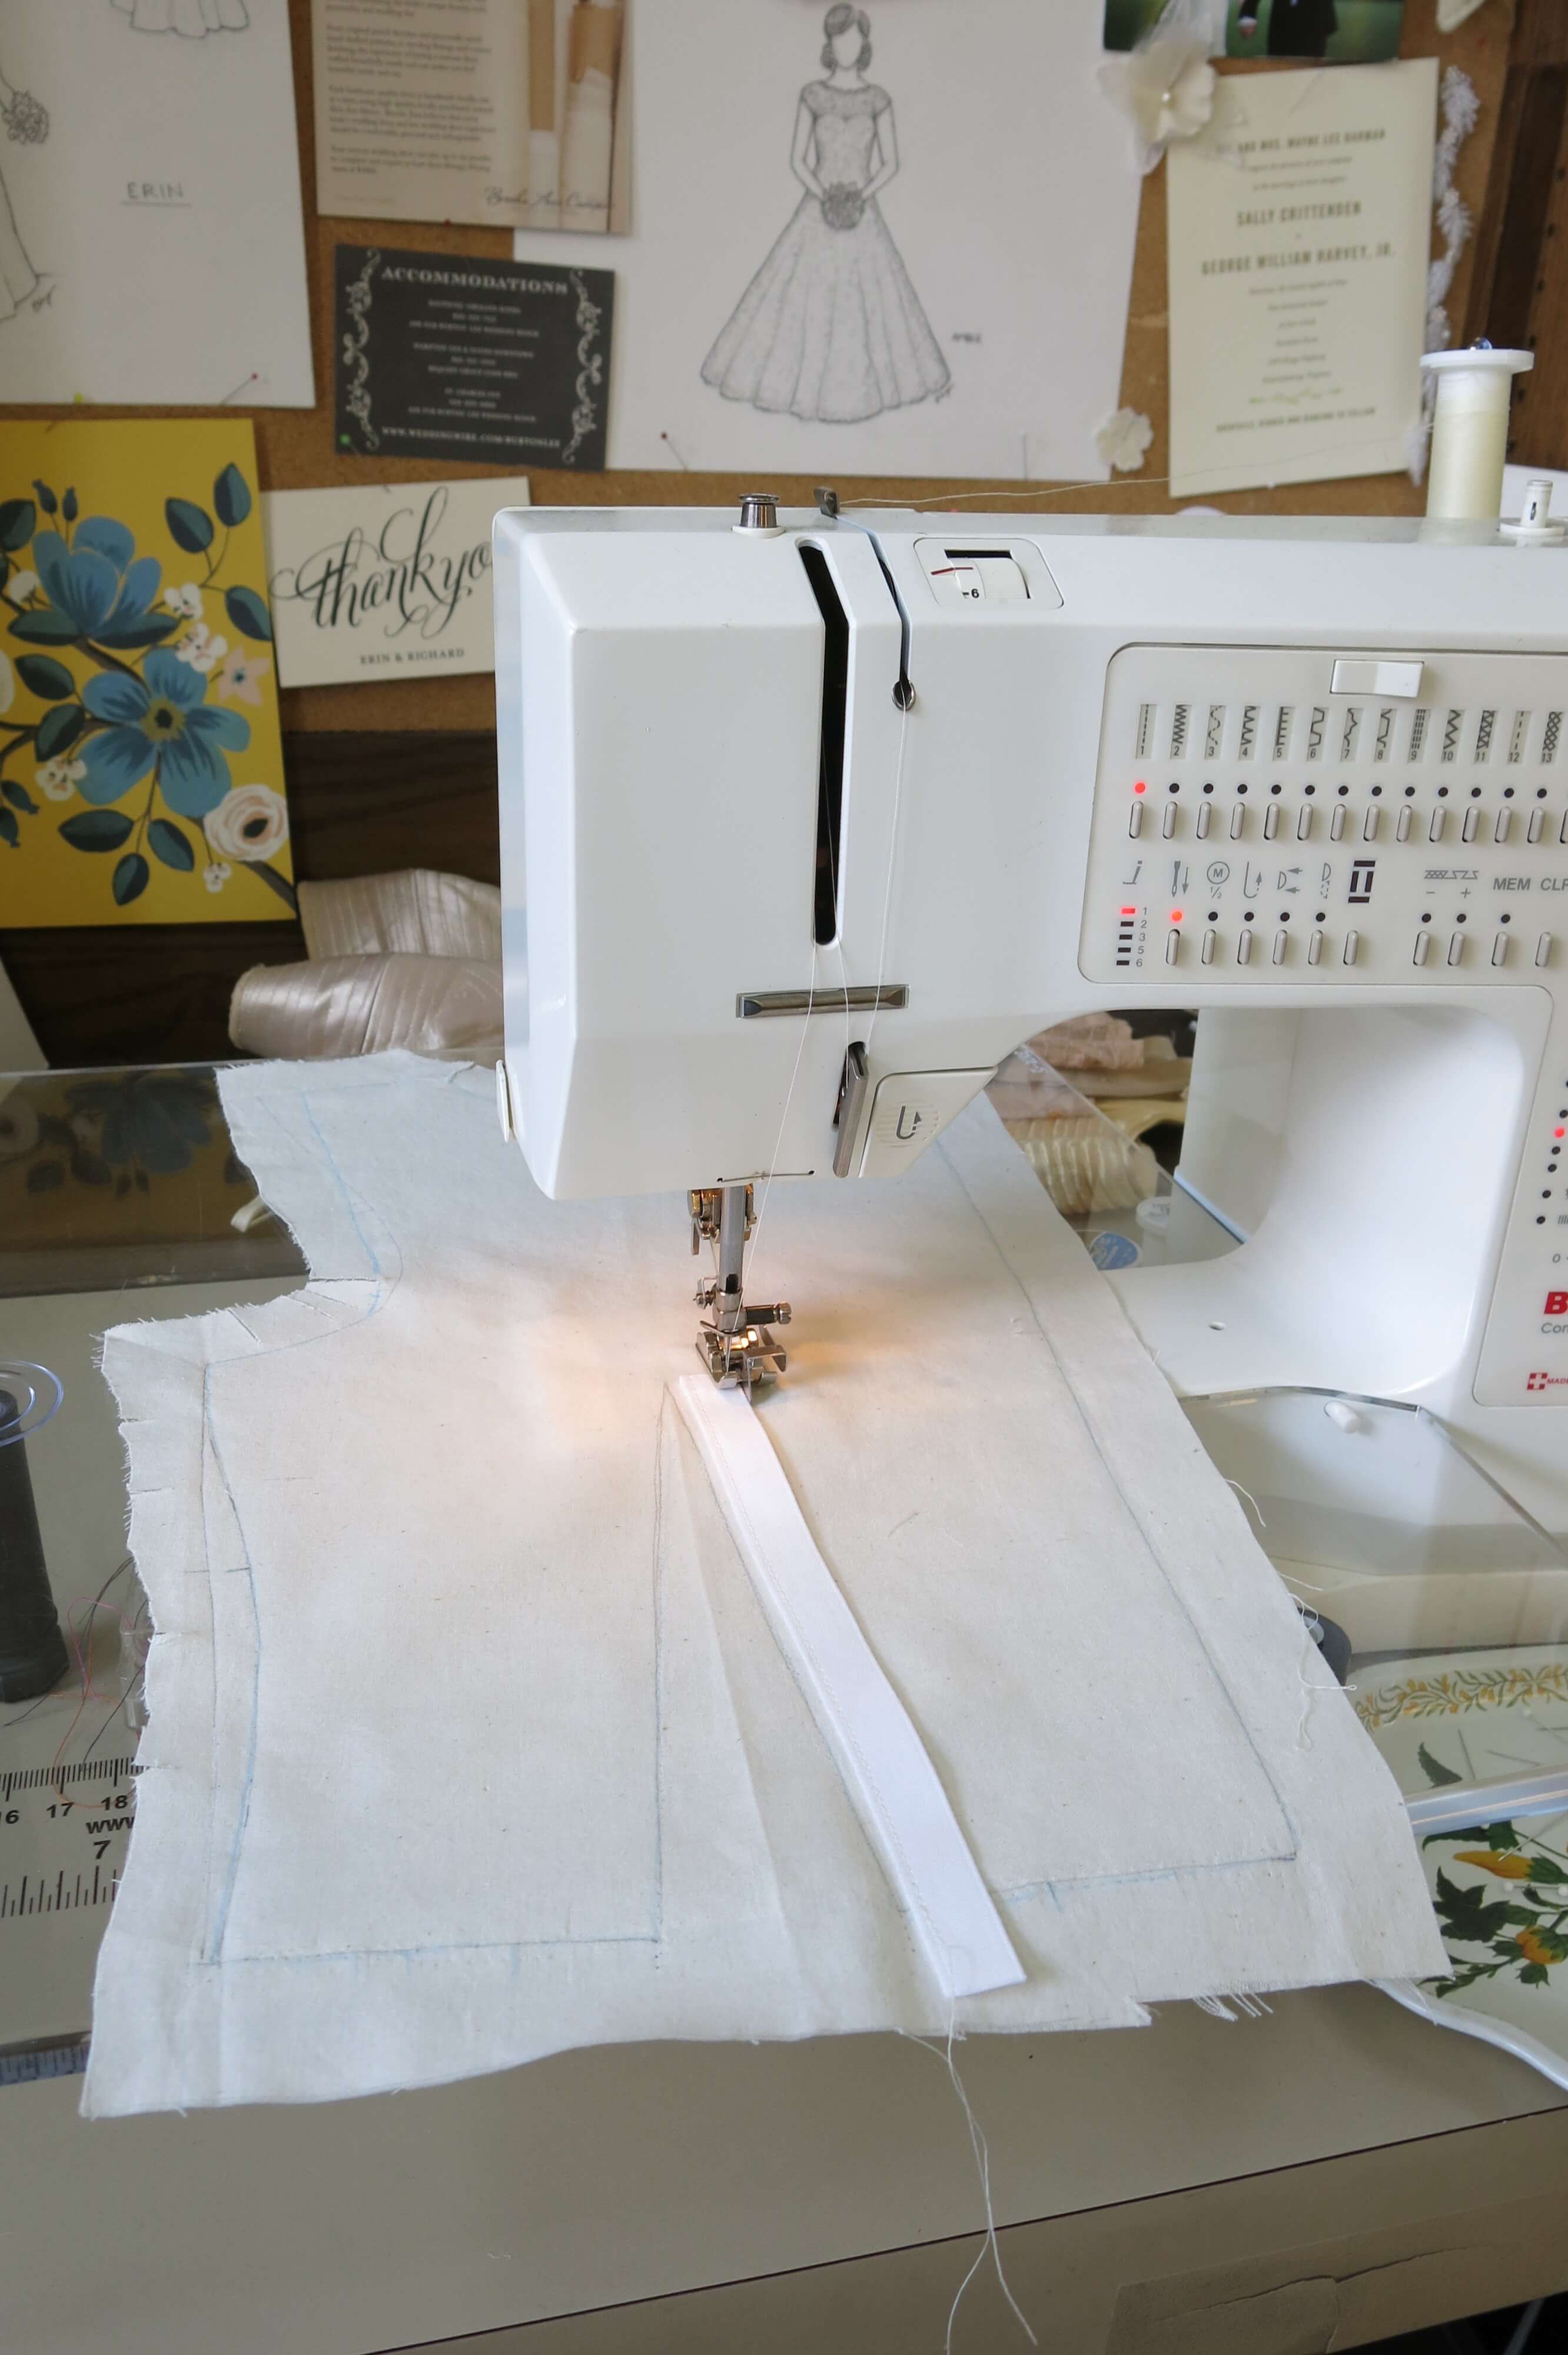
I machine stitched the casing to the underlining layer only, which means the stitches would remain completely hidden.
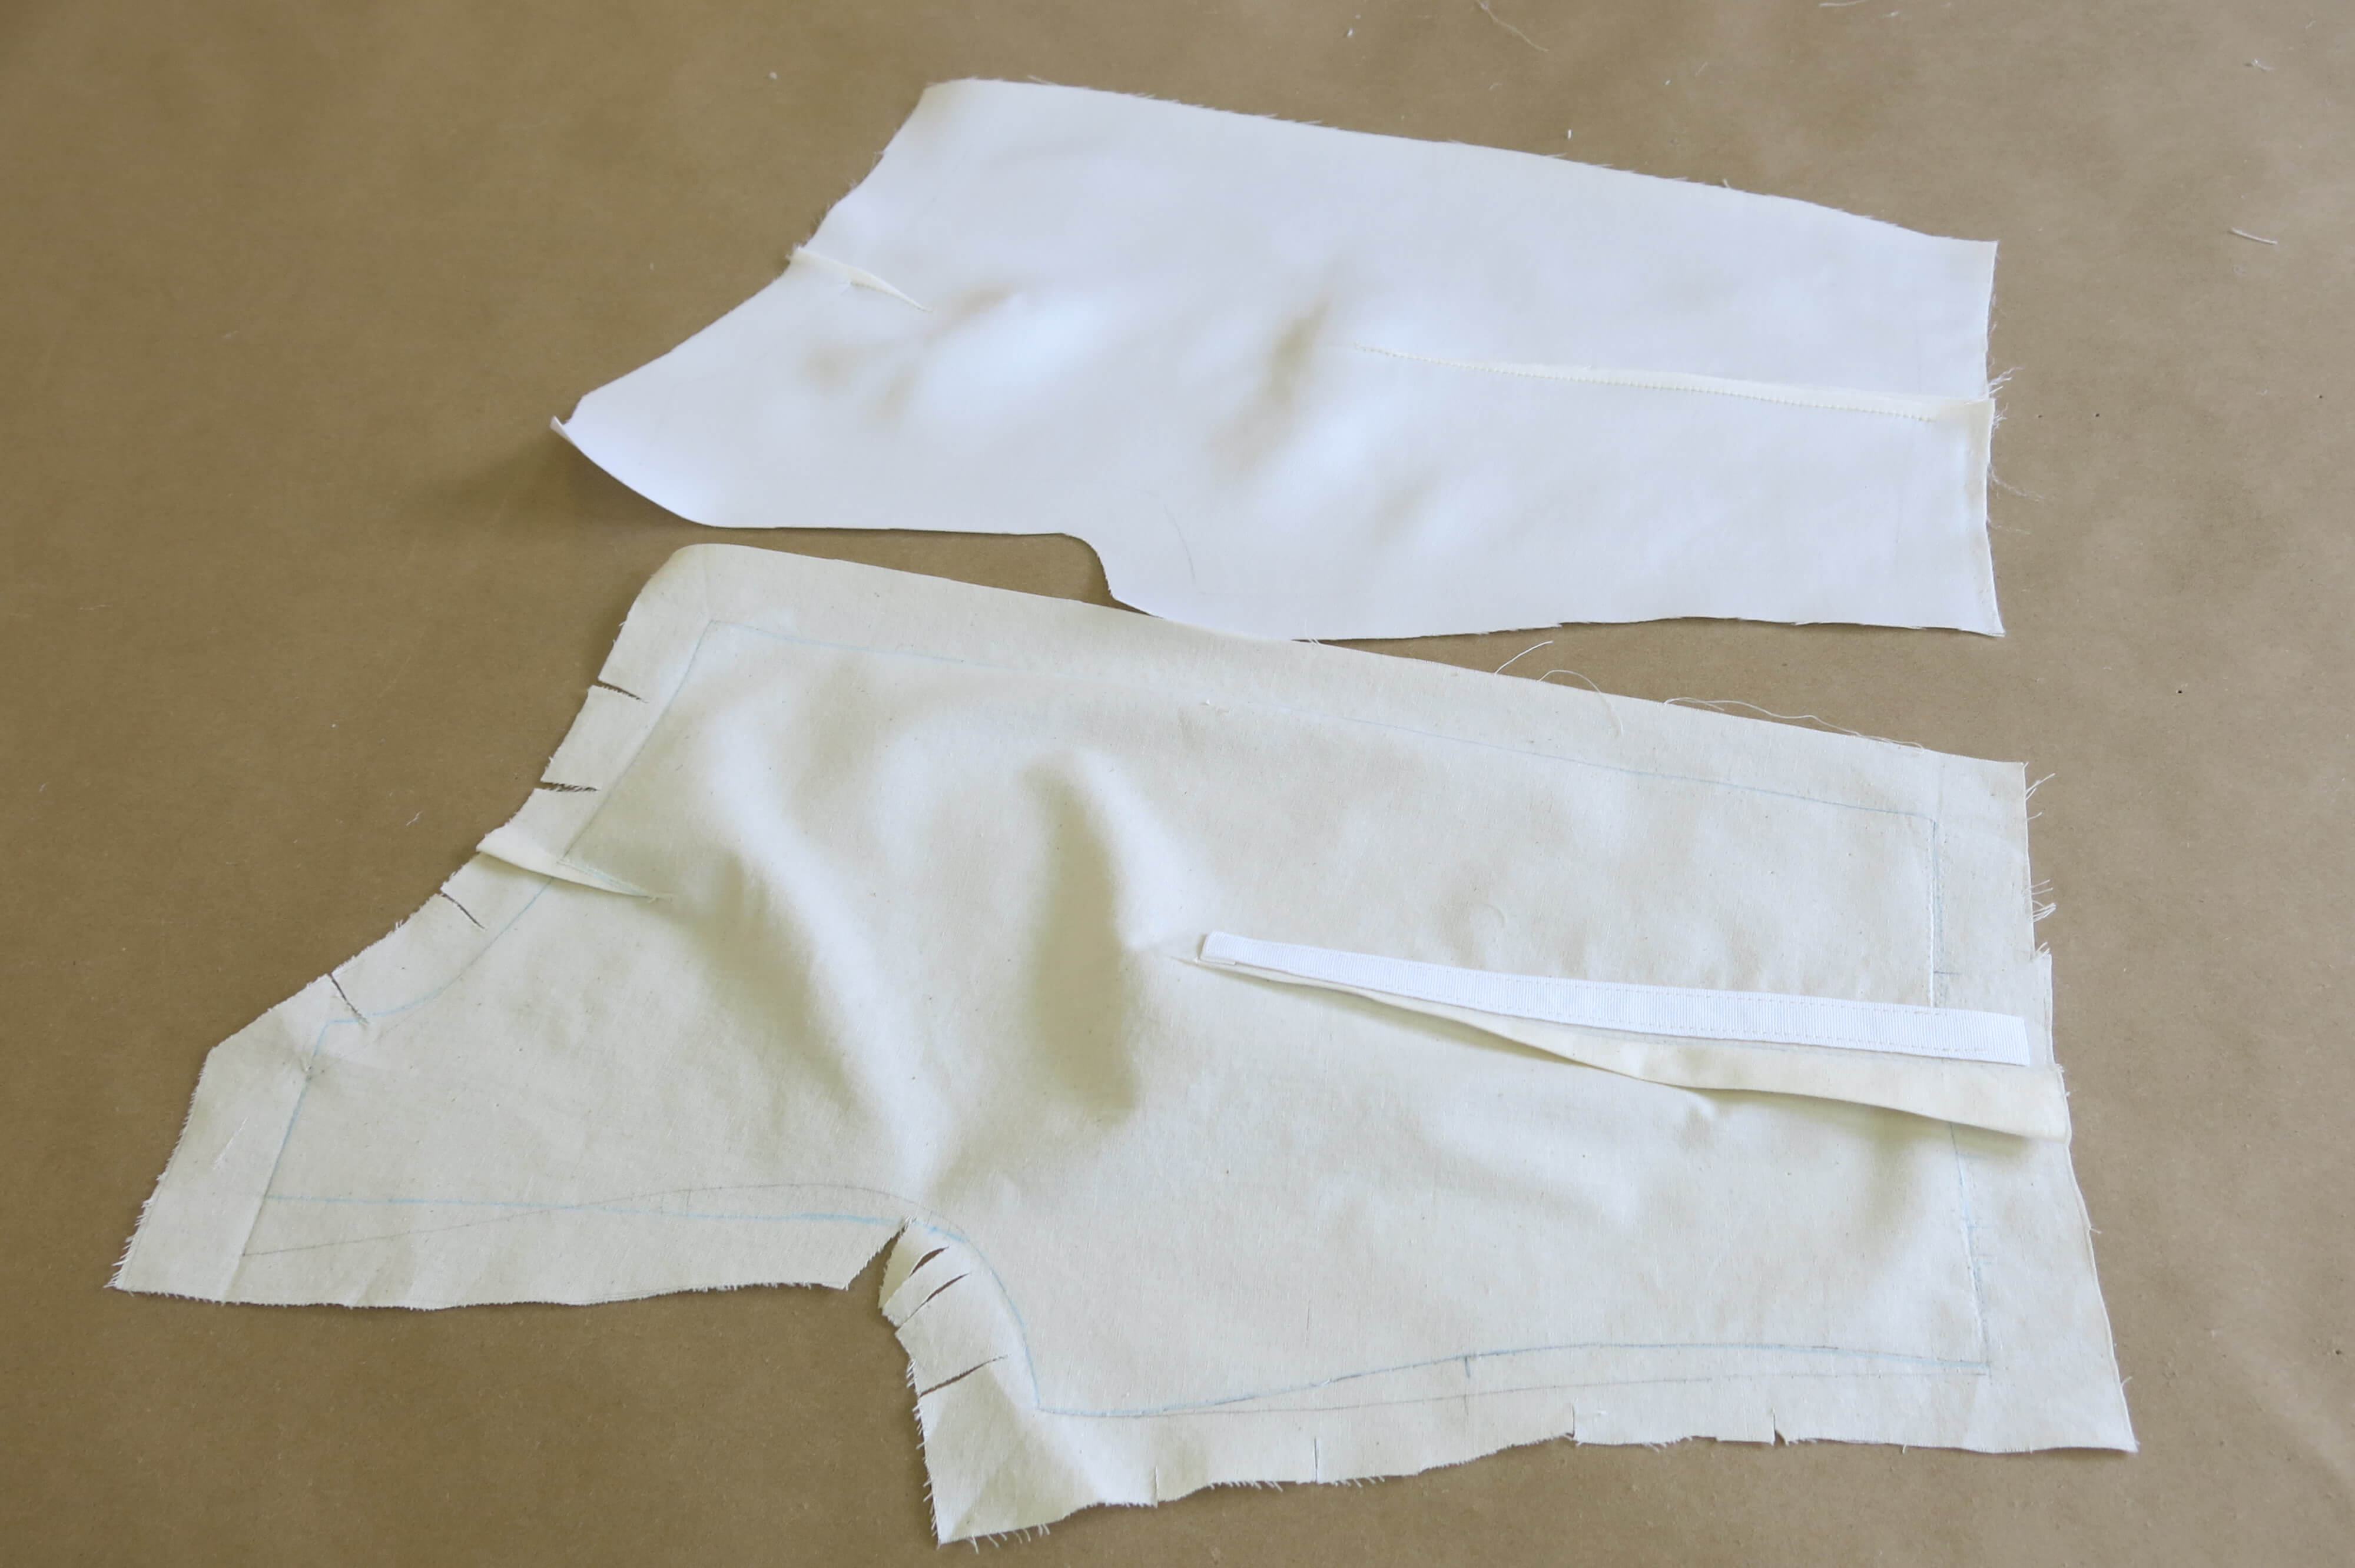
Then, I stitched the darts of the underlining layer and pressed them in the opposite direction of the fancy fabric darts.
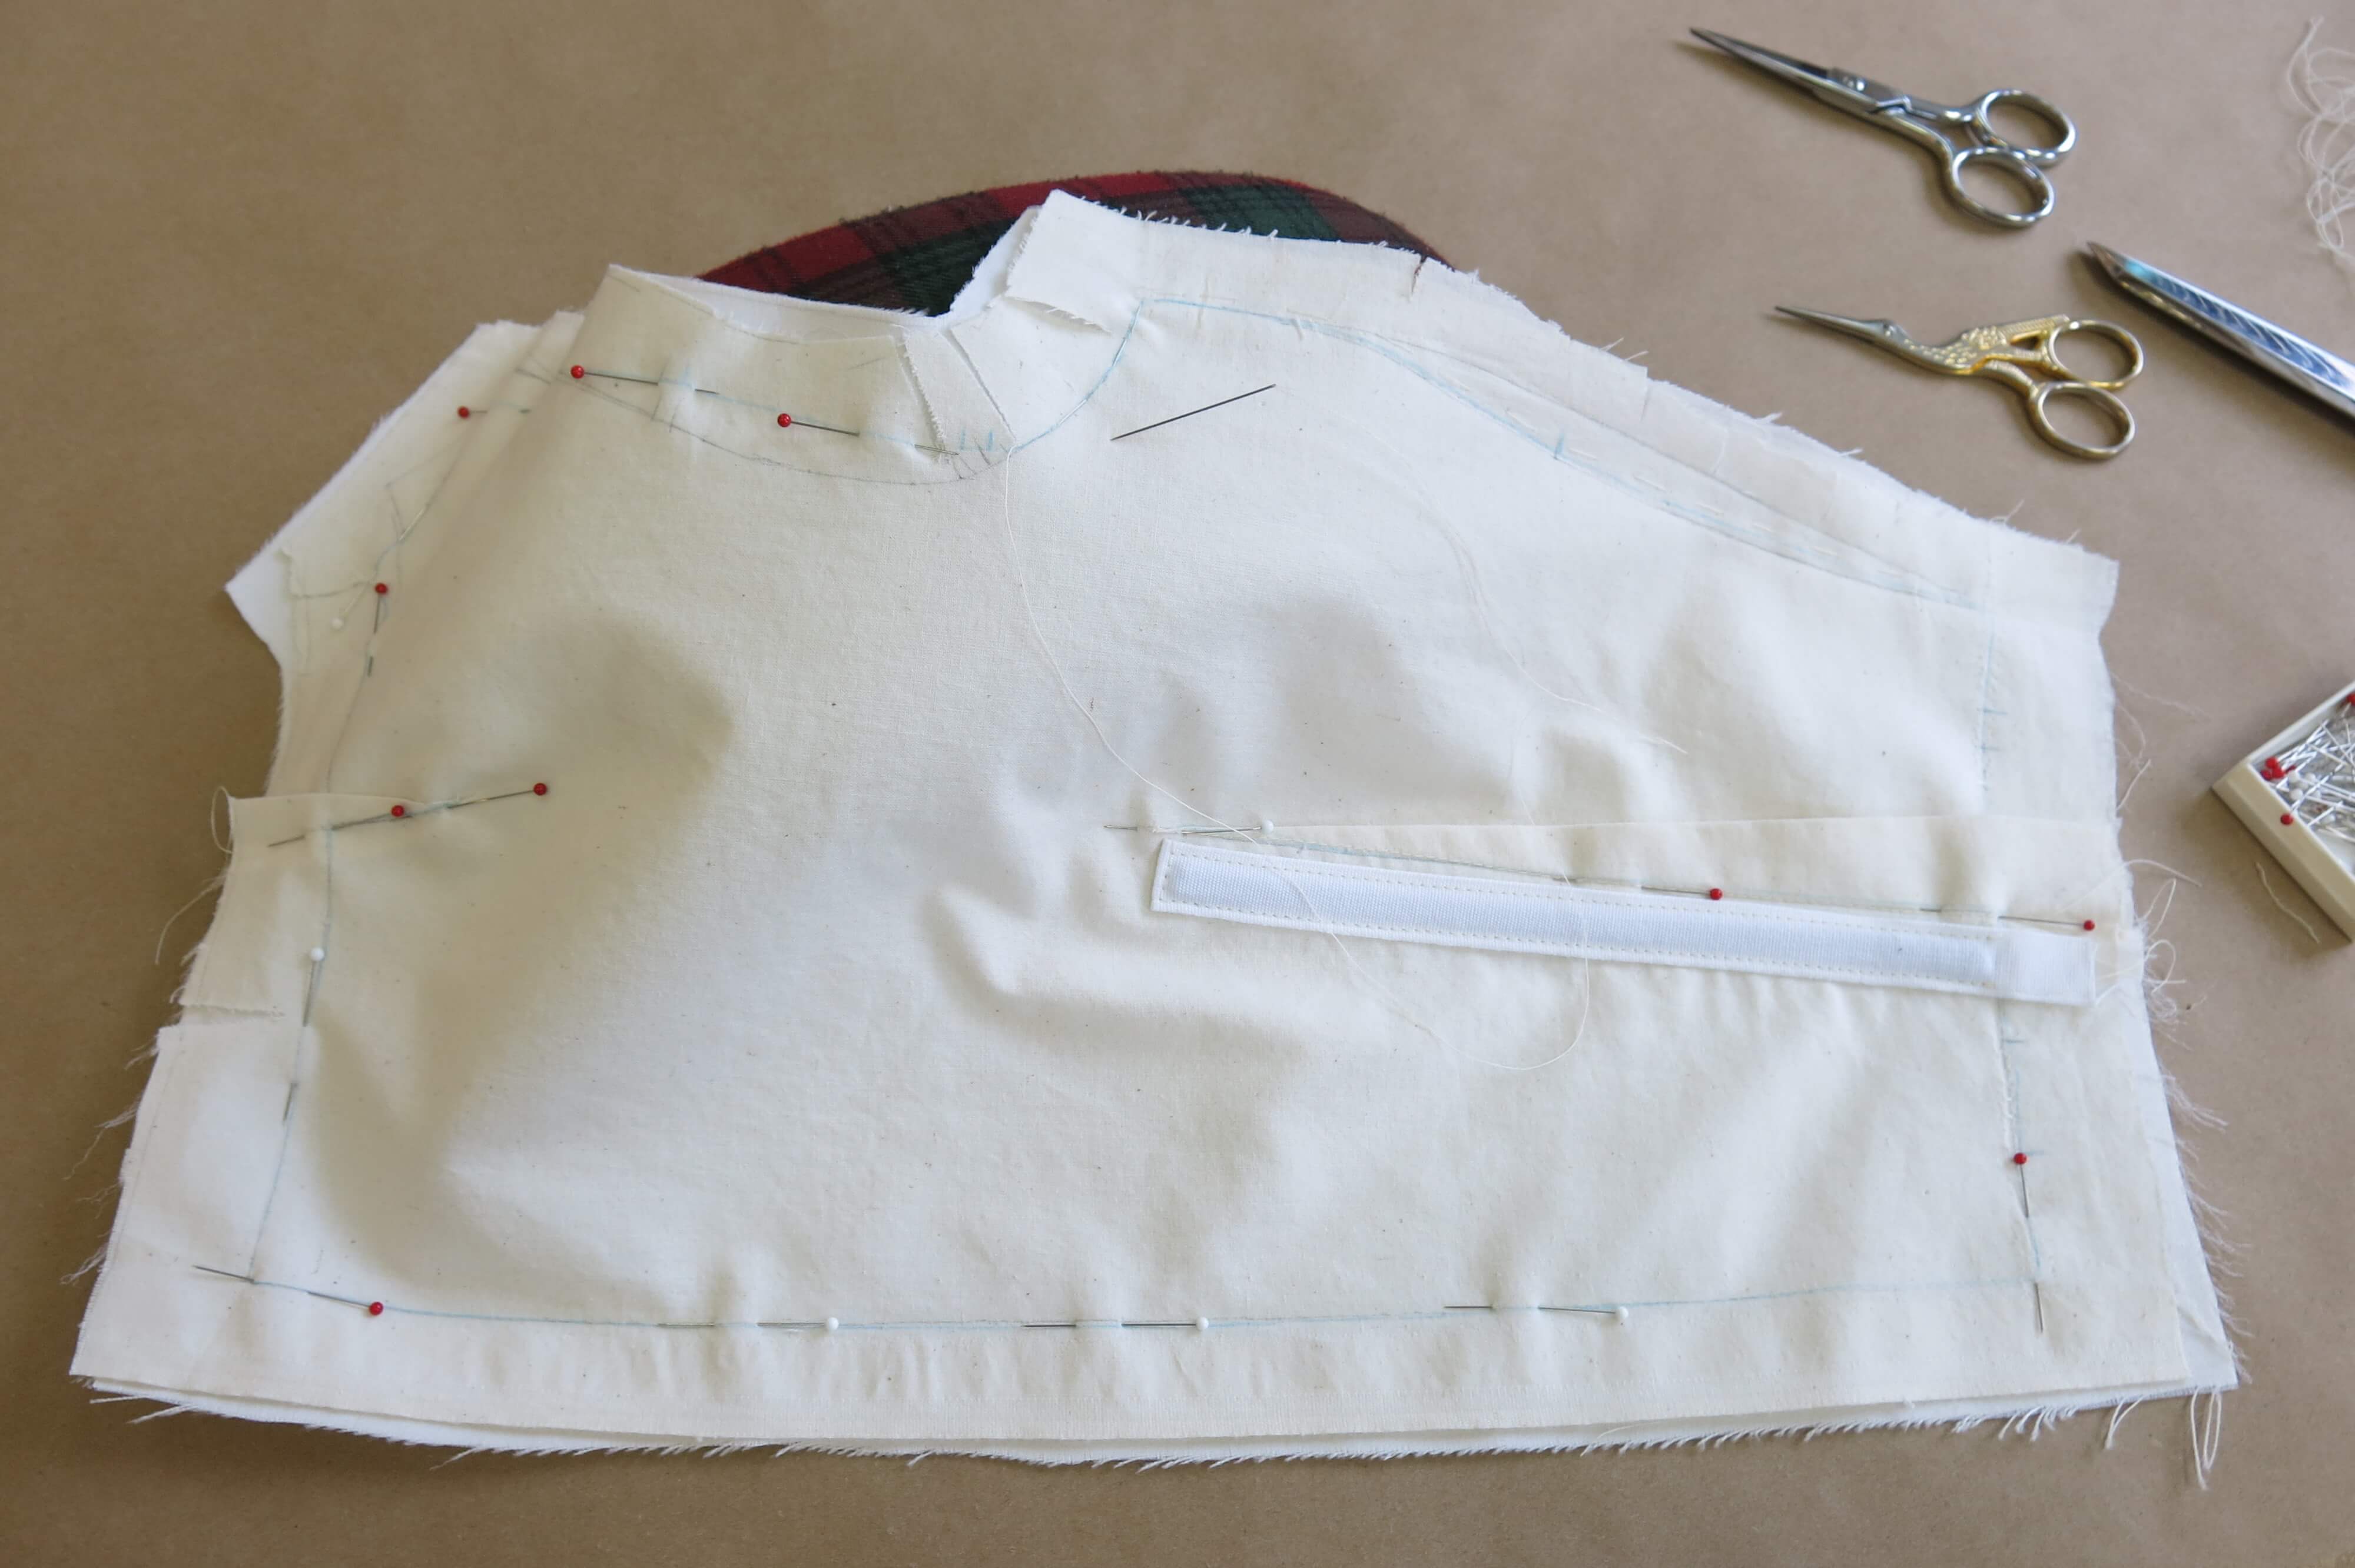
Next, I was ready to add the underlining back into the bodice. Underlining is usually done while the fabrics are completely flat (which is why it is often called flat lining), but sewing the darts separately helped me achieve my goal of reducing visible bulk. Time for some creative rule breaking!
I’d need to maintain the fabric’s shaping added by the darts, so I very carefully pinned the layers together over different sections of my rounded tailor’s ham.
It worked! Ready for underlining stitches…
…which I also did carefully by hand with my ham underneath…
…until all the bodice pieces were darted, trimmed, boned, pinned, and underlined by hand into their custom shapes.
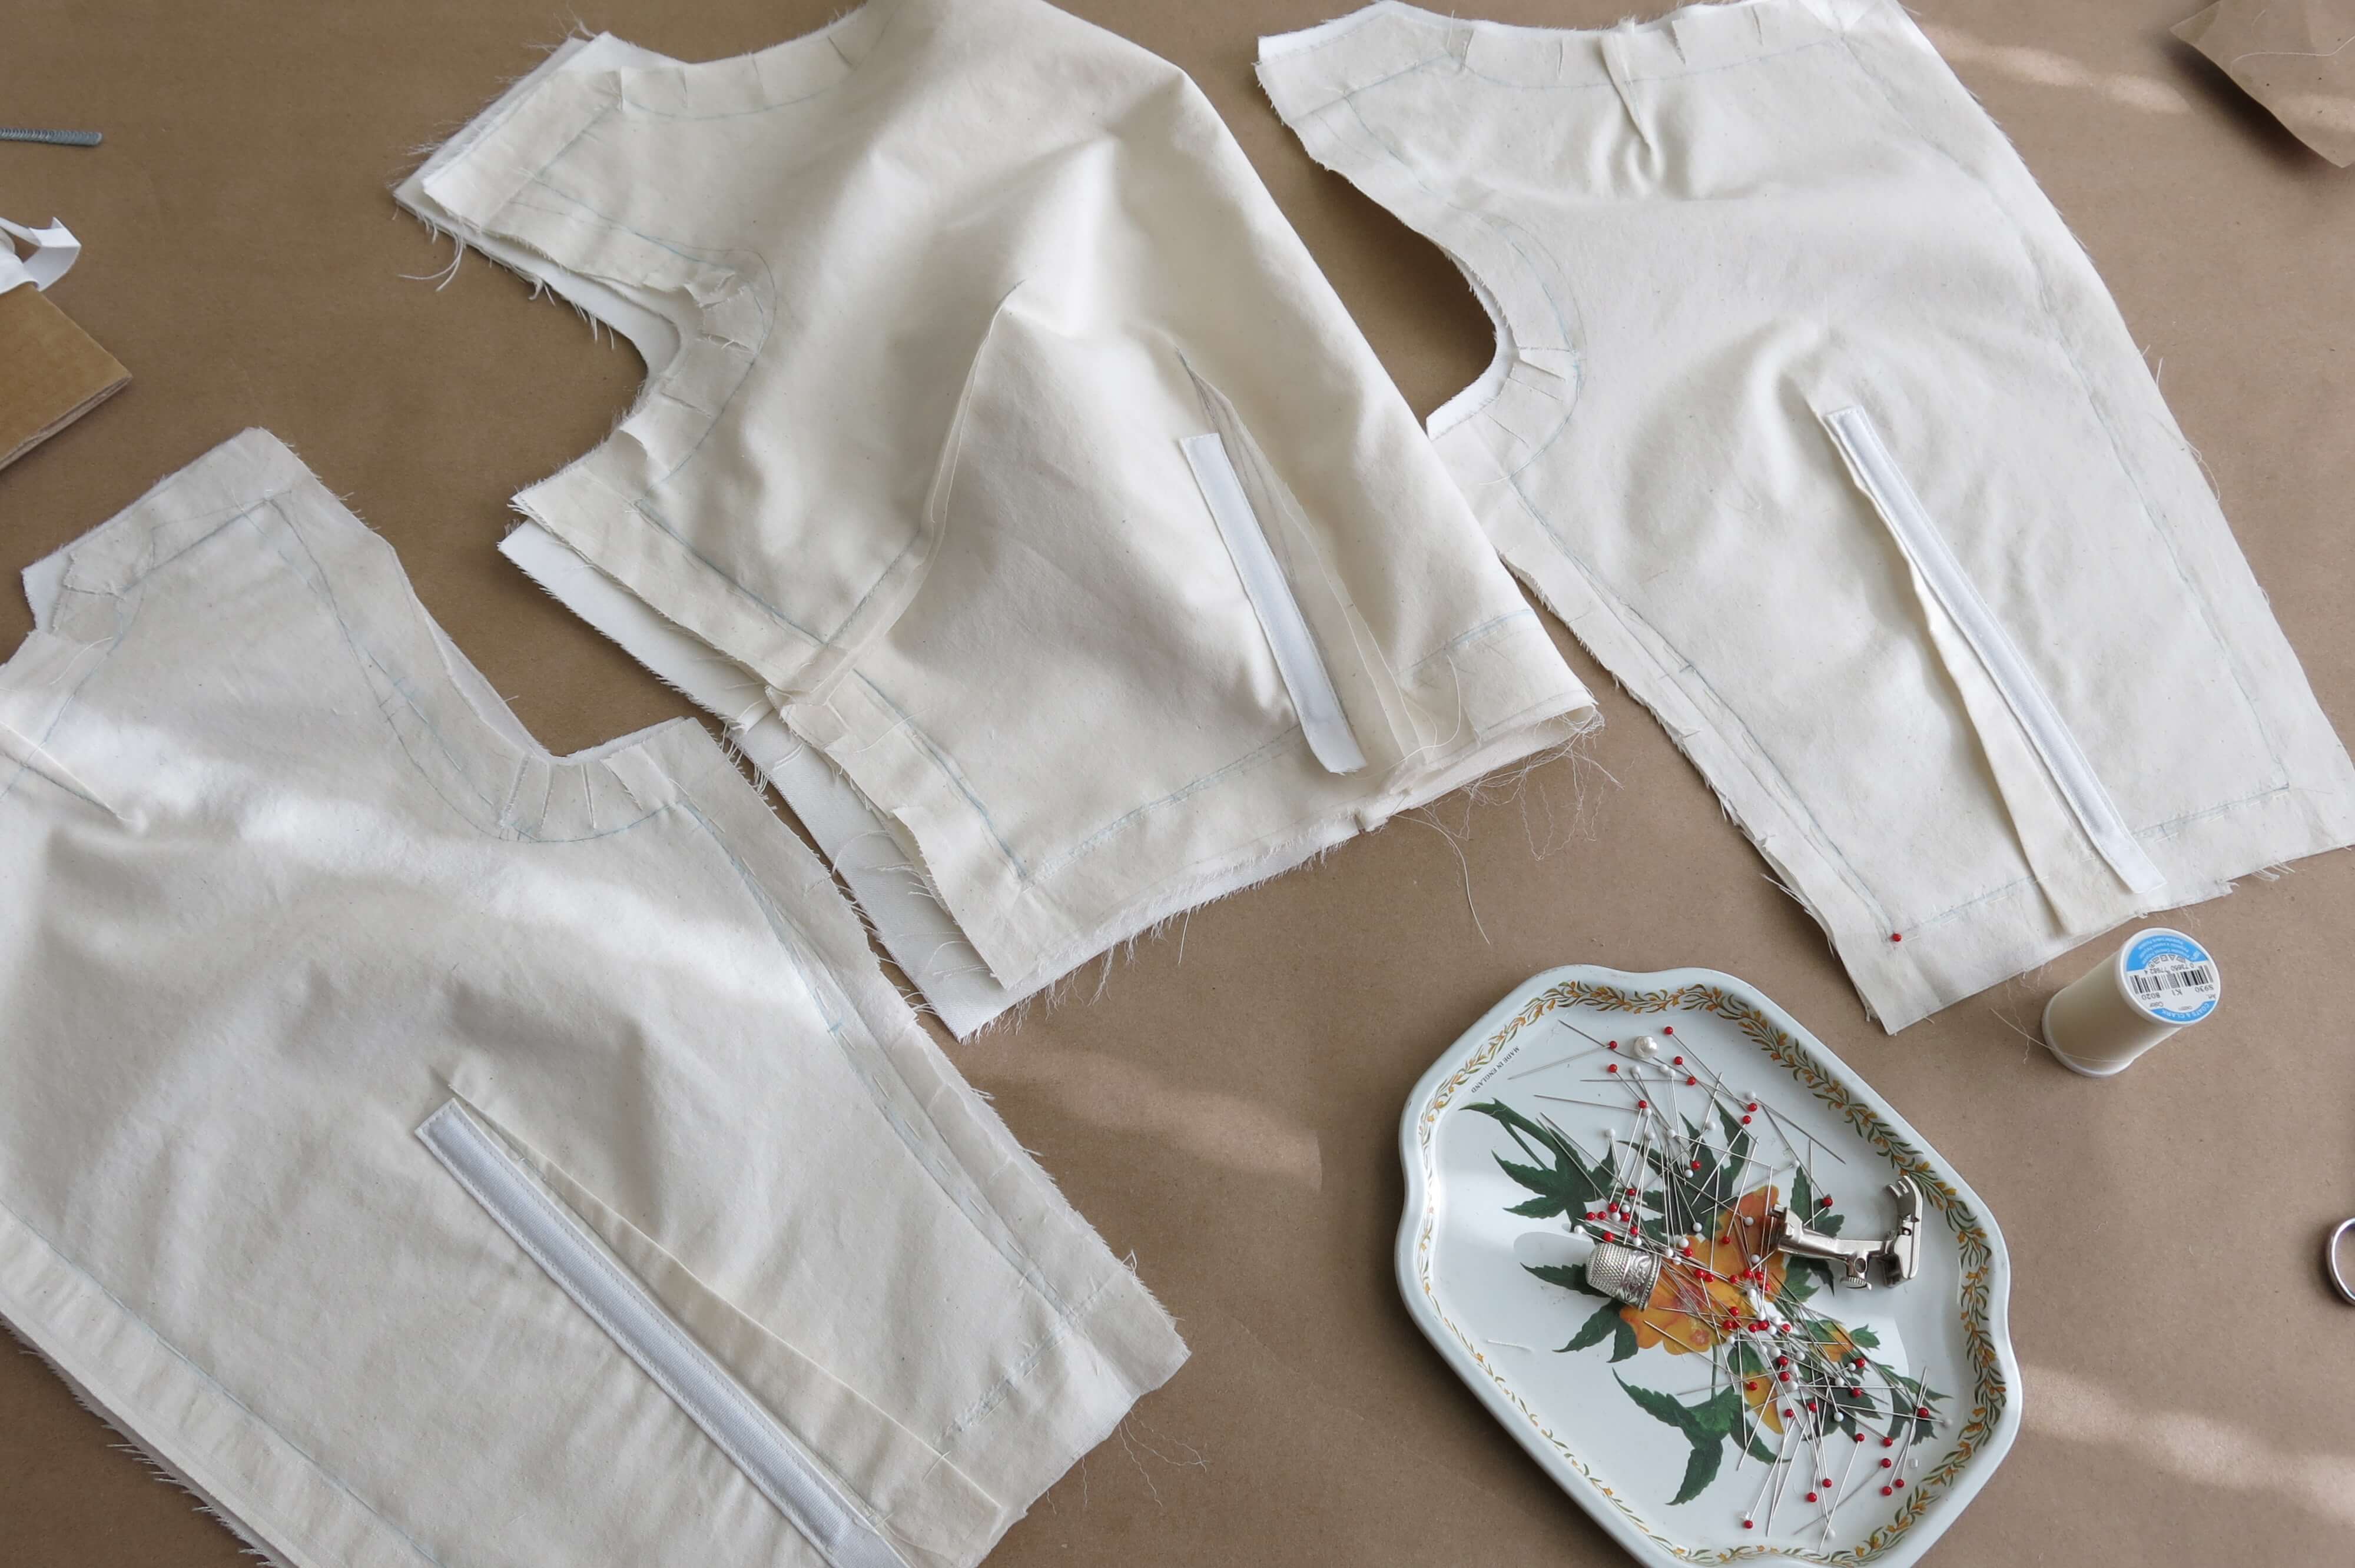
It took some steps backwards, but I was finally really happy with the results. One of the things I love most about sewing is that it is full of reversible processes!
Side seams were next…
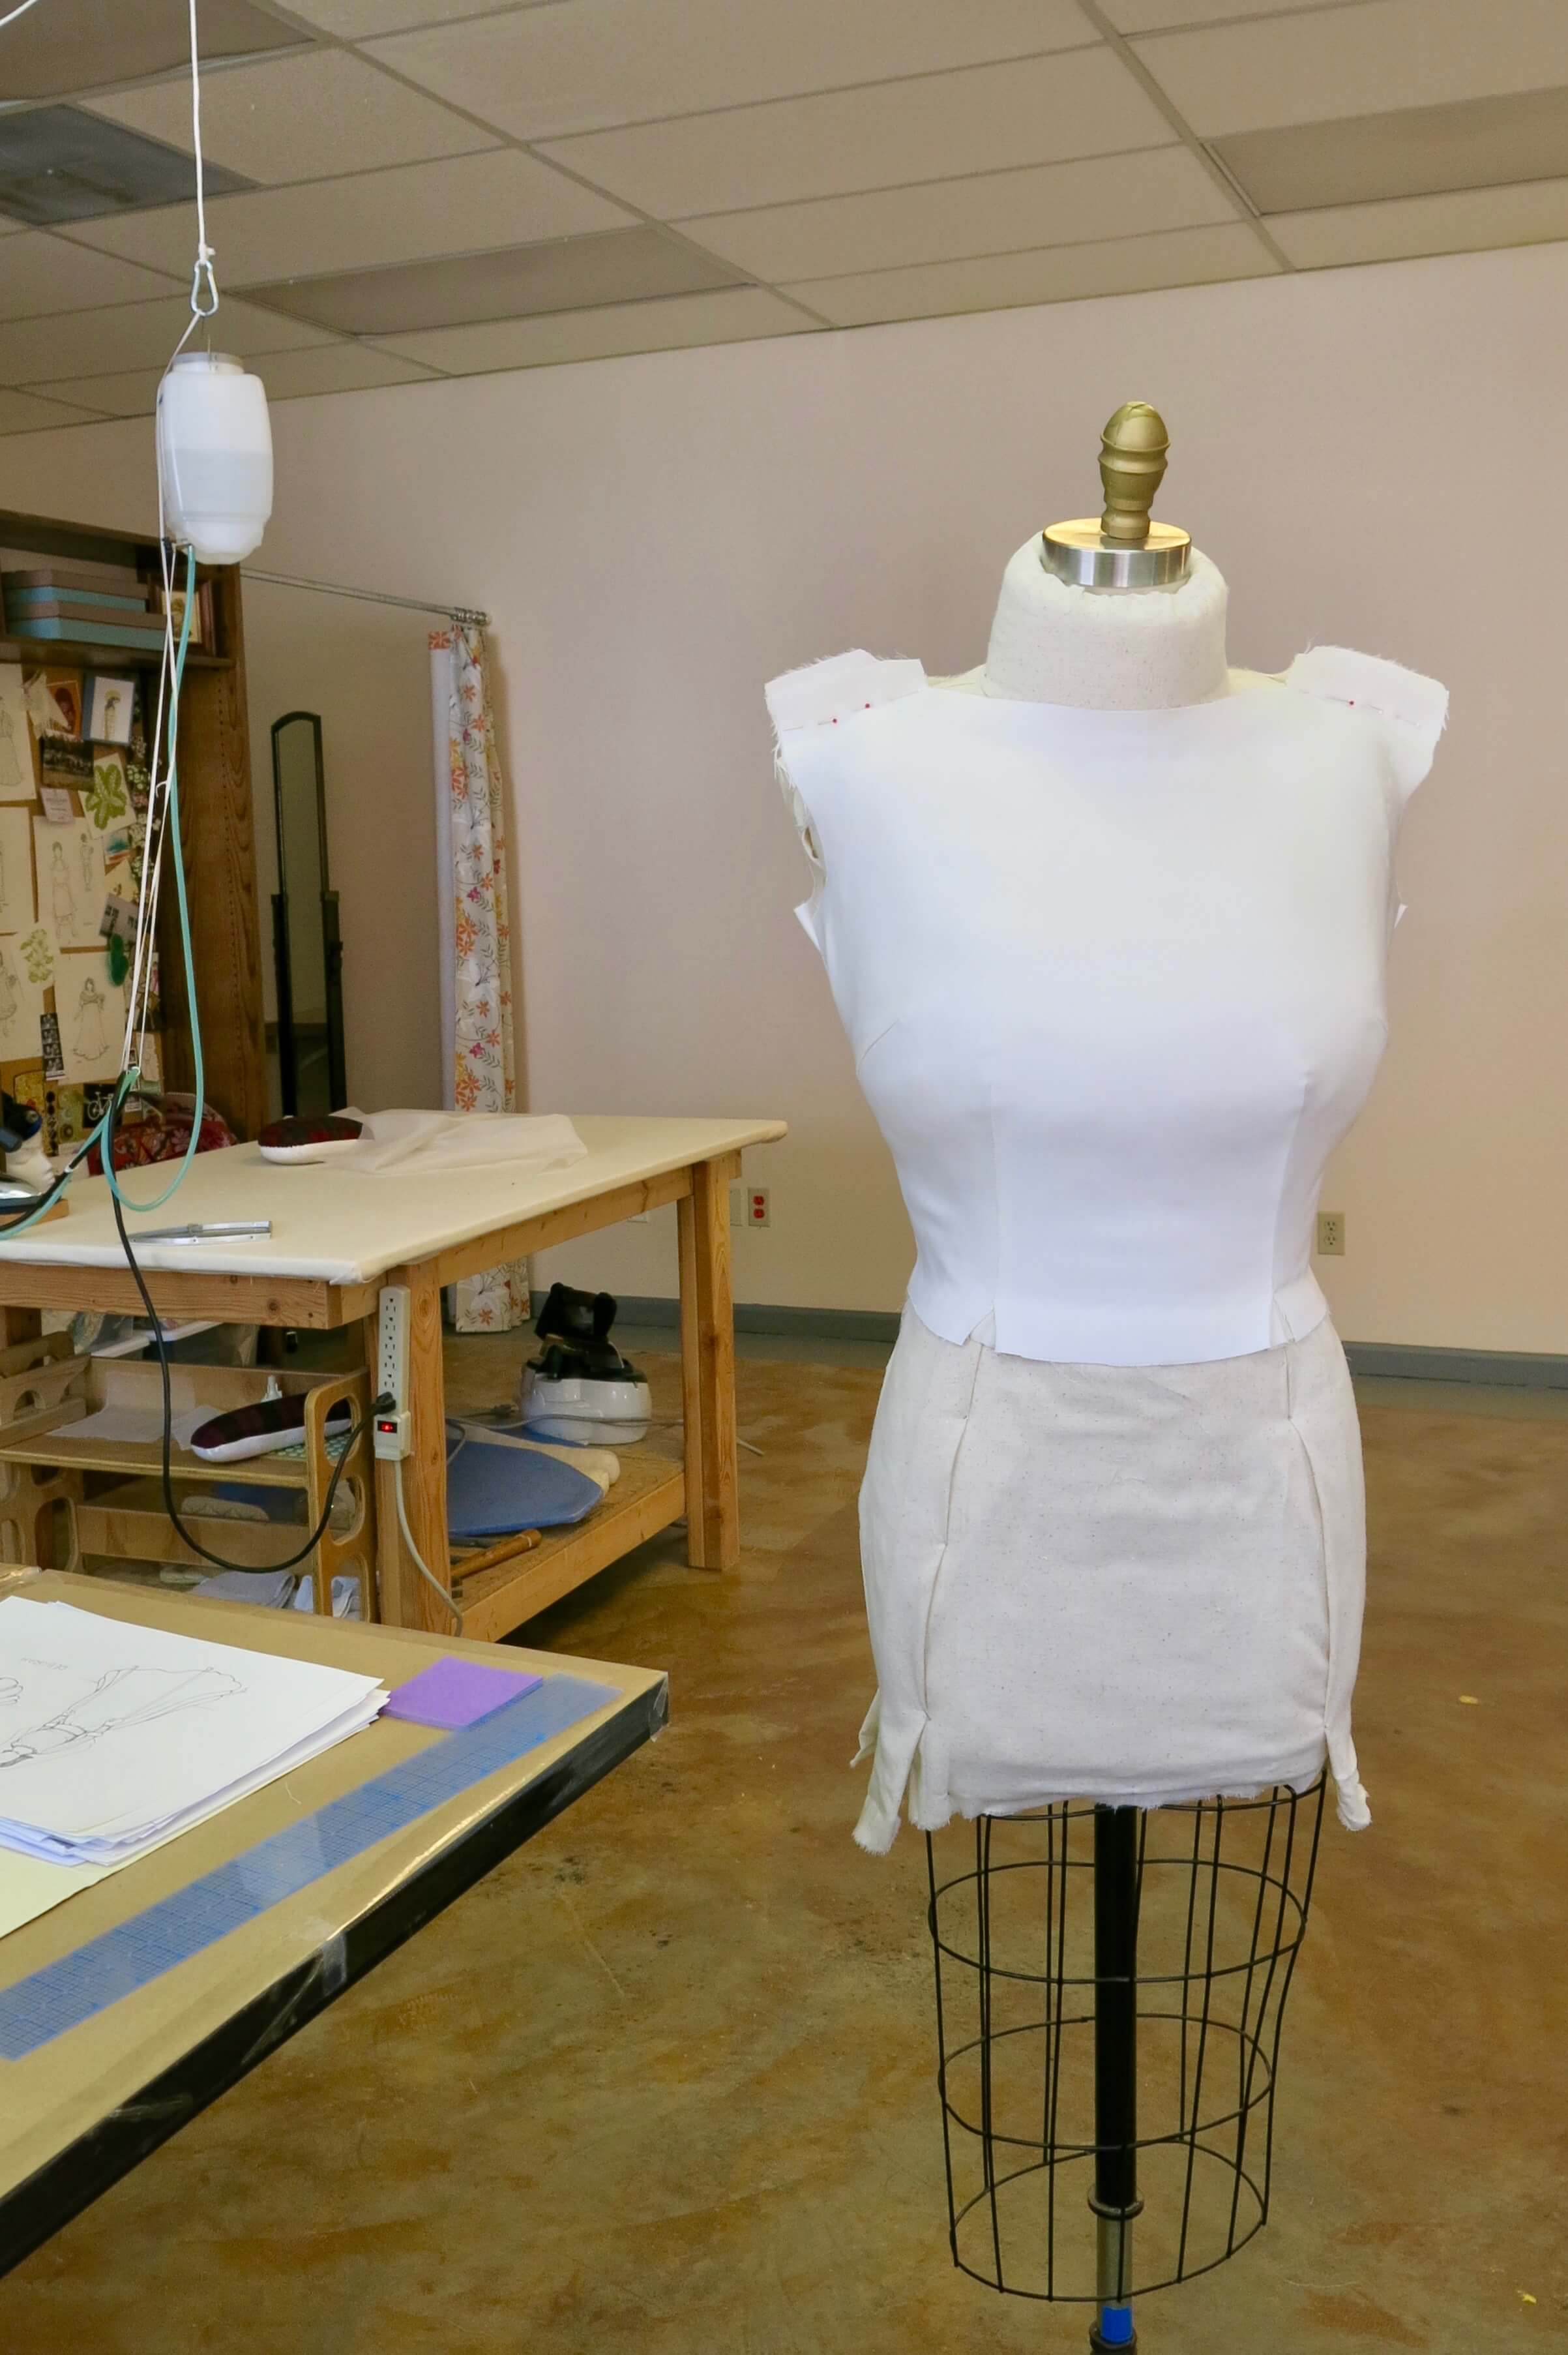
…before pinning the bodice to the custom dress form to check my progress and the fit.
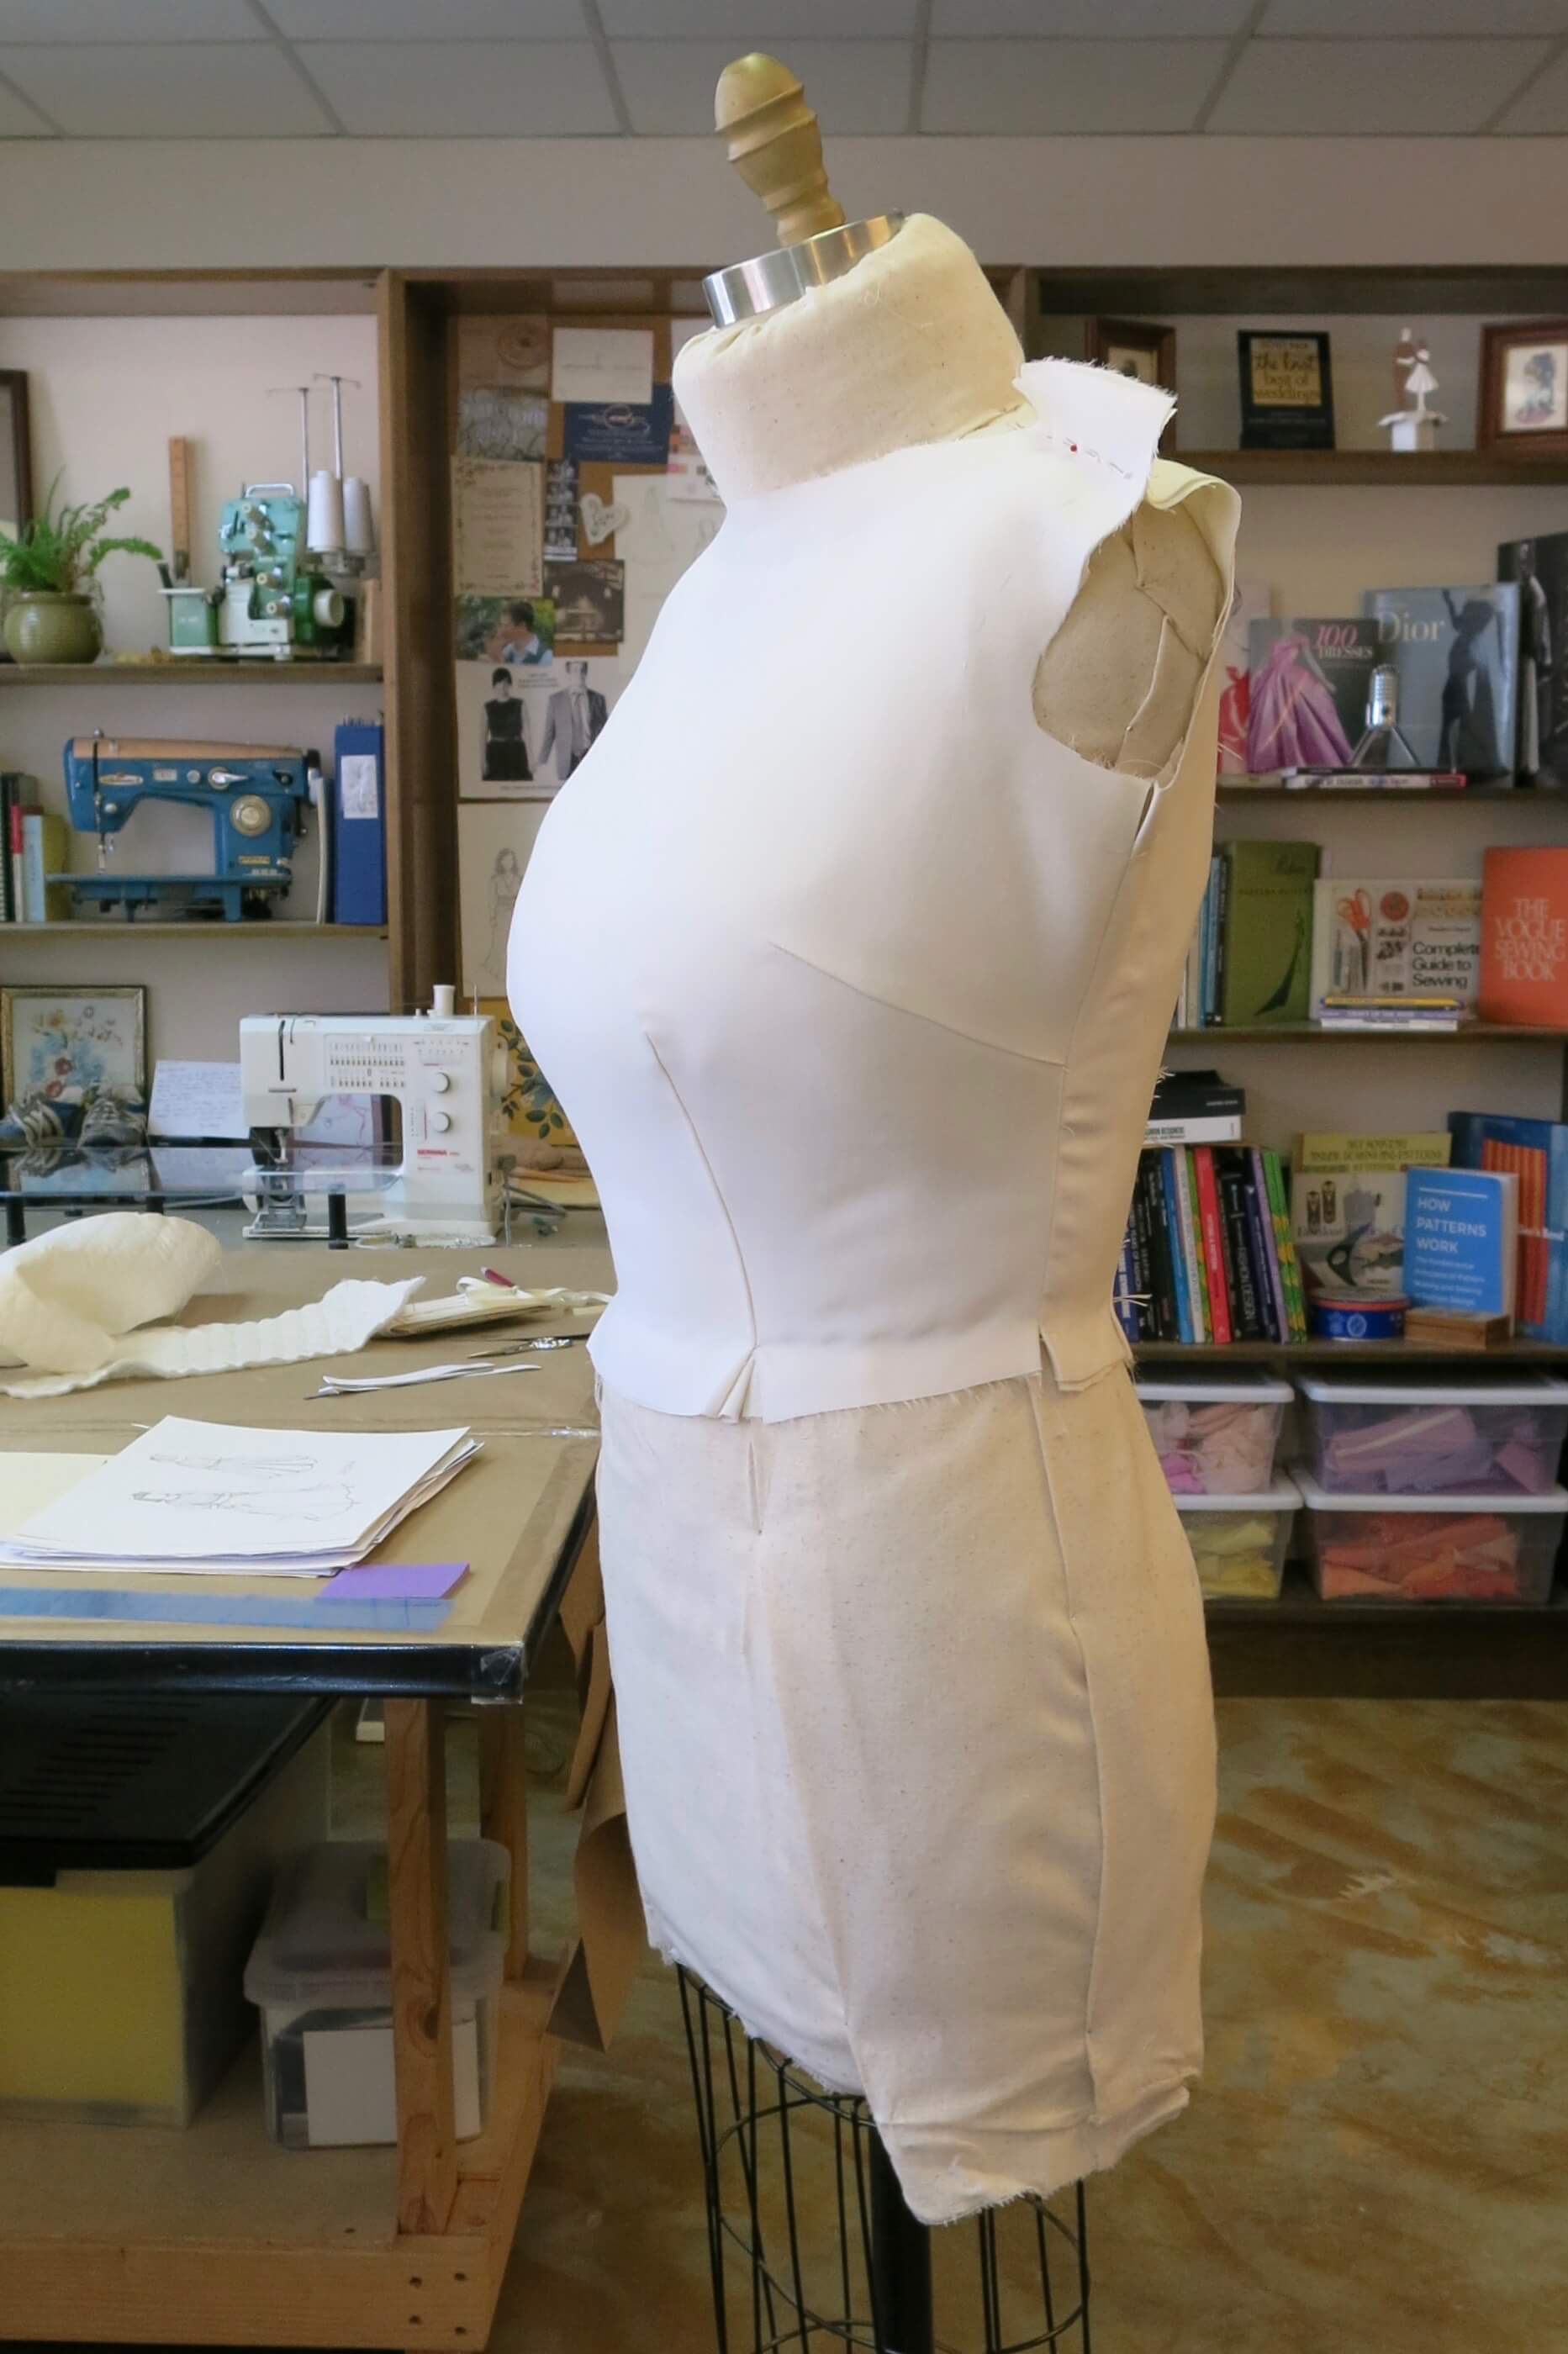
I’d leave the shoulder seams basted for any last minute adjustments in our next fitting. Looking good!
Next, I added custom bias binding to finish off each armhole and neckline edge. To learn details about how I make and stitch bias binding around curved edges, check out this article I wrote for Seamwork Magazine called “Learning Curves”.
The bias binding was basted to the inside, bones were added to the side seams, and temporary closures were added to the back…
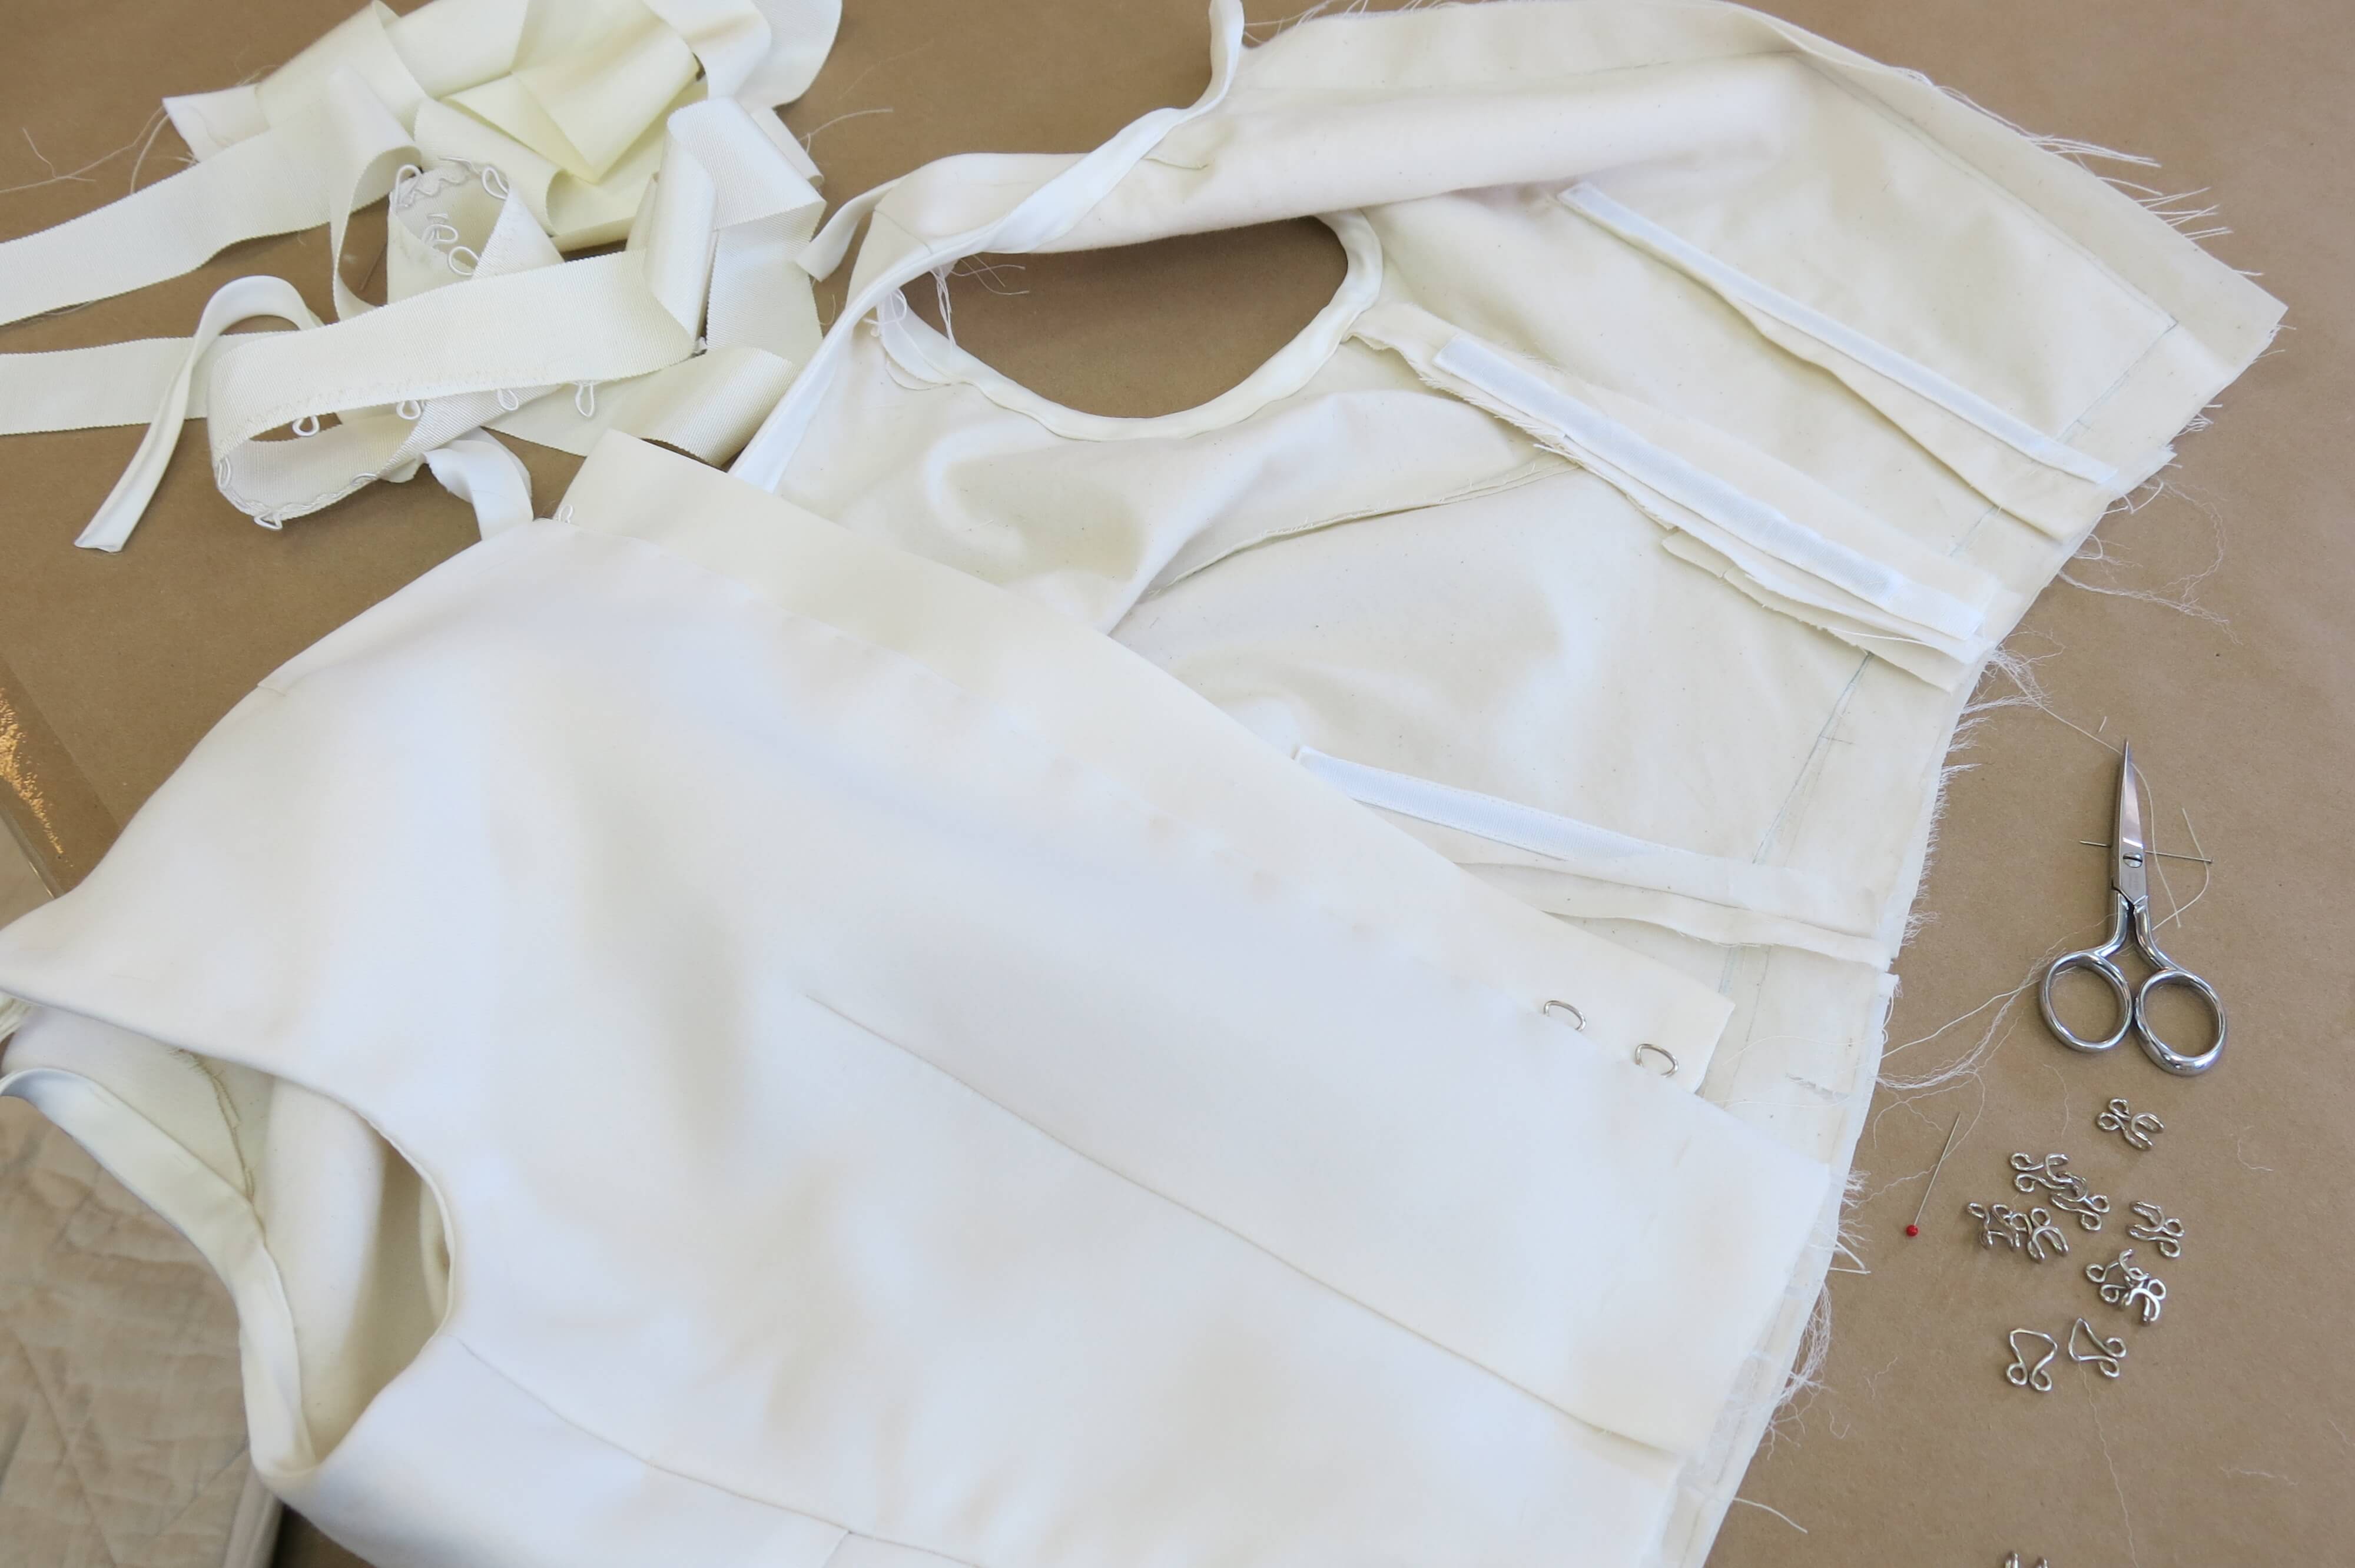
…and Deborah’s bodice was nearly ready for our Fabric Fitting! Whew-ray!
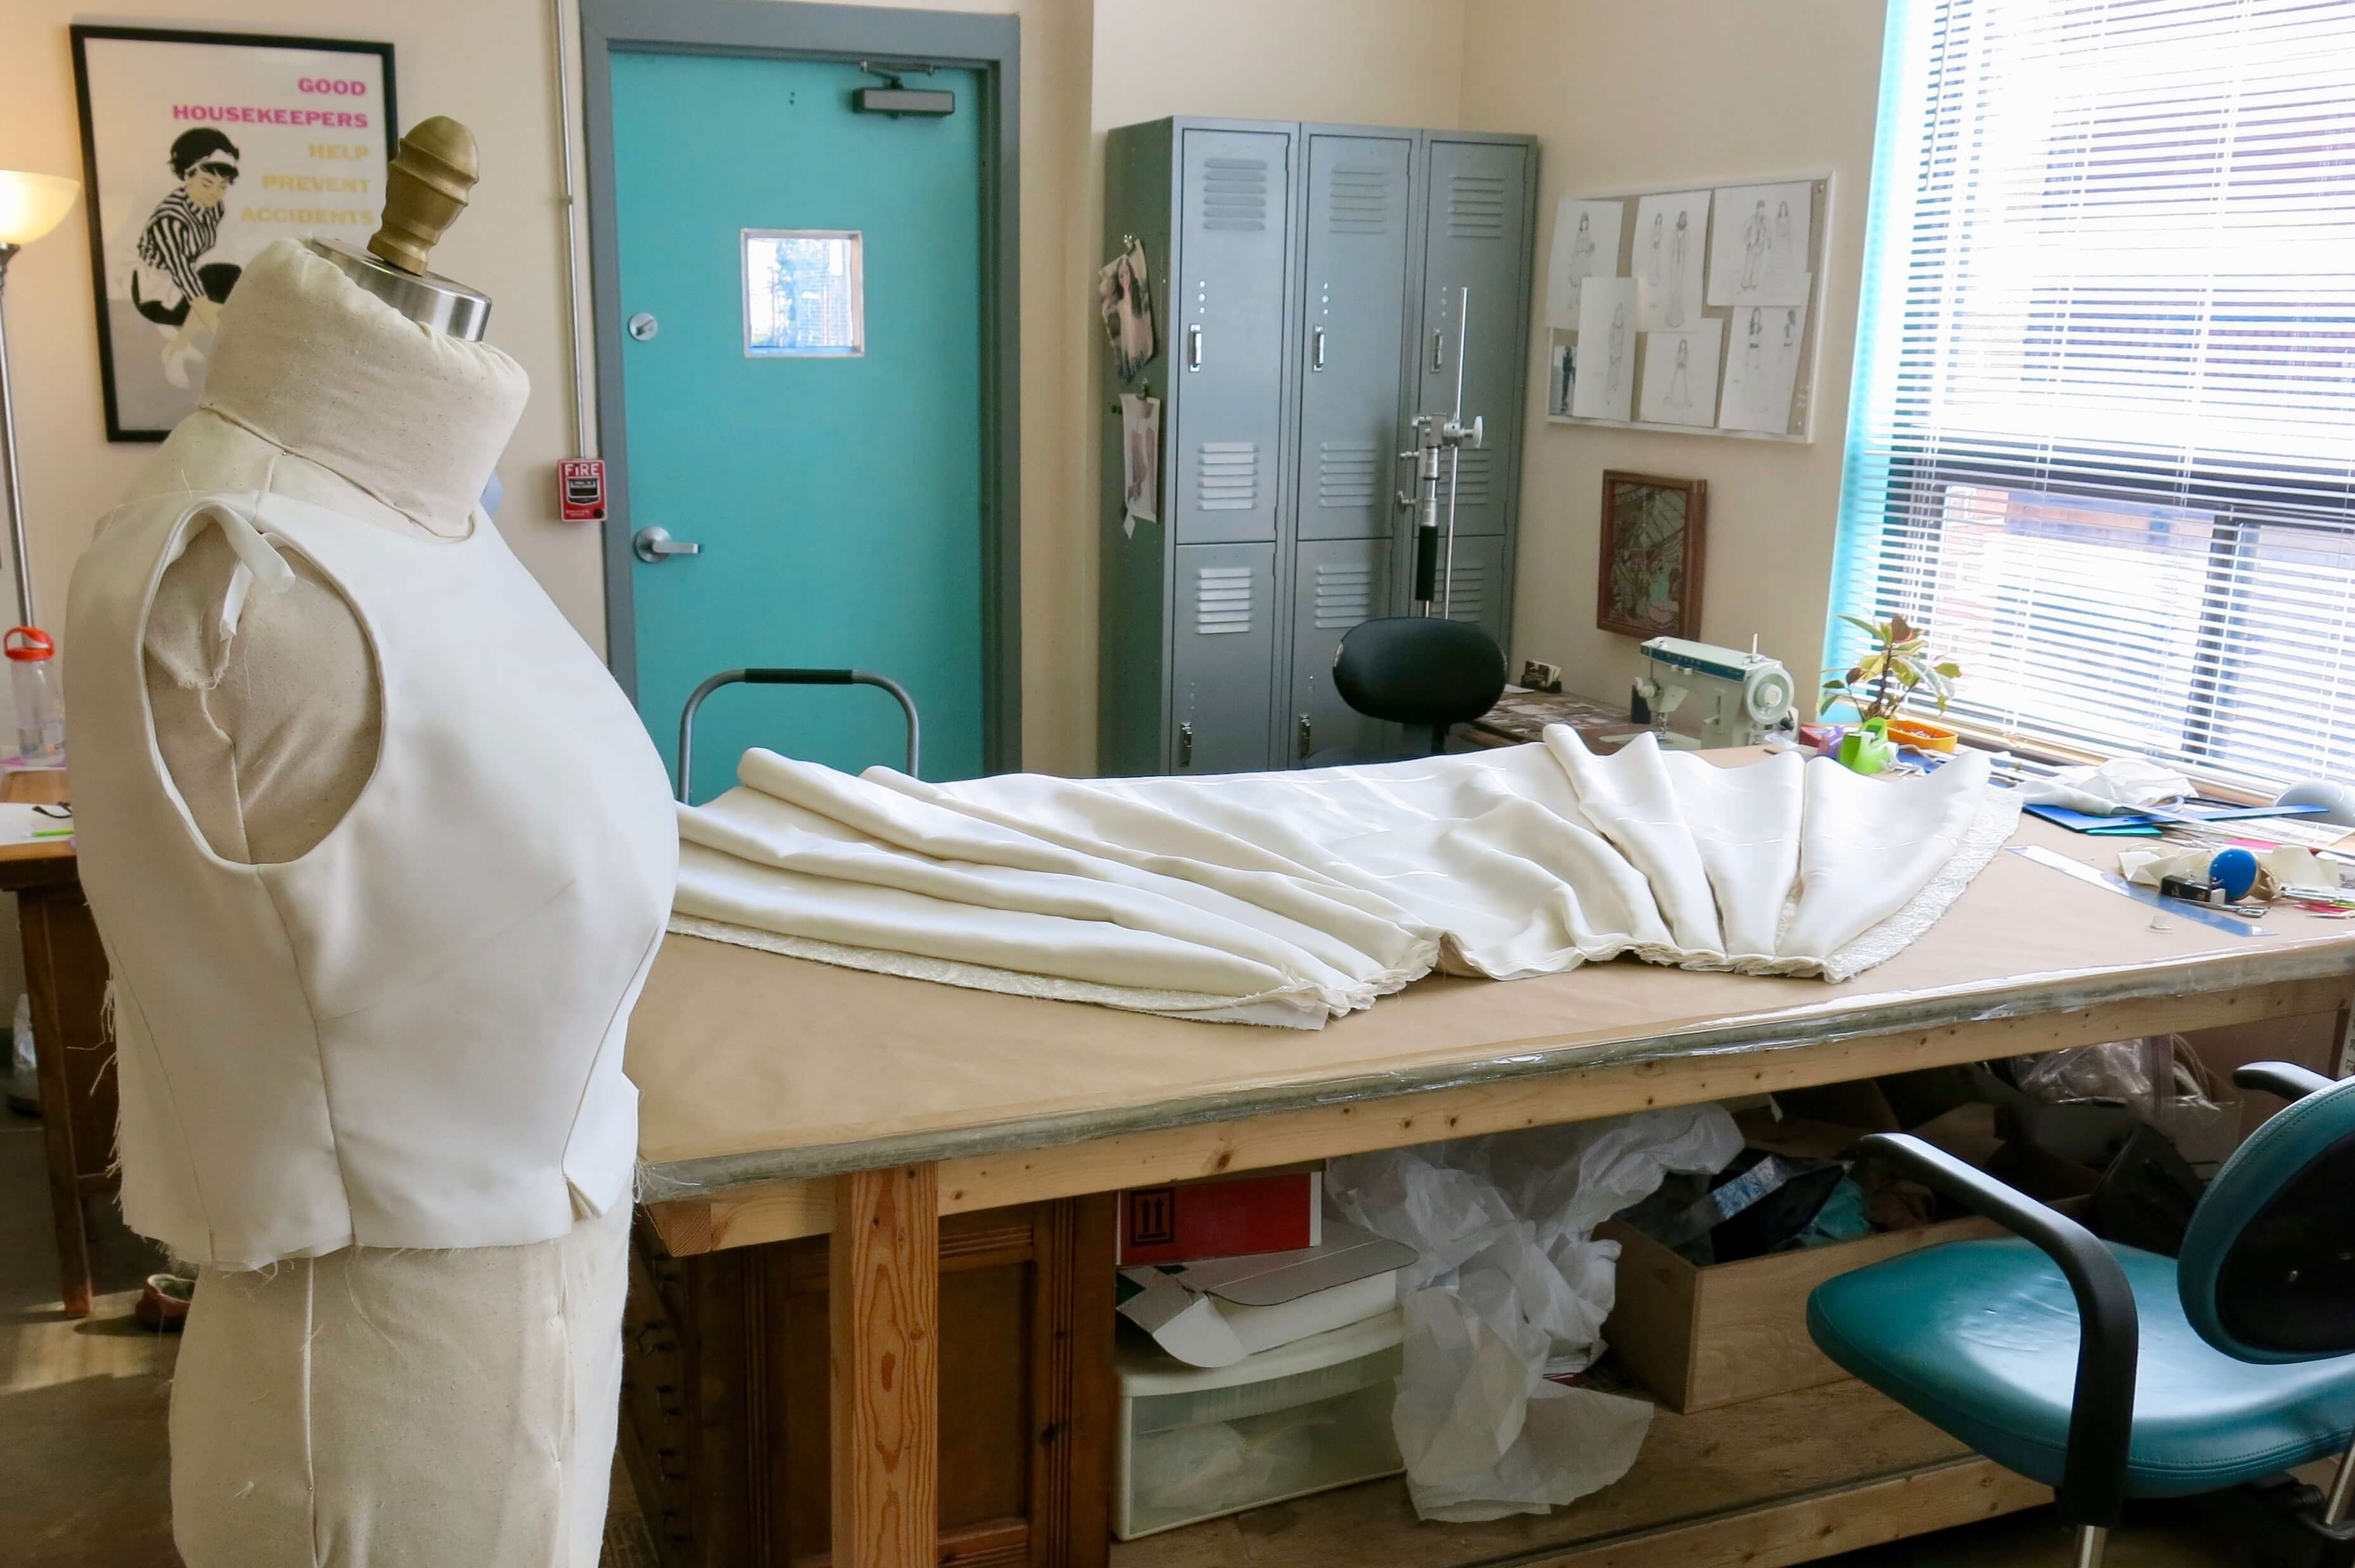
Hey…! Where’d that skirt come from?
Well, I was working on the top and the skirt somewhat simultaneously, but thought it was best to tell the story of their creations in separate posts. Soooo….. keep following along for my…
NEXT POST: The pleated skirt (with peek-a-boo lace)!


