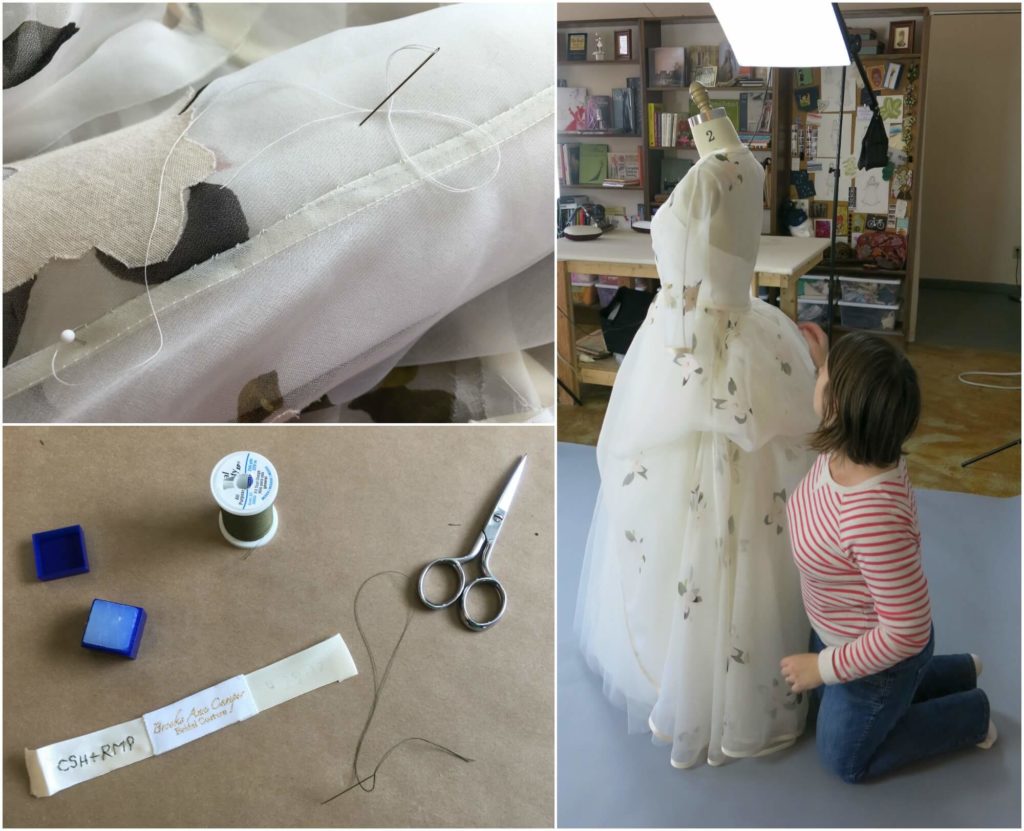
HOME STRETCH!
After months of evolving and improving our original ideas, it was finally time to really finish Cameron’s custom wedding overdress. After our final fitting, I was ready to work my way through all the little tasks that bring everything together for the photoshoot and the Delivery Day.
I love the custom process, so this is bittersweet work. As the puzzles have now been solved and finishing work is done by hand, my mind has time to wander back through the journey…
If you are new to this blog or want a stroll down Memory Lane, find my first post about meeting Cameron here. Then click through a dozen more posts following our design process, through the custom patternmaking, designing our own custom-printed fabric, and a whole lot more…
After seeing how gorgeous Cameron looked in her final fitting, I know you are excited to see the wedding day already. But for me, I was still savoring the final moments with Cameron’s dress in the sewing room. The way I sew is a slow and steady process. With a lot of patience, getting to the end can be extra sweet!
Slimming and Trimming the Sleeves
The first task on my short To-Do List was to finish the seam along the top of her cut-in-one sleeves. This was one of the only places I left basted during our basted fitting. With pins still in place from when I tapered the sleeves to Cameron’s body, I could now mark and stitch it all up for real.
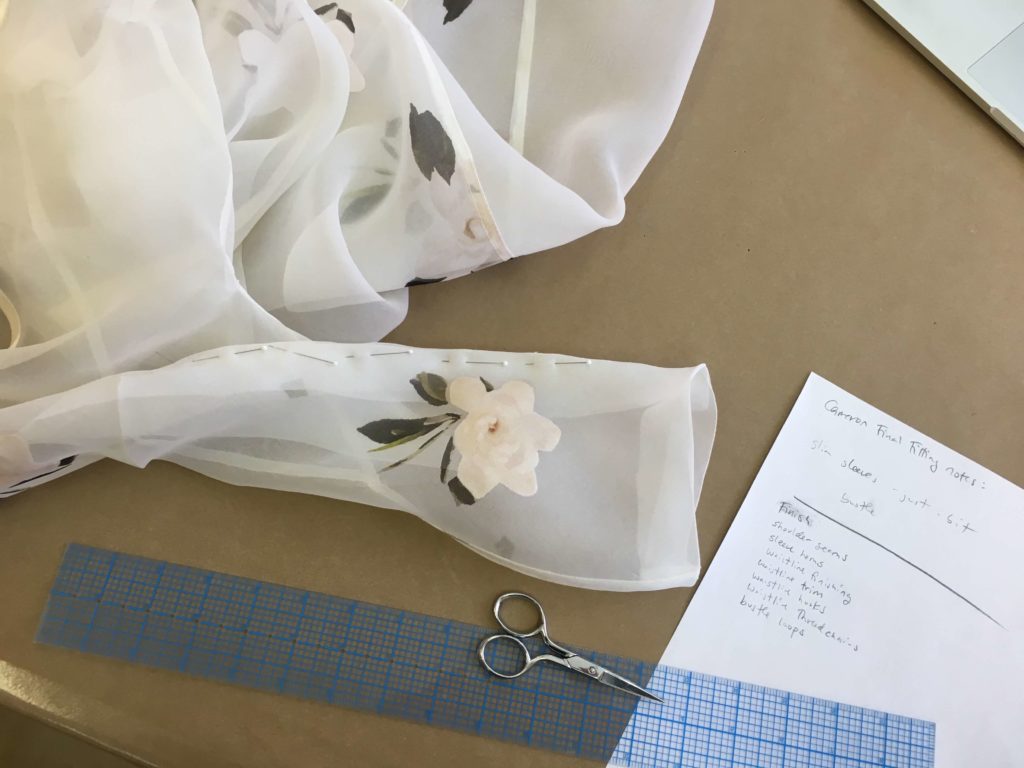
Before removing the original machine-basted line, I used the position of the pins to theadmark the new seam line before permanently machine stitching it together.
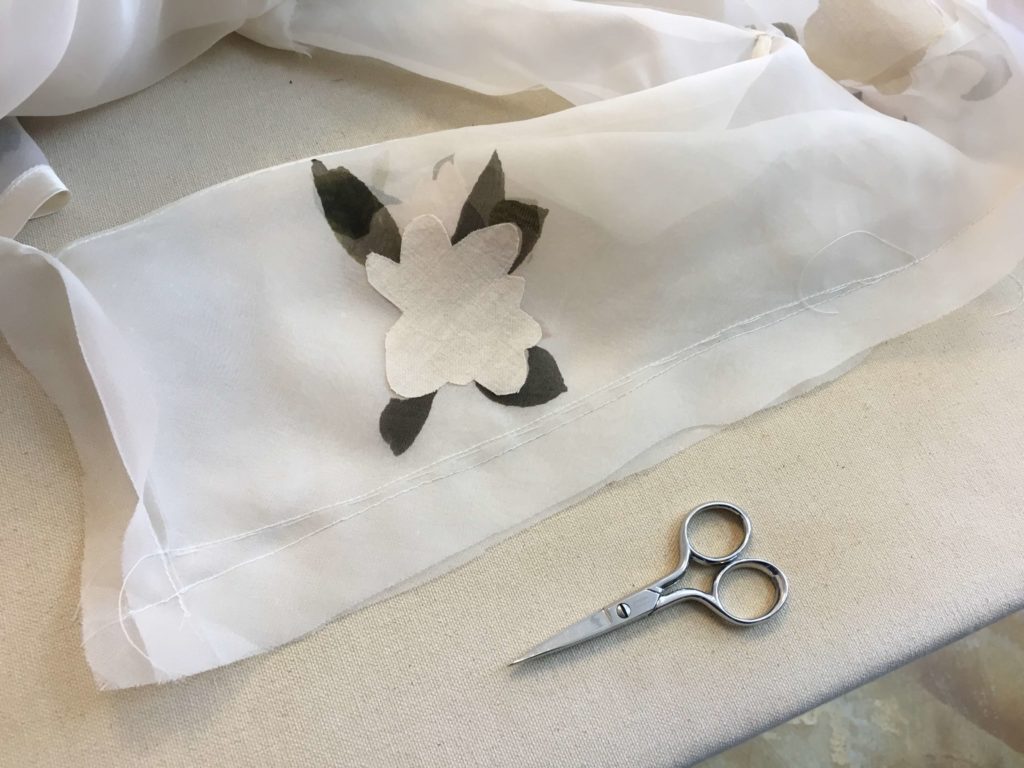
I then removed the original basting stitches and added a second line of machine stitching. I would use this as a pressing and trimming guide to make my flat-felled seams crisp and clean down the full length of Cameron’s beautiful shoulders and arms.
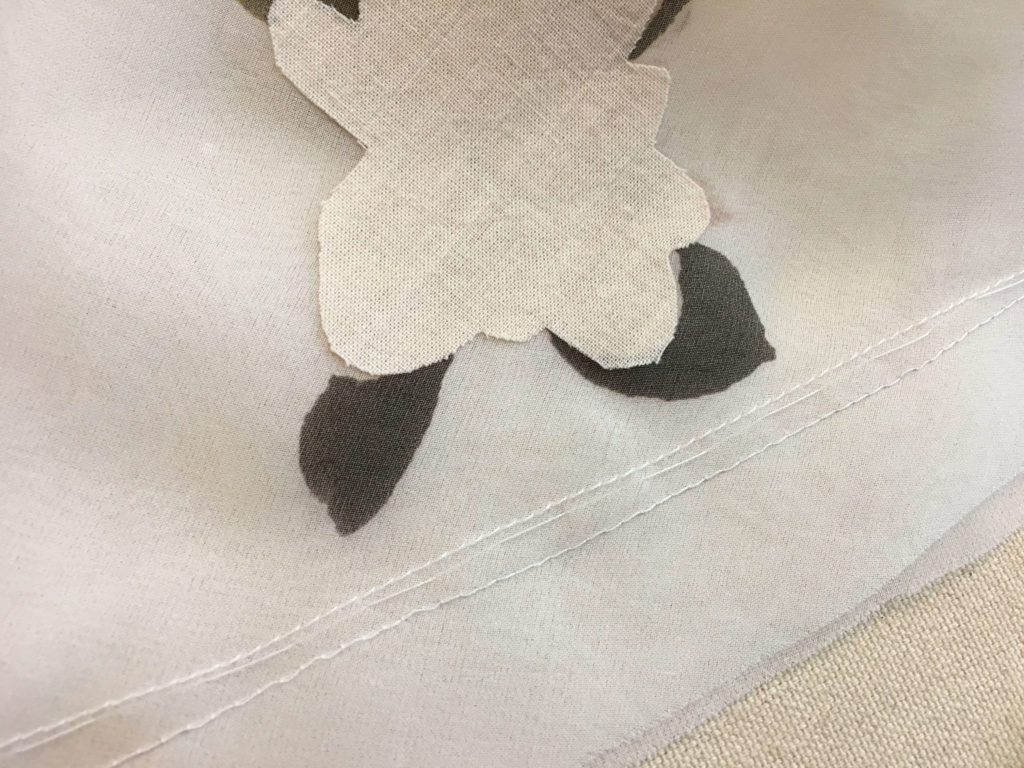
Once trimmed and pressed, I hand stitched the final folds of the flat-felled seams. Since the sleeves were now constructed into a slim tube, I put a seam roll inside for stability while slip stitching.
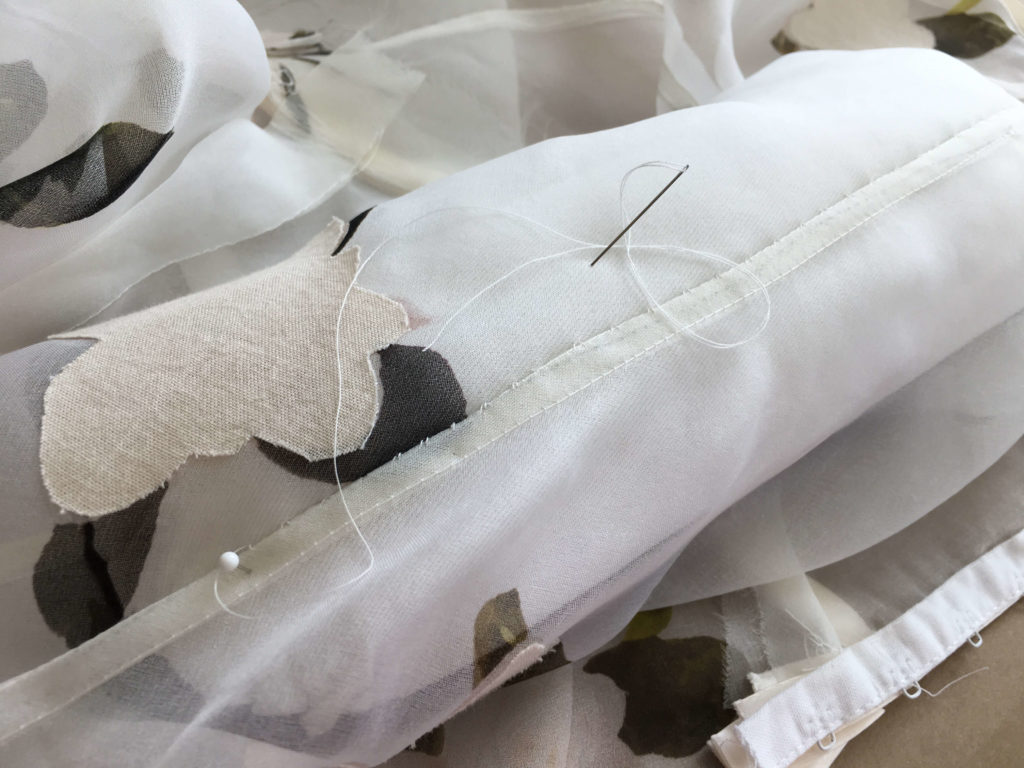
Once the seams were complete, I permanently stitched the trim to the sleeve hems (using a similar process as the rest of the top’s trim).
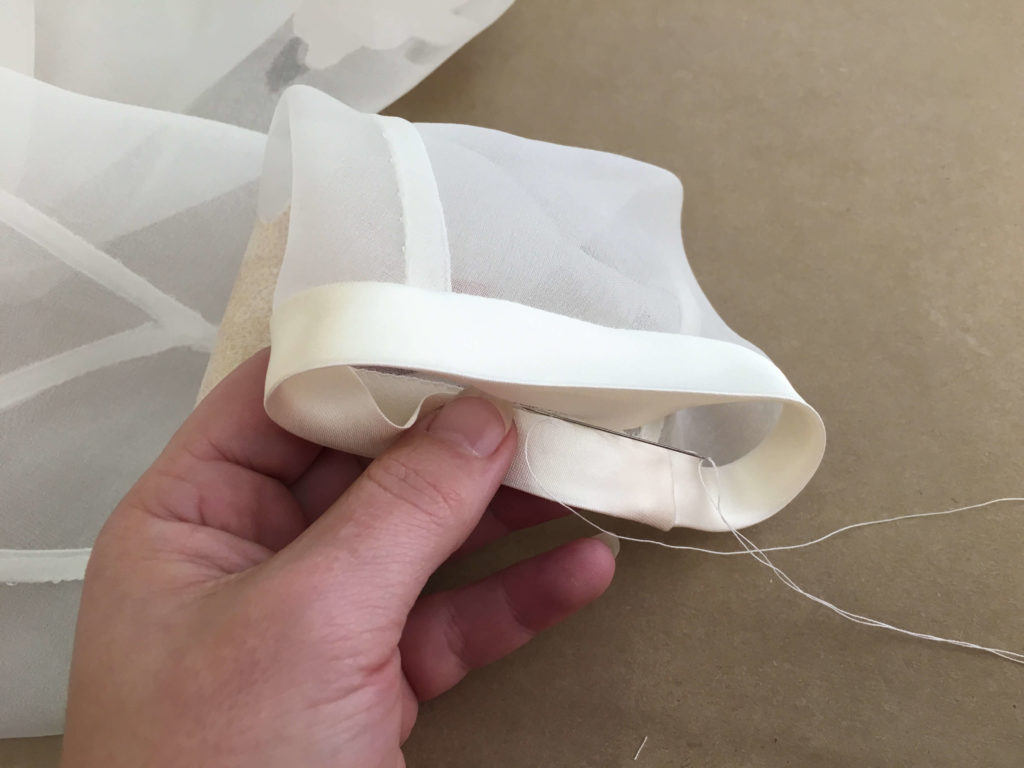
Finishing the Waistline
The next task was to finish the waistline. I permanently machine finished the inside of the seam before permanently hand stitching the satin trim along the outside.
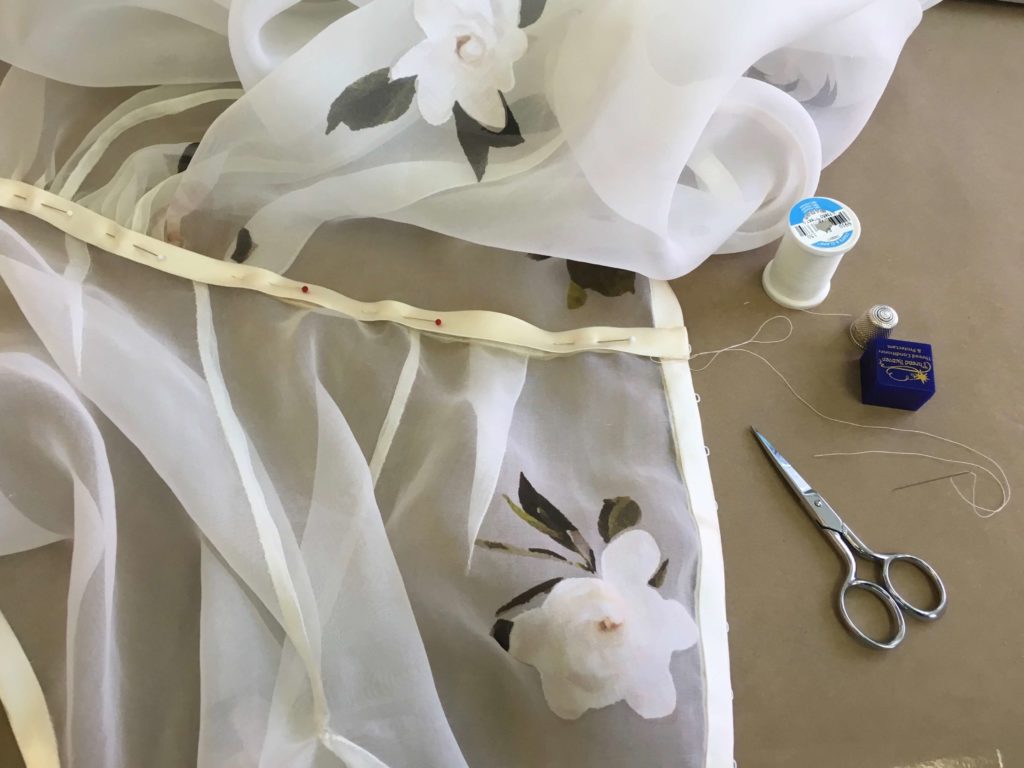
In order to make sure that the overdress stayed in place on Cameron’s body while moving around and raising her arms, I added some tiny upside-down hooks to the inside of the waistline…
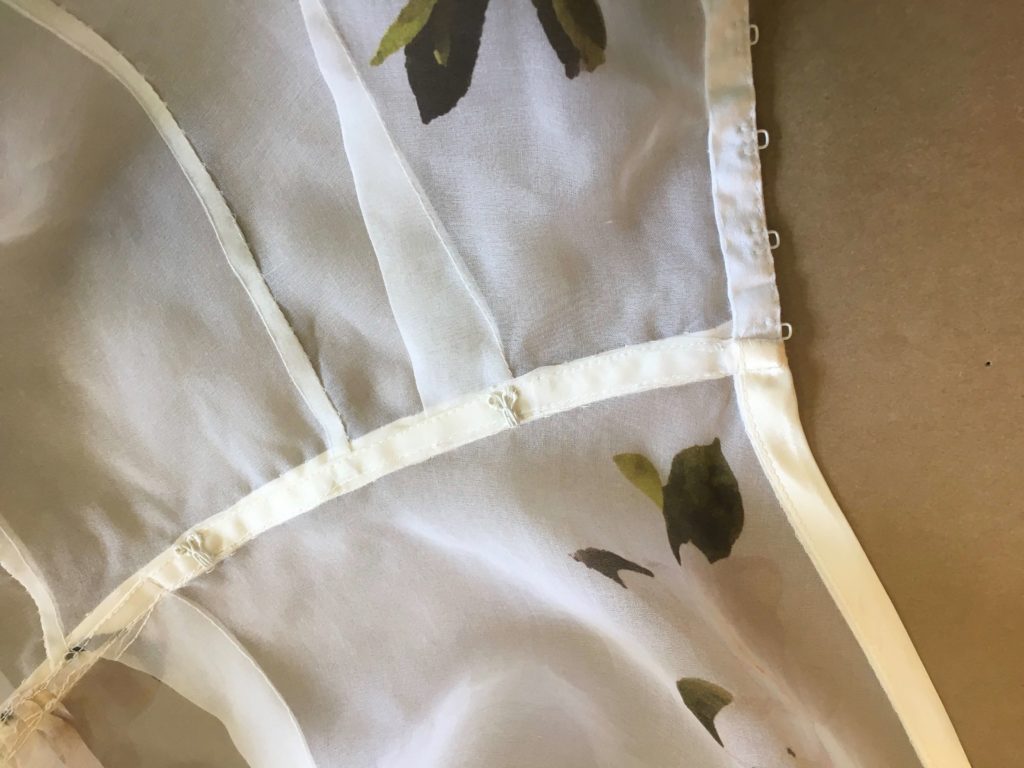
…marking where those hooks corresponded to her underdress’s waistline with a pin…
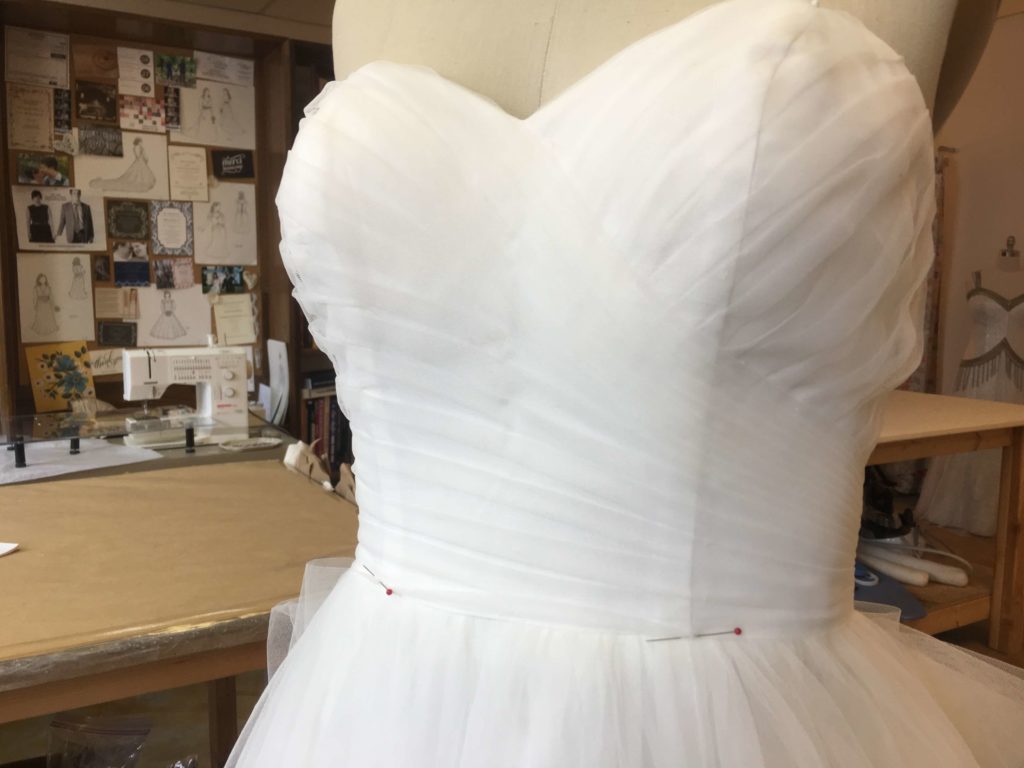
… before stitching a little thread chain in its place.
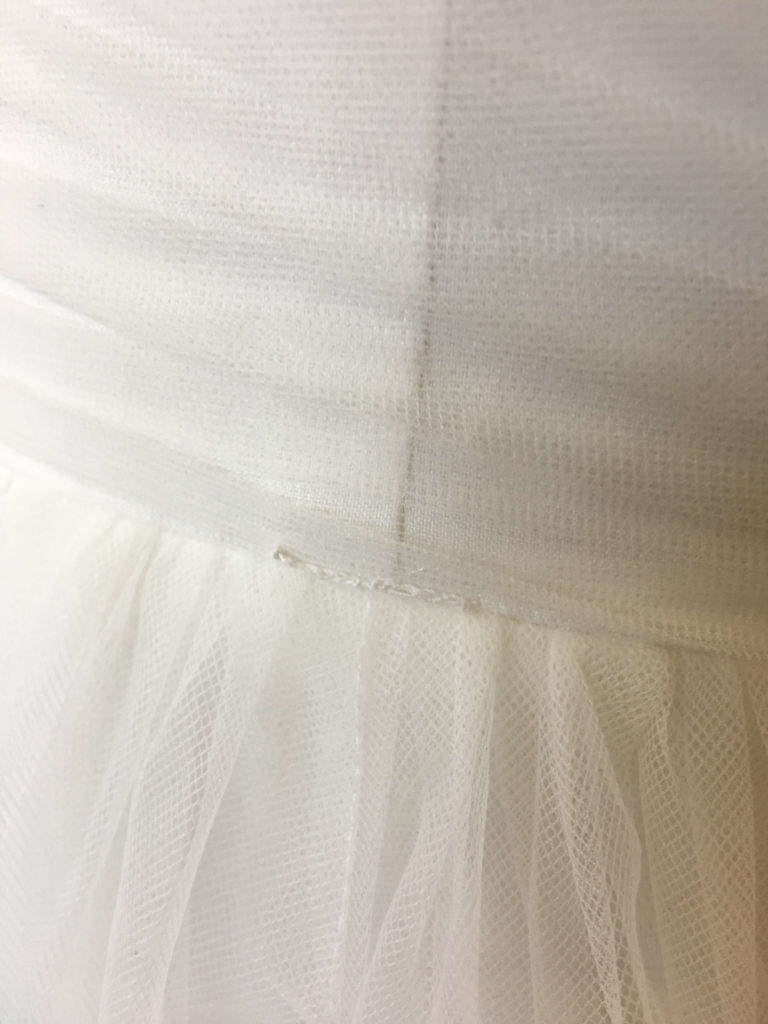
Each hook could now catch each thread chain to invisibly anchor the overdress while Cameron danced the night away.
The Embroidered Label
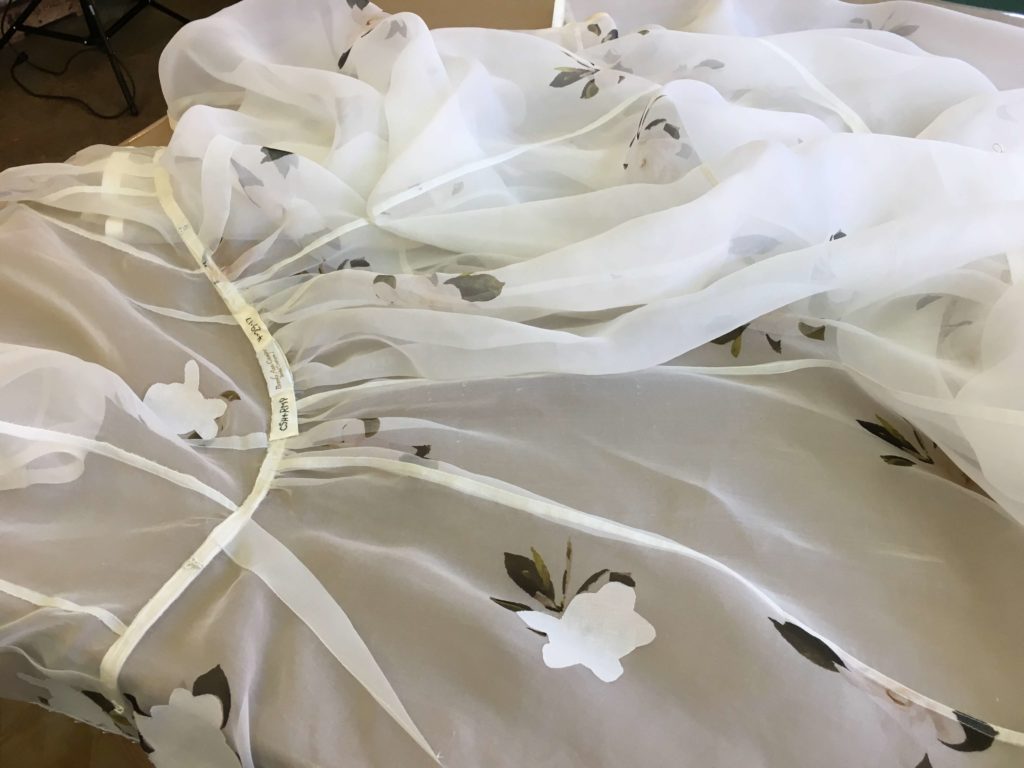
For each of my custom brides, I like to embroider the couple’s initials and their wedding date inside the dress. I usually do this hanging from my label, but Cameron’s overdress was sheer. To keep it out of sight, I crafted something thin that would hide along the inside of the waistline trim.
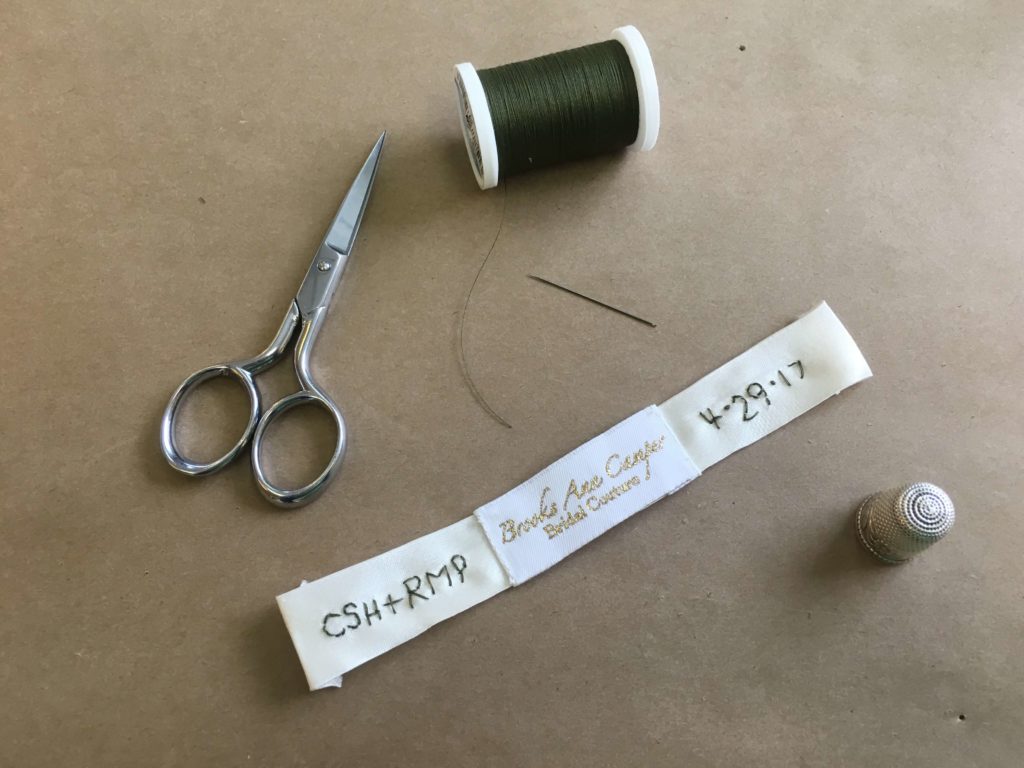
And no, I did not get the date wrong! Though it is now 2018, I do not start blogging about a bride’s dress until after her wedding day to keep everything a secret. Cameron married last April in Scotland…
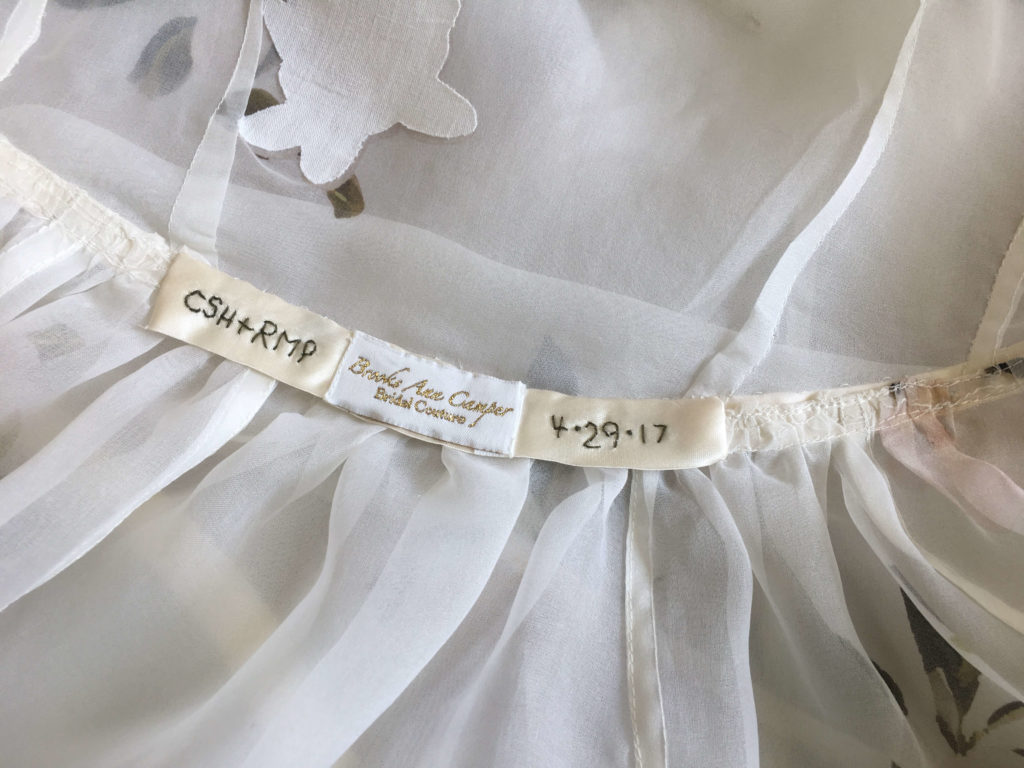
A quick try-on to double check all previous work! It keeps getting more beautiful…
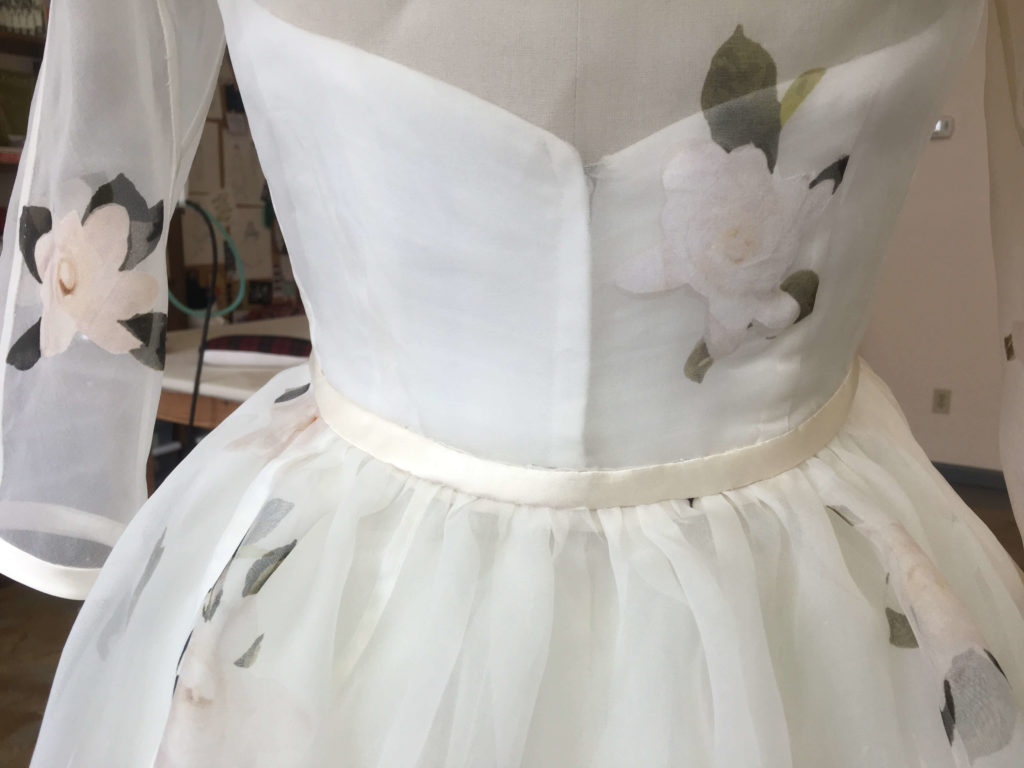
Finishing the Bustle
During our final fitting, I added safety pins at the overdress’s bustling points. This was the only photo I could find showing them! There’s a certain time of day where I’ll often turn off the overheads and enjoy the light is naturally coming through my studio windows…
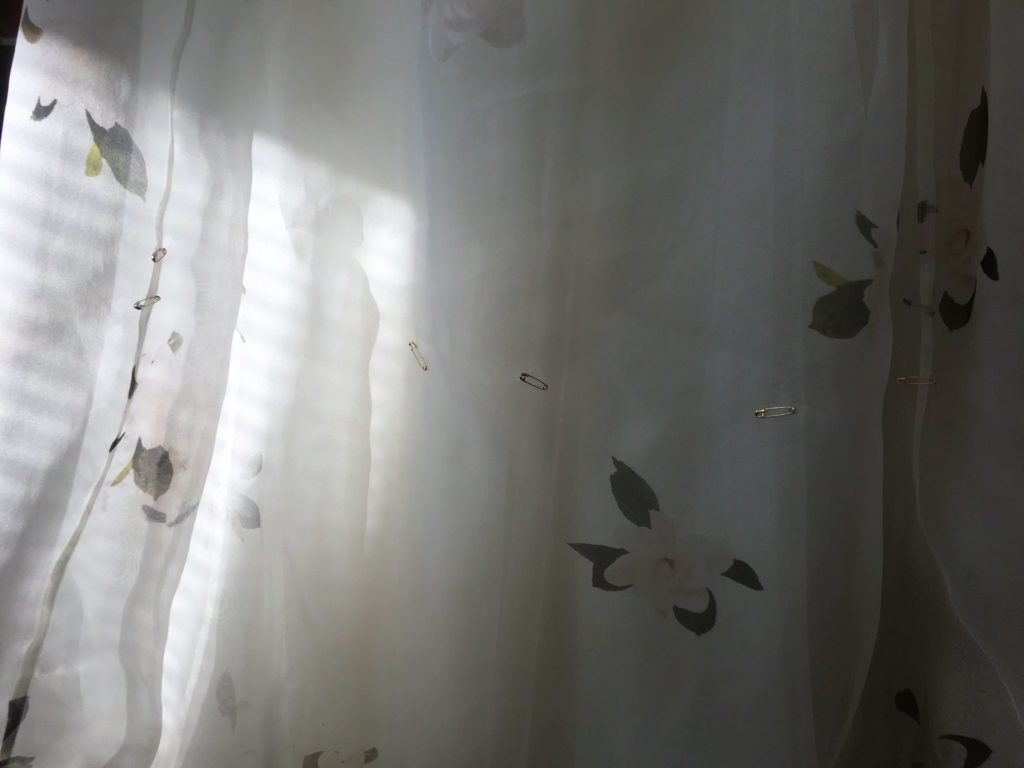
Cameron’s store-bought underdress already had a bustling system of its own. Replacing the safety pins with loops would allow me to hijack the existing bustle buttons and reuse them for the overdress.
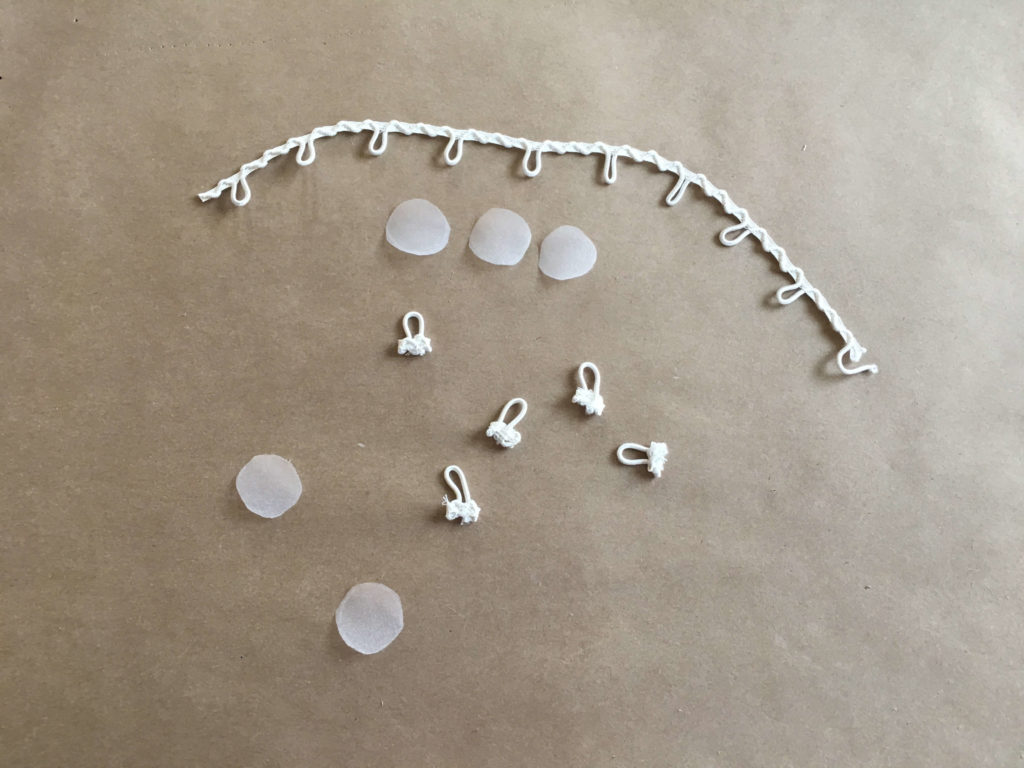
After brainstorming and testing loop ideas, I decided on elastic bridal loops reinforced from the back with a circle of organza. This gave the best strength while also being the most invisible. I used a few small round objects (like a tube of lipstick) to determine a circle size for the back reinforcement. Ultimately, I chose my true love: the thimble…
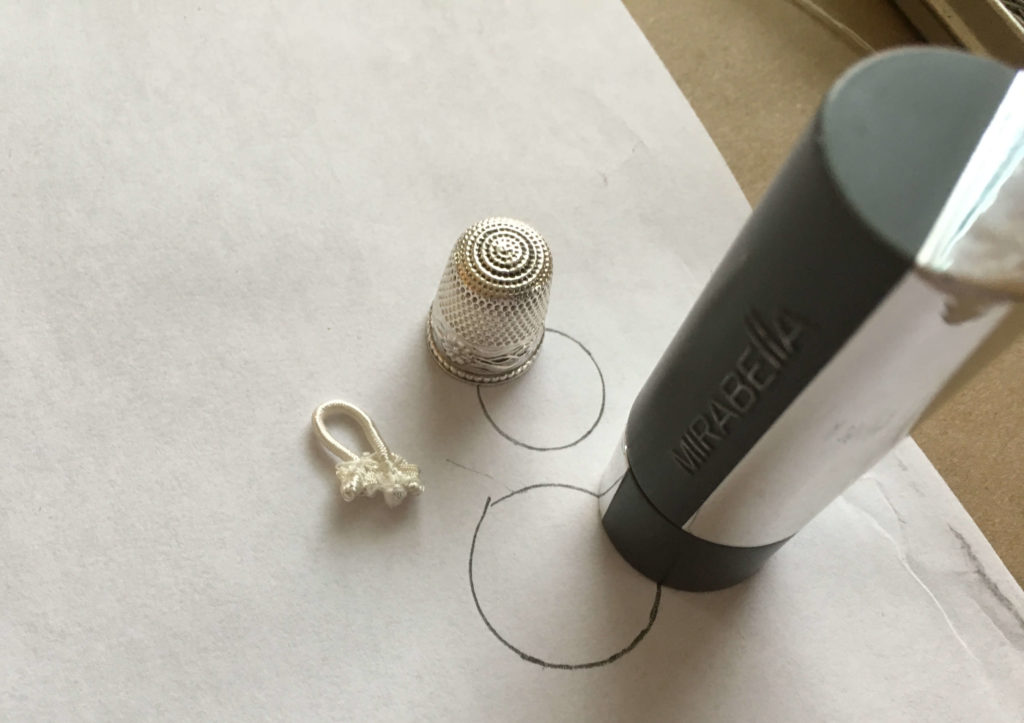
I used the circle template to cut the organza…
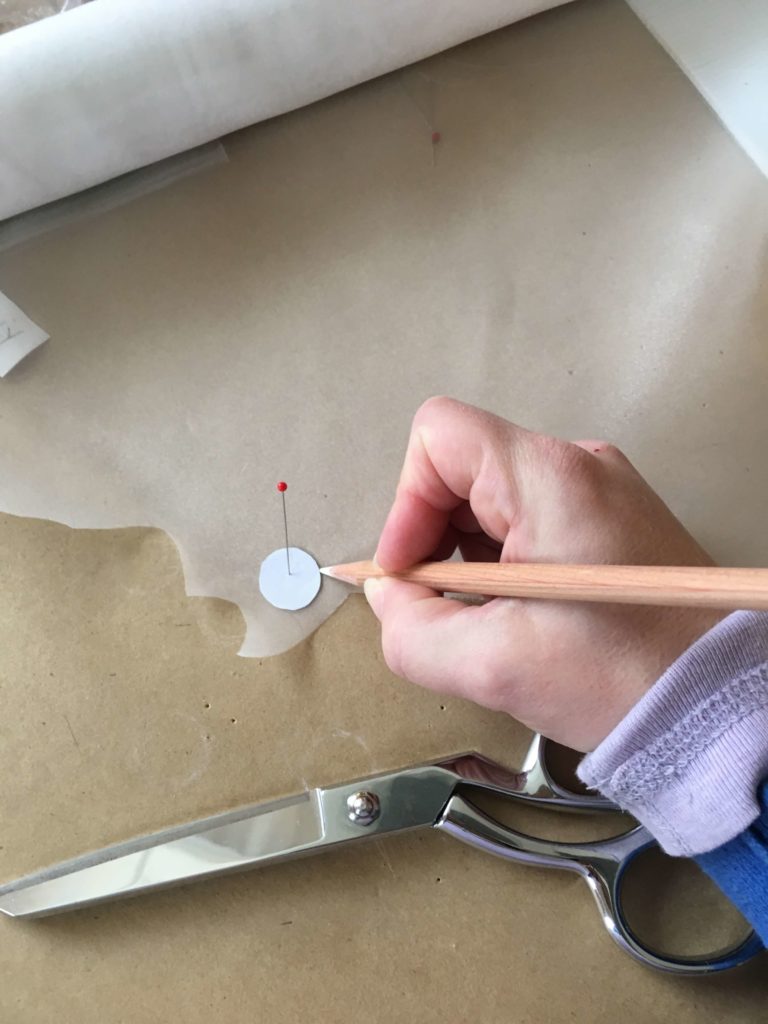
… and turned some bridal loops into bustle loops.
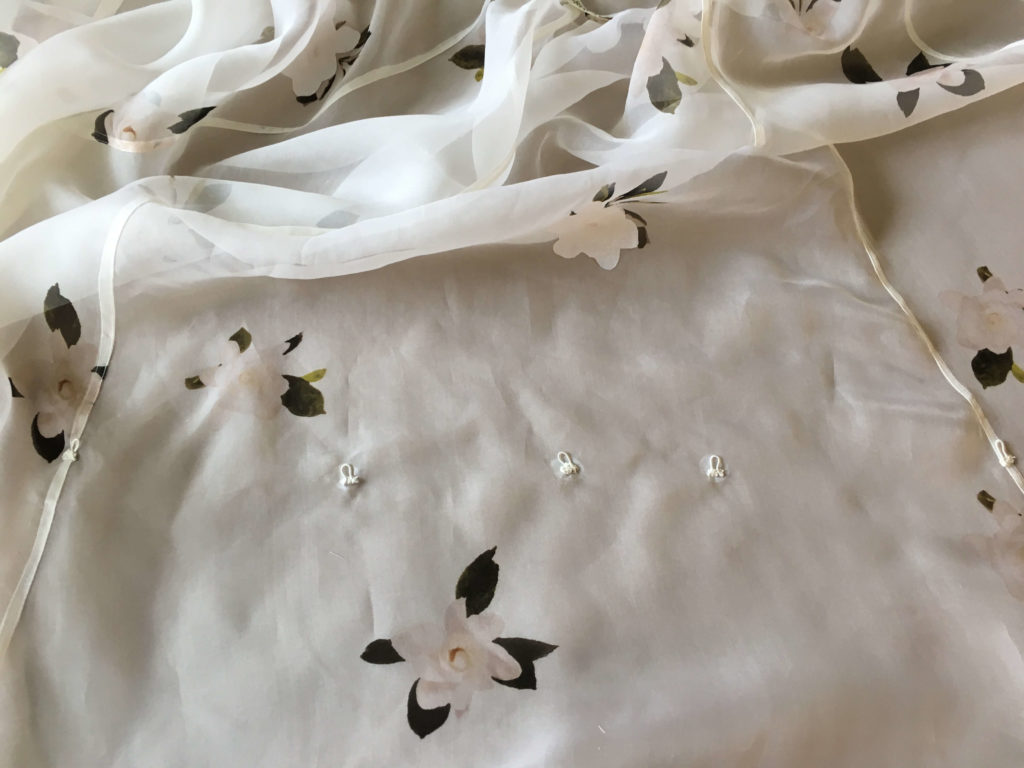
I carefully replaced each safety pin with a loop on the inside and a tiny circle of reinforcement on the outside. With the long flowy layers of Cameron’s dress, no one would ever notice these tiny white additions!
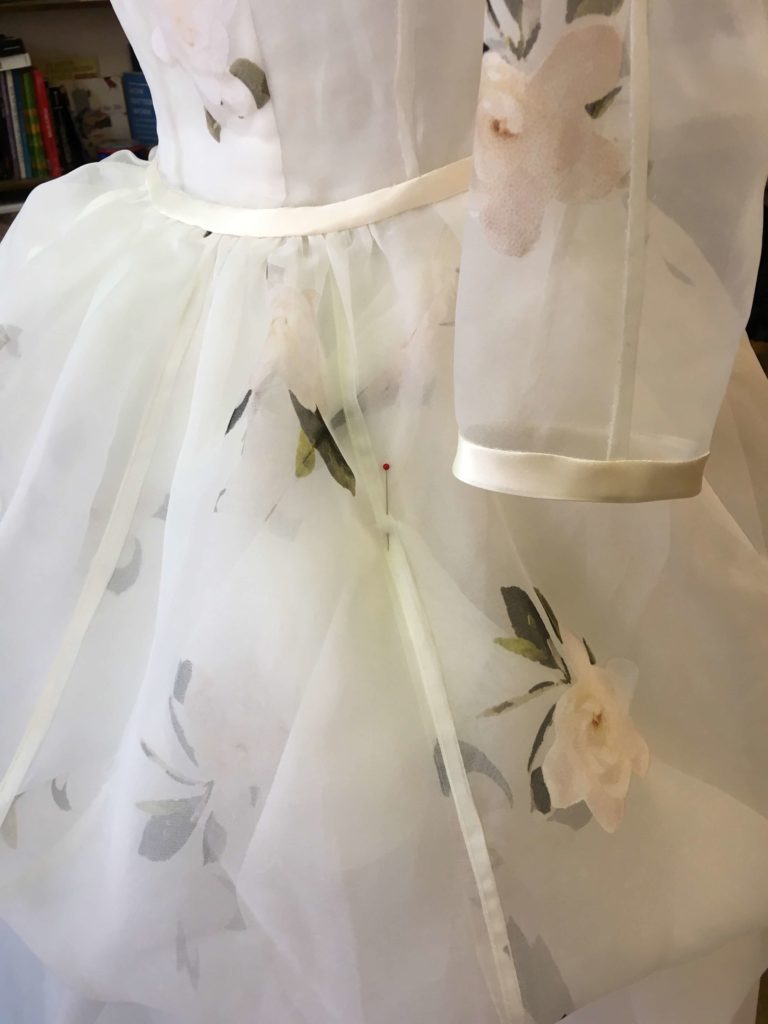
There were two places that needed a little more bustling beyond the buttons already on the underdress. I bustled up the over dress and marked each of these points with a pin…
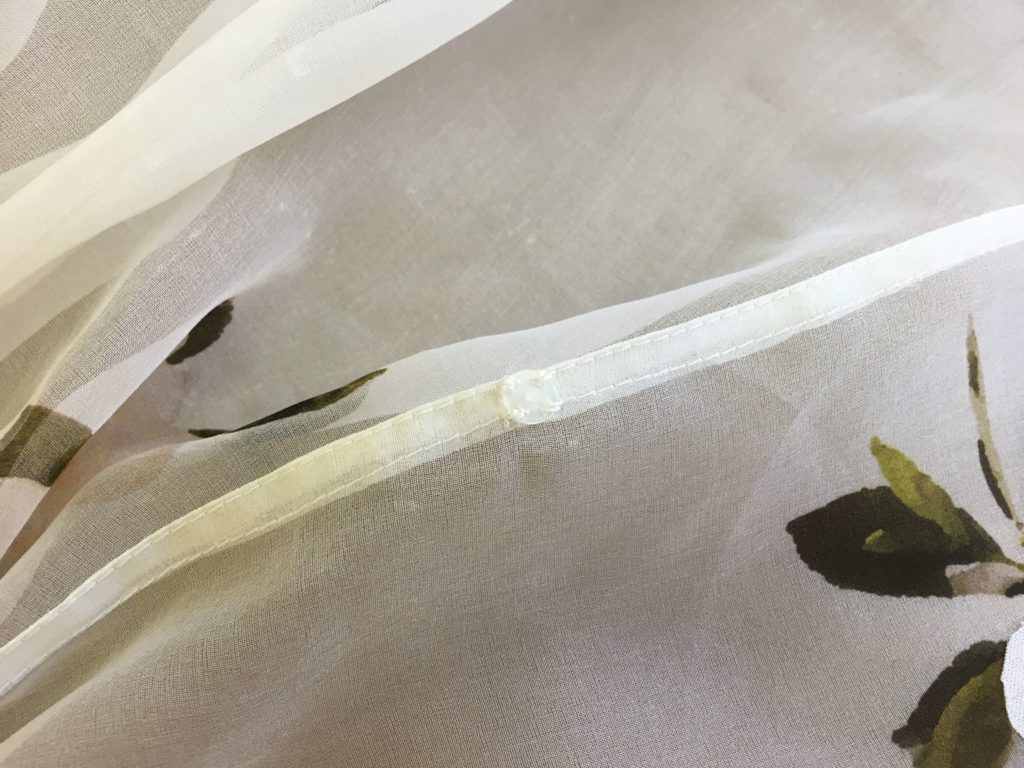
… and added teeny clear snaps to finish the job.
I took a deep breath and realized that this was it! Every stitch was now complete. Sigh…
I love the photo below taken as I was giving the overdress its final steam press. You can see the custom pattern drafts and samples hanging from the table on the right and a bit of a light fixture on the left about to be set up for the photo shoot… You can almost feel the excitement in the room!
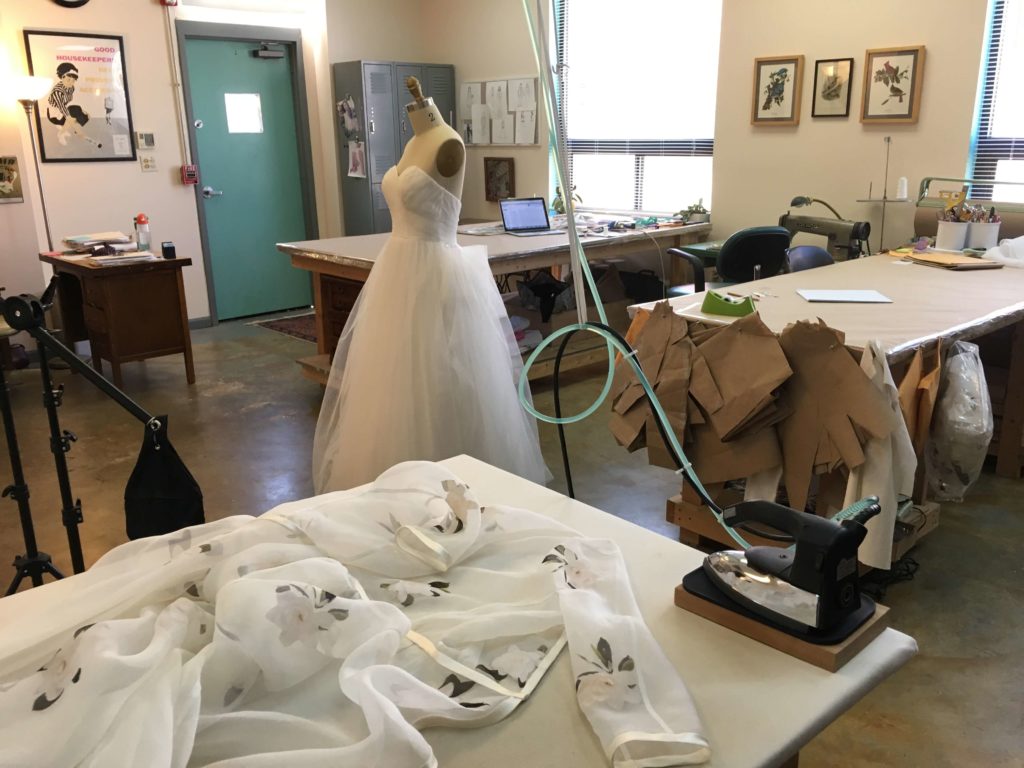
Setting Up the Photoshoot
Next, we turned my sewing studio into a photo studio!
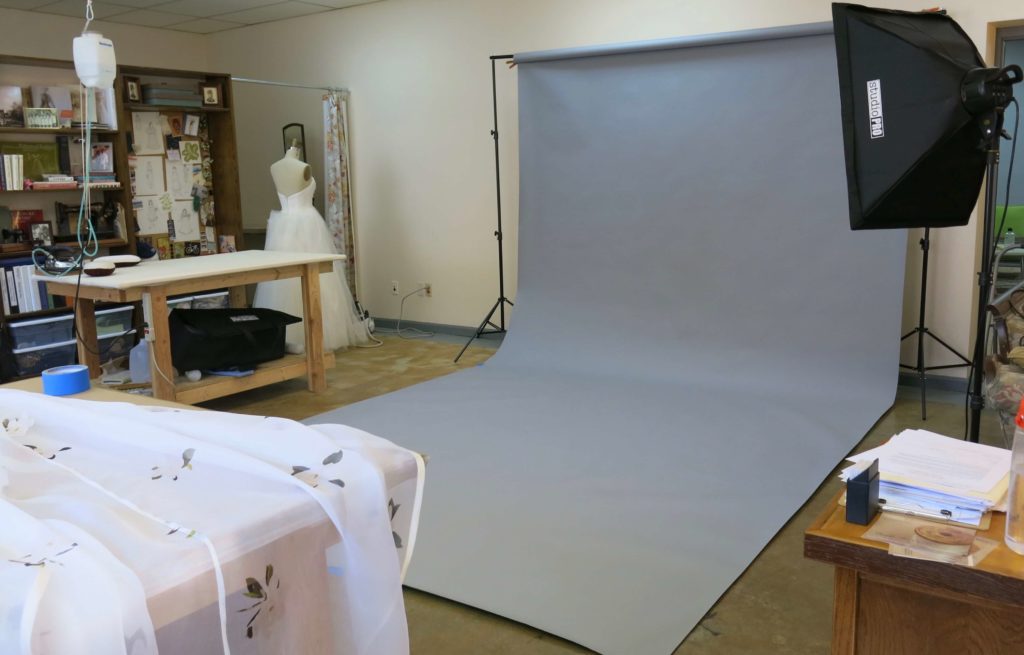
Though Cameron’s wedding photographers took amazingly-gorgeous tears-streaming-down-your-face wedding day photos (and support me in sharing them with all of you!!), I don’t like to depend on someone else to capturing great sharable shots of my work. Plus, it’s fun to pretend I’m a real photographer…
During setup, my handsome and helpful husband Charles caught these shots of me bustling…
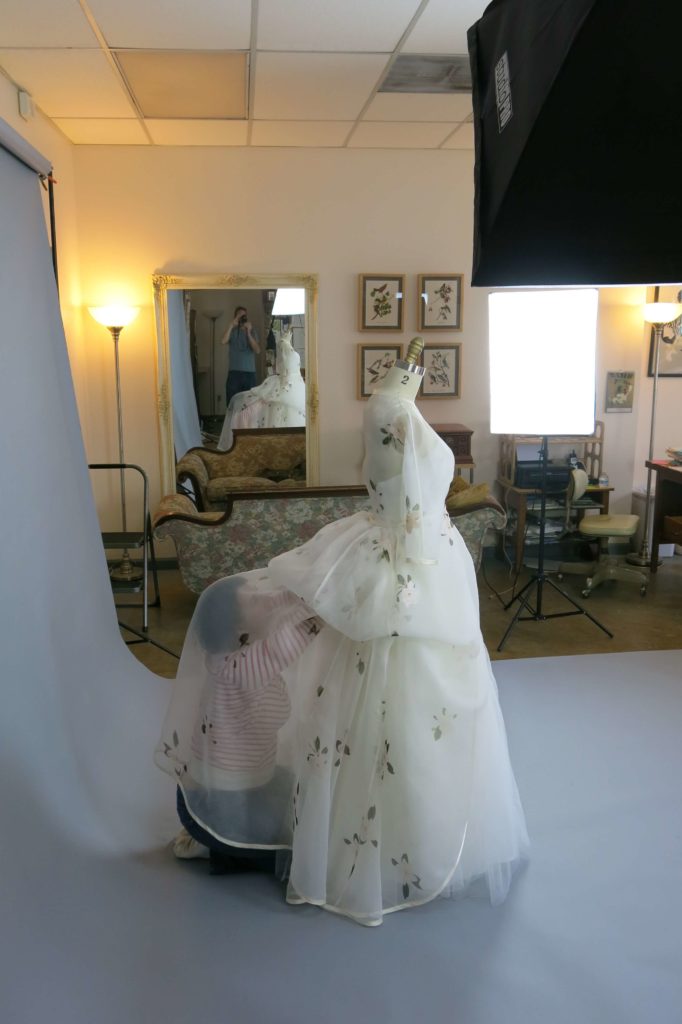
I love having a studio space that is versatile enough for almost anything I might want to get into!
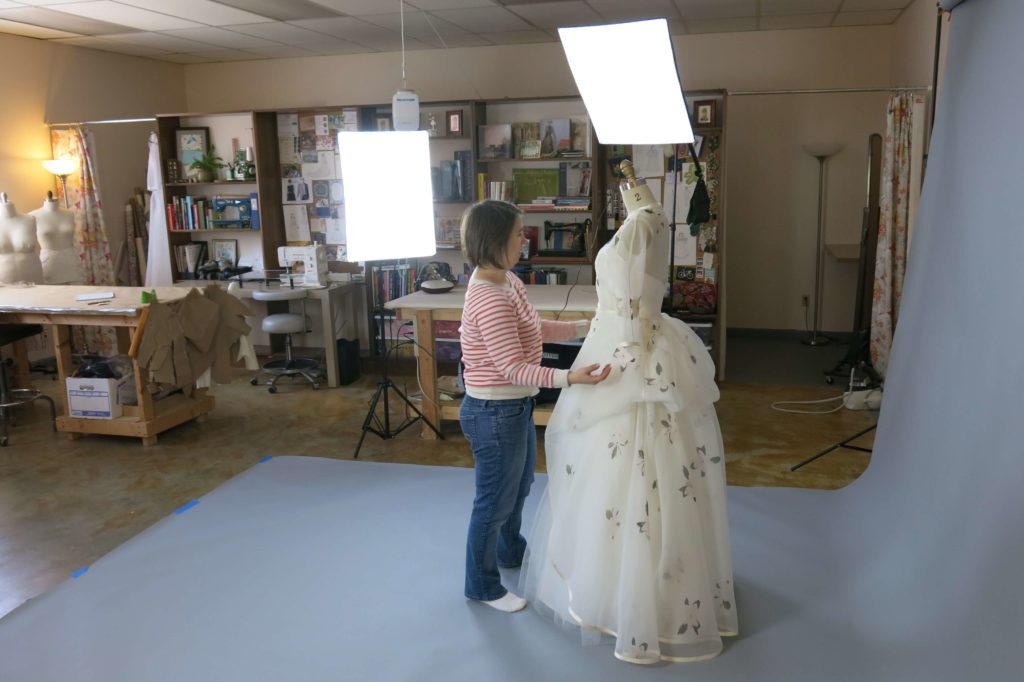
While prepping the shoot, I was seeing the dress complete for the first time. After many months of crafting and scheming and envisioning what it would become, it was a wonderful feeling! Cameron would be in the studio soon to take her dress away to Scotland so I enjoyed my last moments together with the dress as if it was an old friend…
My next post will share the photos I took, but for now, here’s a sneak peek….
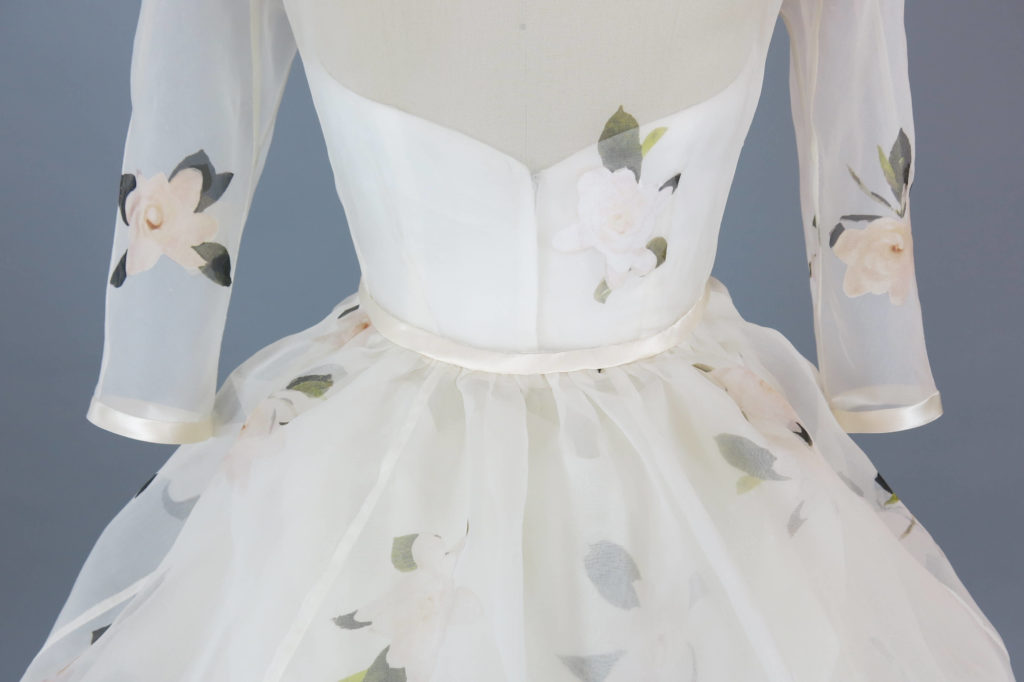
NEXT POST: I’ll share the best shots from my photoshoot! Keep following along…
SaveSave
SaveSave
SaveSave
SaveSave
SaveSave
SaveSave
SaveSave
SaveSave
SaveSave
SaveSaveSaveSaveSaveSave
SaveSave
SaveSave
SaveSave
SaveSave
SaveSave
SaveSave
SaveSave
SaveSave
SaveSaveSaveSave


2 Responses
gorgeous. You executed all the elements of this dress masterfully!
Thanks Kate!