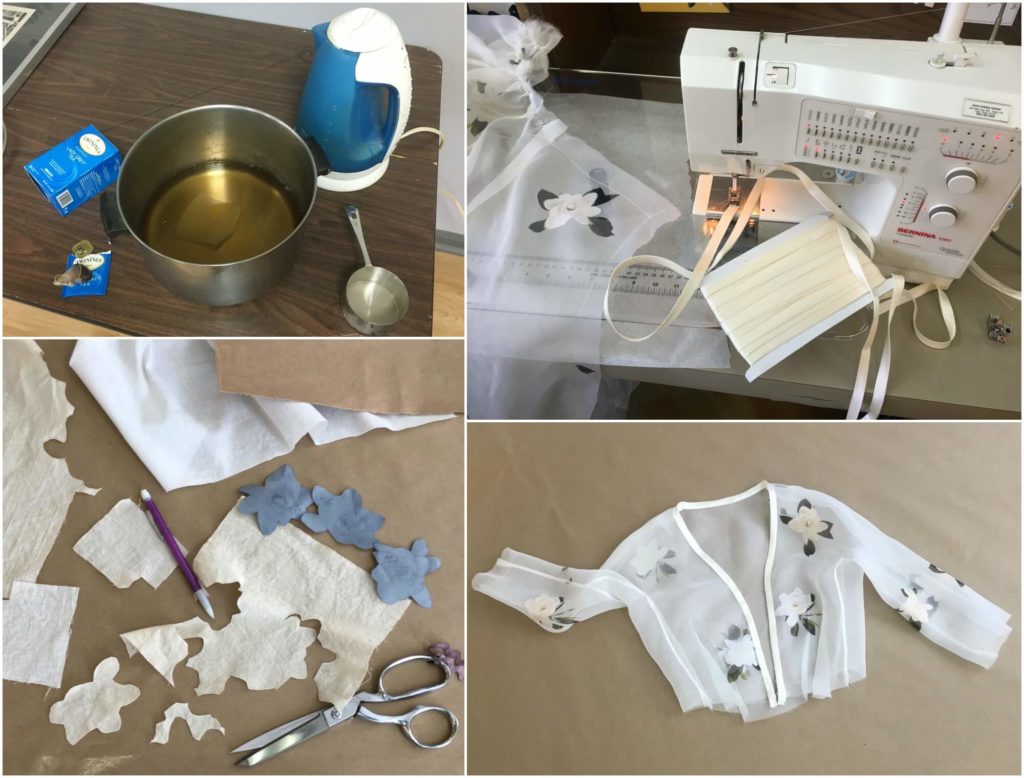
Even though the skirt and the top for Cameron’s overdress were mostly constructed, there was still plenty of work to do before our basted fitting. Since our second mockup fitting went so well, I would finish almost everything before Cameron would try on the real overdress in the real custom-printed silk organza for the first time.
Tea Dyeing and Flower Finesse
The first finishing bit I chose to tackle was to make the top flowers pop. Cameron’s vision had the custom-printed flowers of the fabric “sprinkled” across the garment. She liked the idea of the flowers being stronger at the top and fading as they flowed down the long skirt and train. Sounds gorgeous, right?
Earlier in the creative process, I played around with ideas until I discovered a cool way to make selected flowers pop. Since the floral print featured on Cameron’s shoulders and arms (without the white underdress underneath) gave a “faded tattoo” look as the sheer fabric blended in with her skin, I added opaque fusible interfacing to the inside of the fabric exactly matching the flower’s shape. I planned to use this technique to back all the flowers on the bodice plus a few more sprinkled near the top of the skirt.
But there was one thing about it that still kinda bugged me….
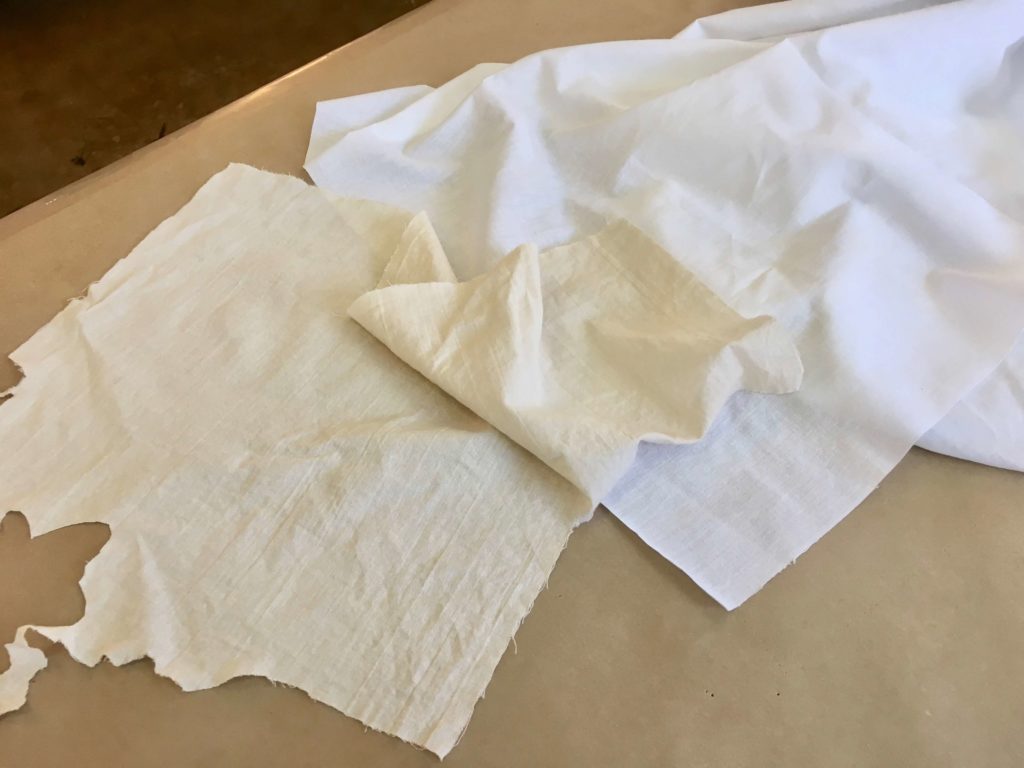
The contrast between the white white of the interfacing and the sheerness of the organza fabric was a little stark on the very top flowers where Cameron’s skin shows underneath. To remedy this, I decided to use tea to dye some of the woven cotton interfacing! I’d add the slightly more skin-toned backing to the flowers with Cameron’s skin behind it and the white backing to the flowers with the dress behind it.
Cameron would be moving to England after the wedding so I chose my favorite English tea for the project! Any other Lady Grey fans out there?
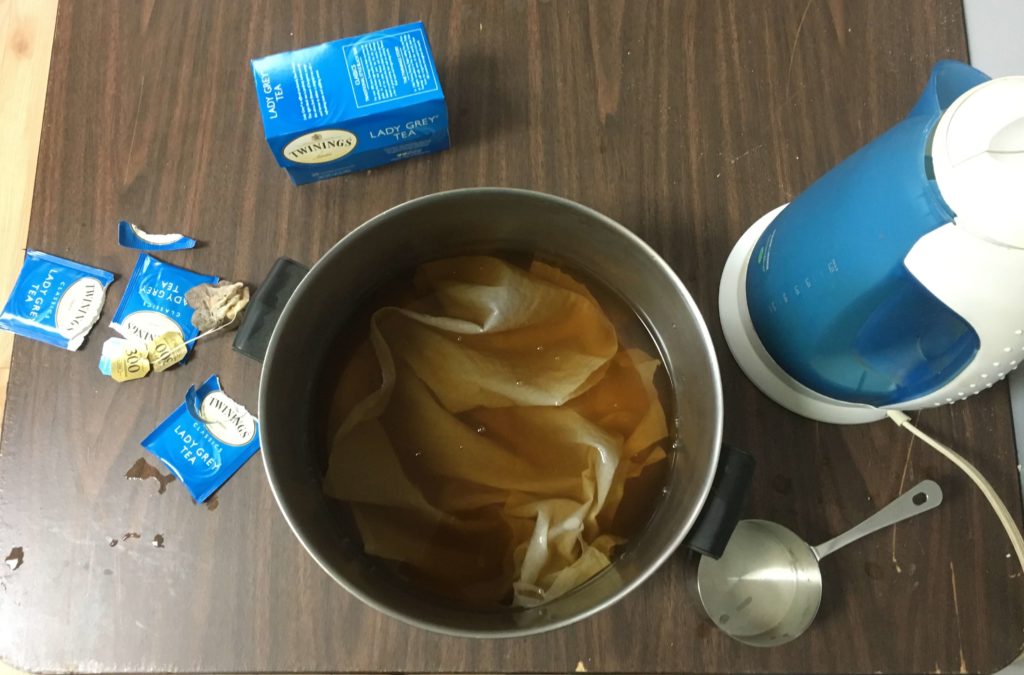
Once dried, my interfacing/backing choices were finally looking really good to me.
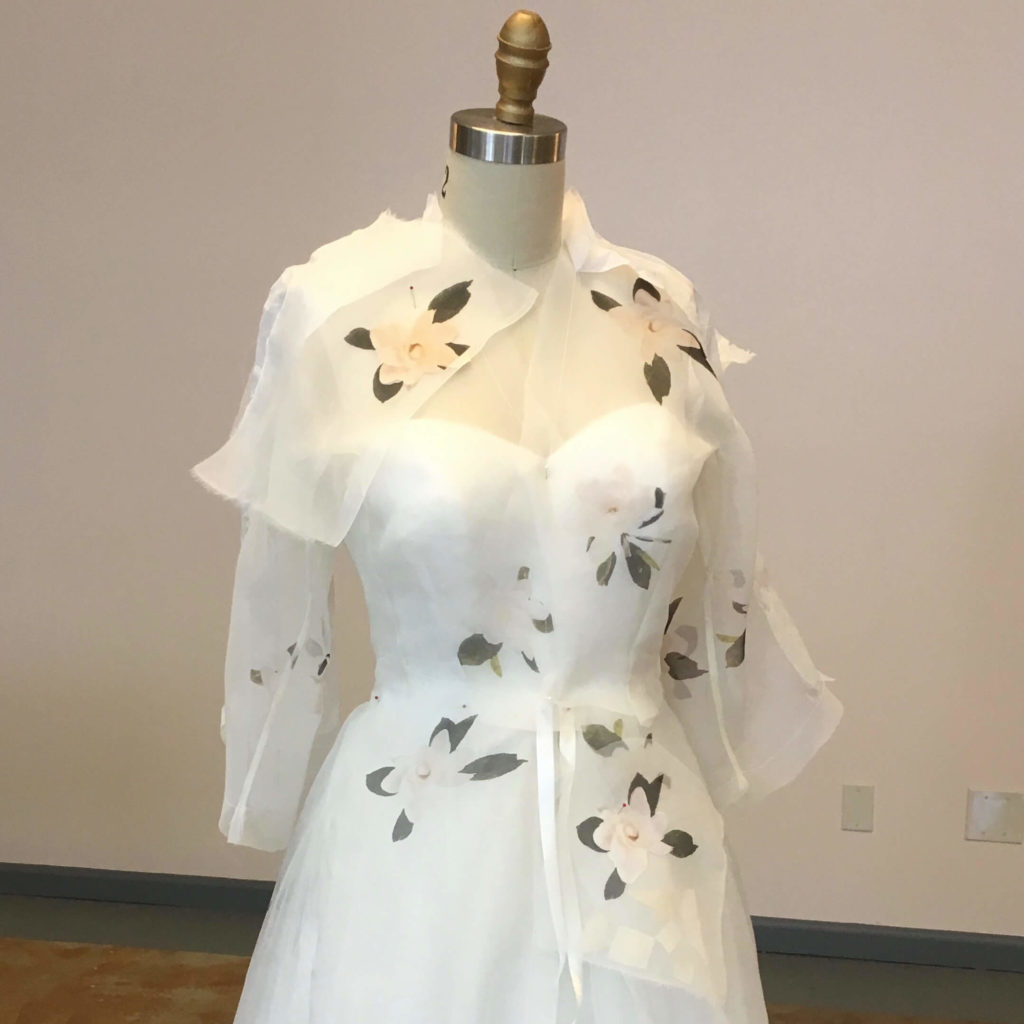
I tested a few samples of the backed flowers on top of the dress with a tea dyed version pinned to one shoulder and a white version pinned to one hip. Though it is hard to tell on this dressform (whose “skin” is very white), I was really digging it…
Feeling confident about moving forward, I used my templates of each photocopied flower to cut the exact flower shapes out of the heat-fusible interfacing.
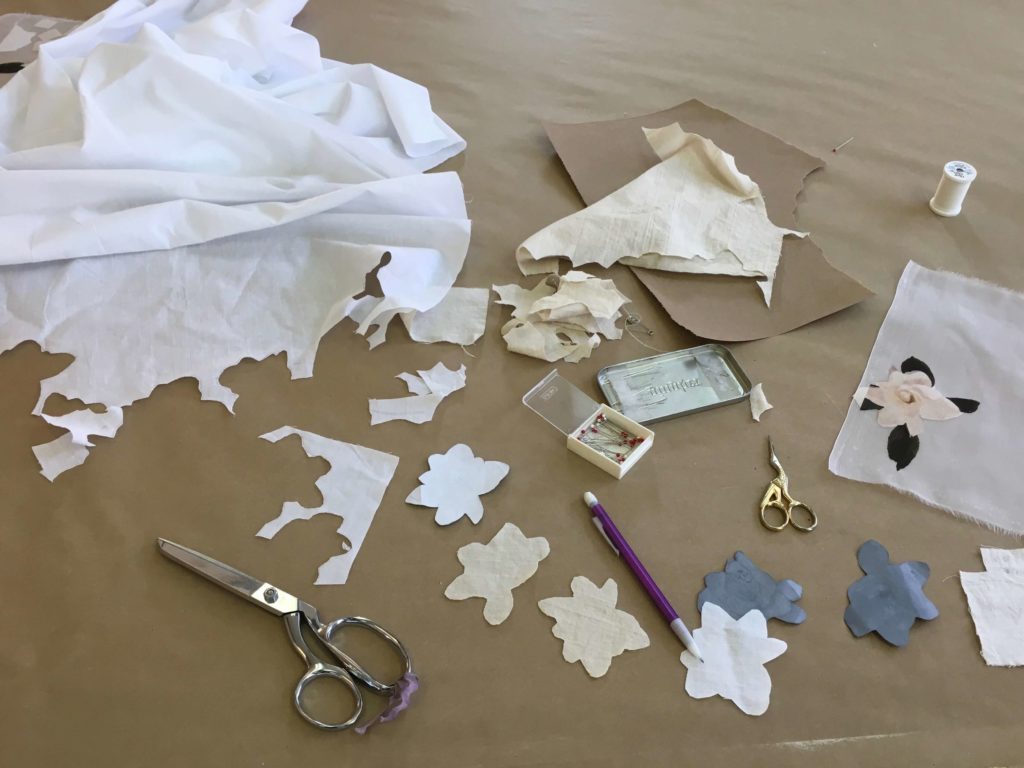
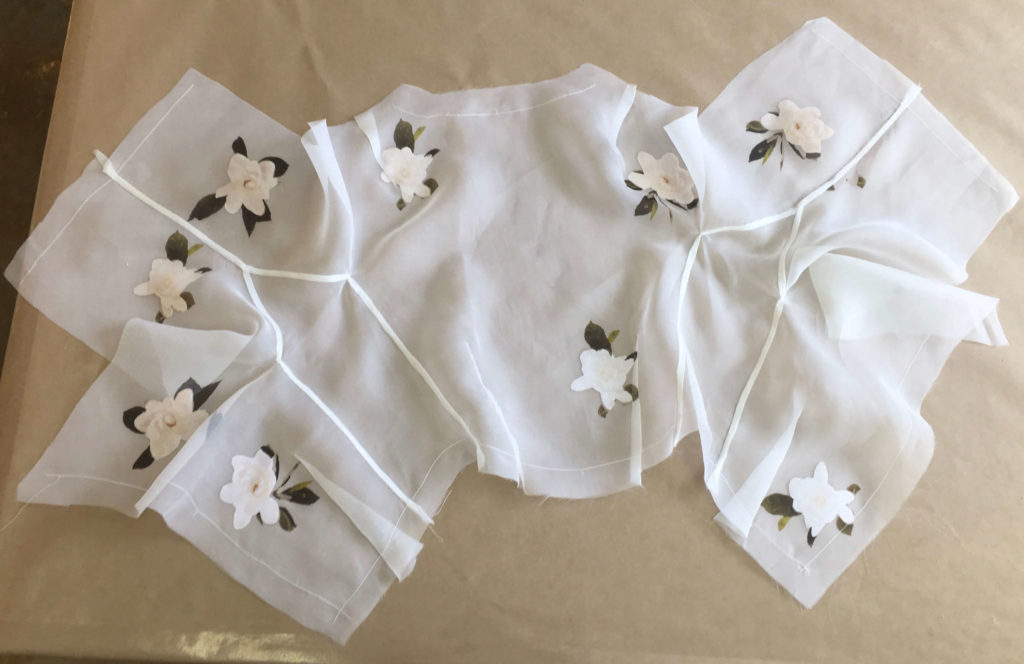
At my ironing table, I worked from the inside of the dress, carefully matching and adhering each interfacing flower to its corresponding sheer flower.
Here’s what it looked like afterwards from the outside! See why I didn’t close up those top-of-the-arm seams yet?
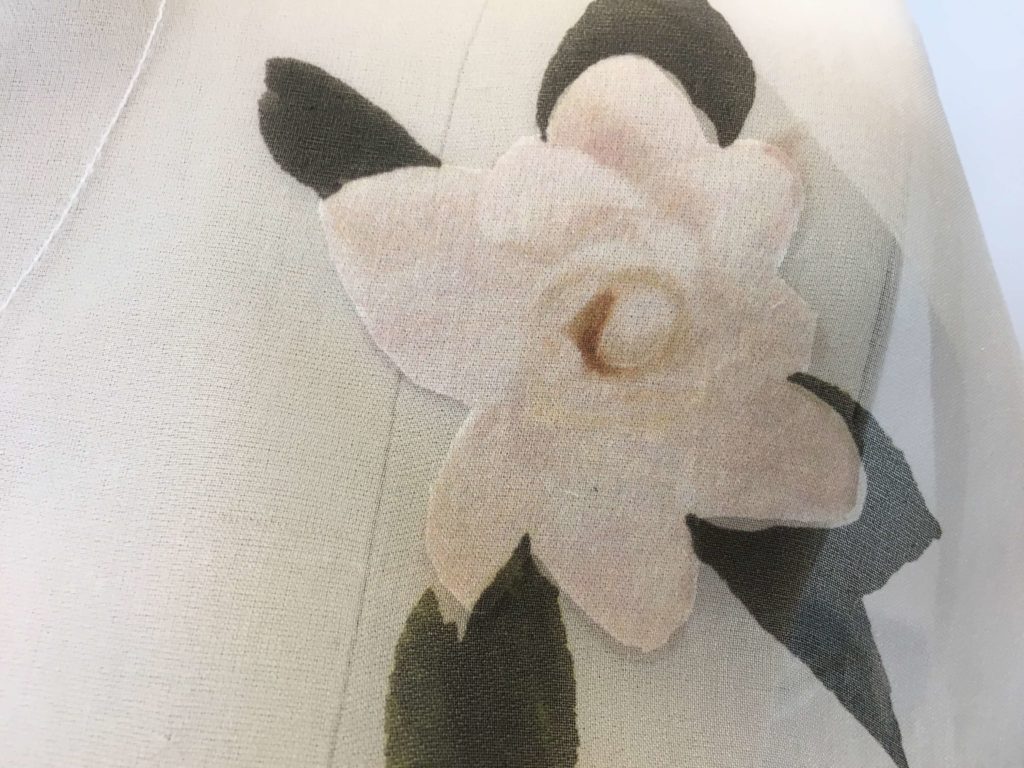
I loved how it made the flowers look! Here’s a close up of a tea dyed flower from the outside…
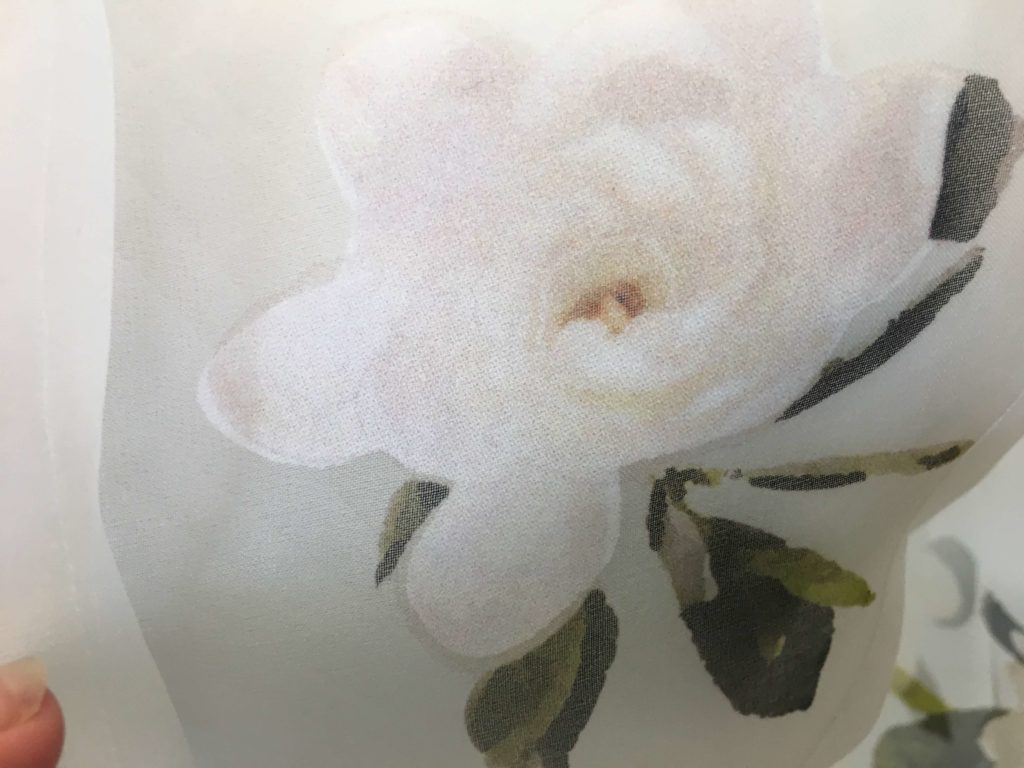
…and a white flower from the outside. So dreamy…
Once the flowers were popping, it was finally time to baste the shoulder-to-sleeve-hem seams. While pinning together the seamlines on the last strips of tissue paper, you can see what the flower backings look like from the inside.
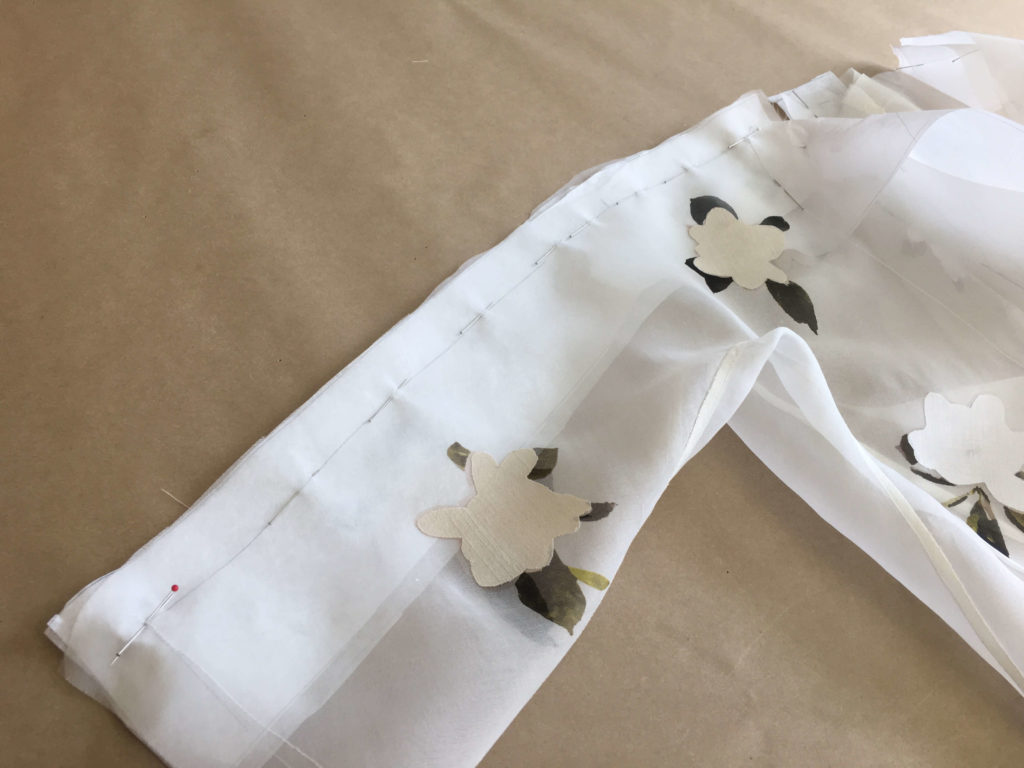
I was really pleased with the current state of the top and its floral pops!
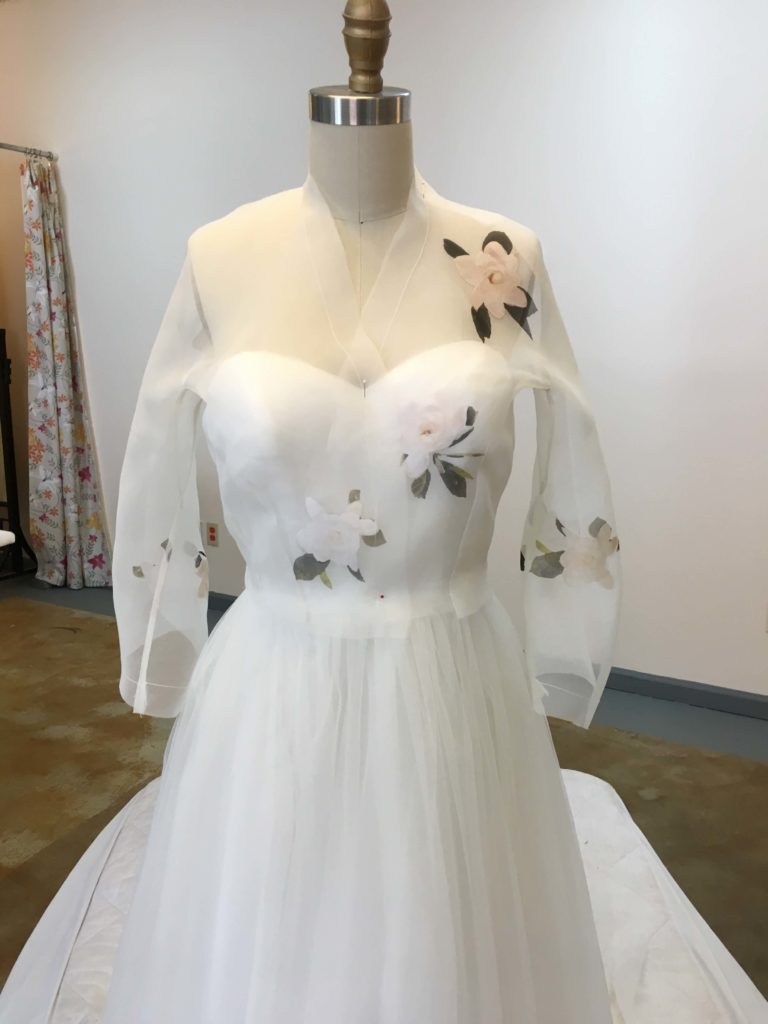
Each step forward really showed how everything was shaping up!
Adding the Satin Trim
Though I love making my own couture bias binding, Cameron was on a tight budget. I was able to find a supplier for reasonably-priced double fold bias tape in both white and cream satin. We chose the cream which worked like a dream!
I started with the skirt (where I “sprinkled” a few more flowers with white backing).
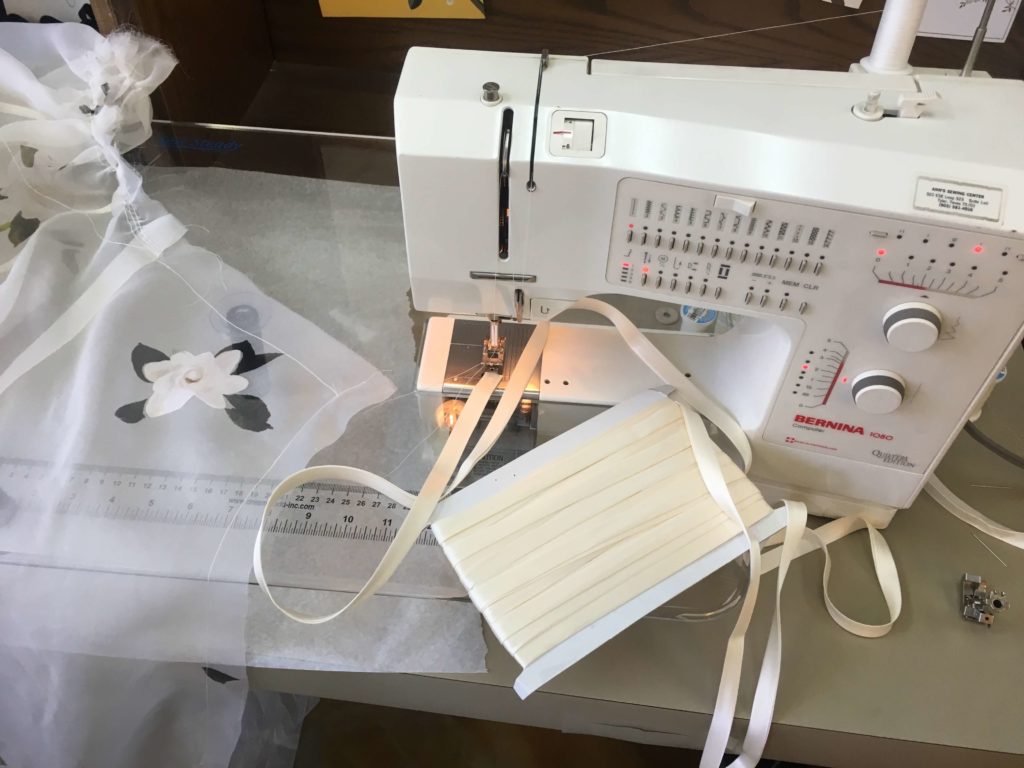
I used my stay-stitching to line up the edge of the bias tape while machine stitching along the tape’s inner fold.
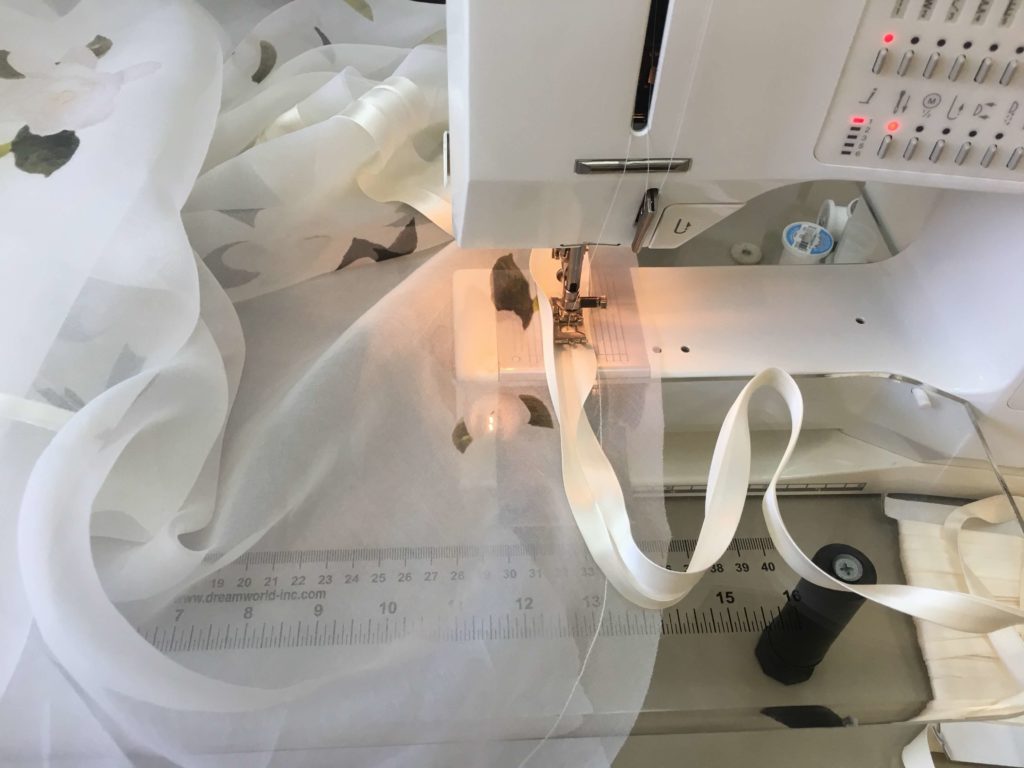
Once I stitched the tape around the entire edge of the very full skirt, I took it to the ironing table for folding…
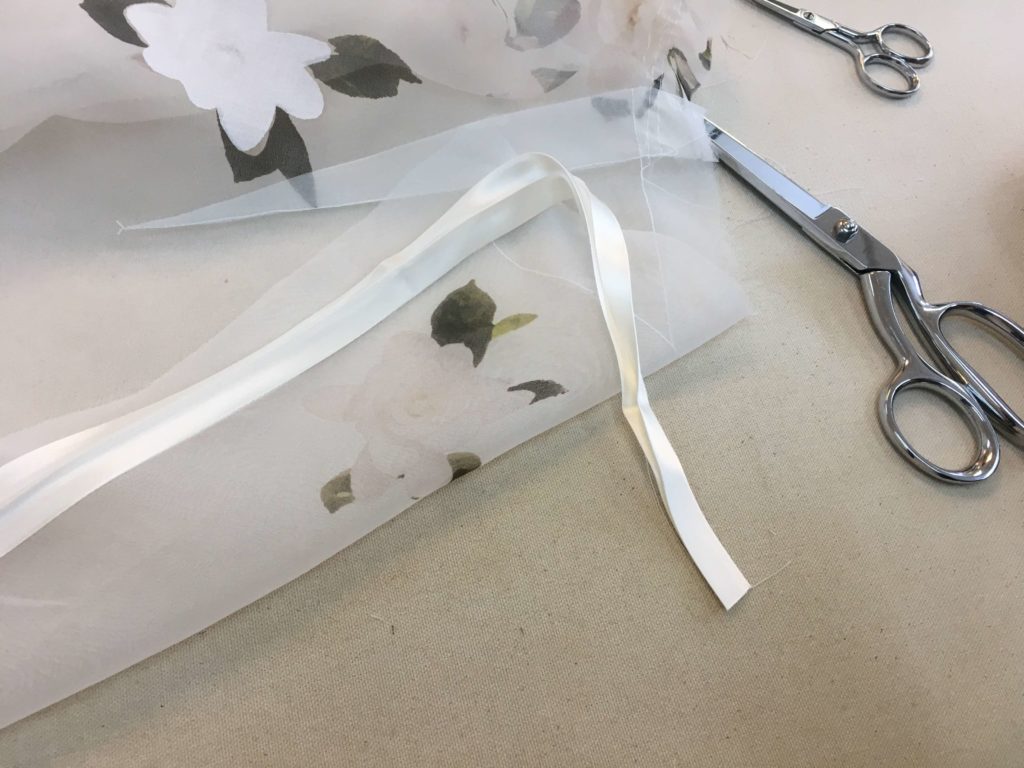
…trimming…
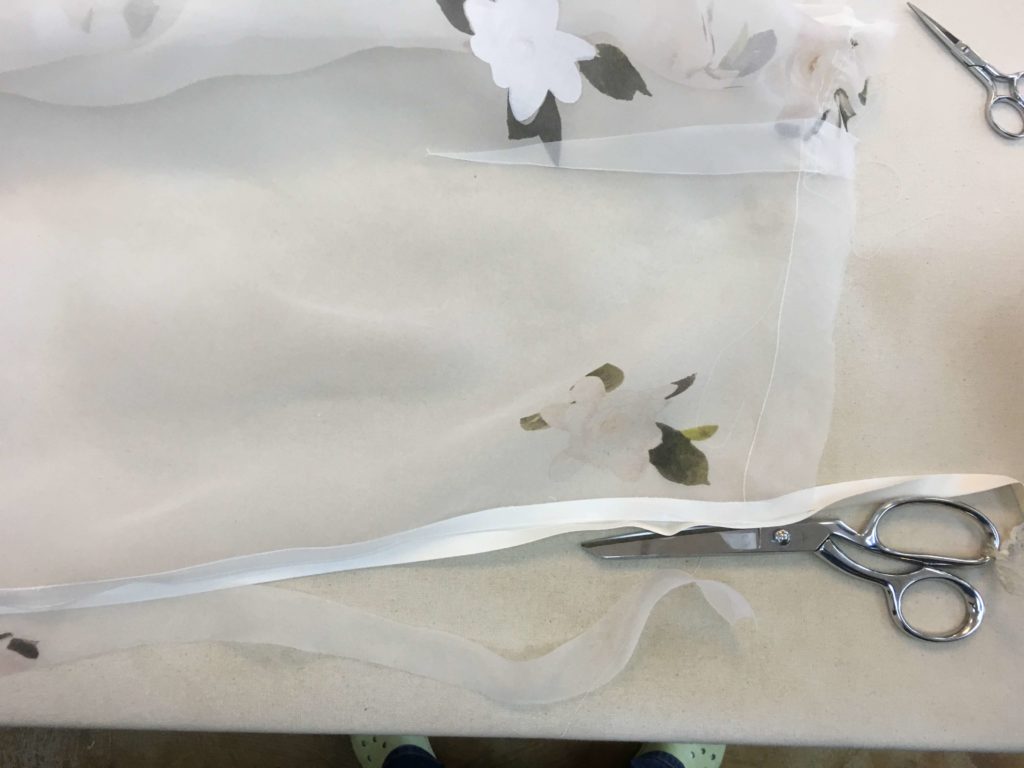
…and pressing.
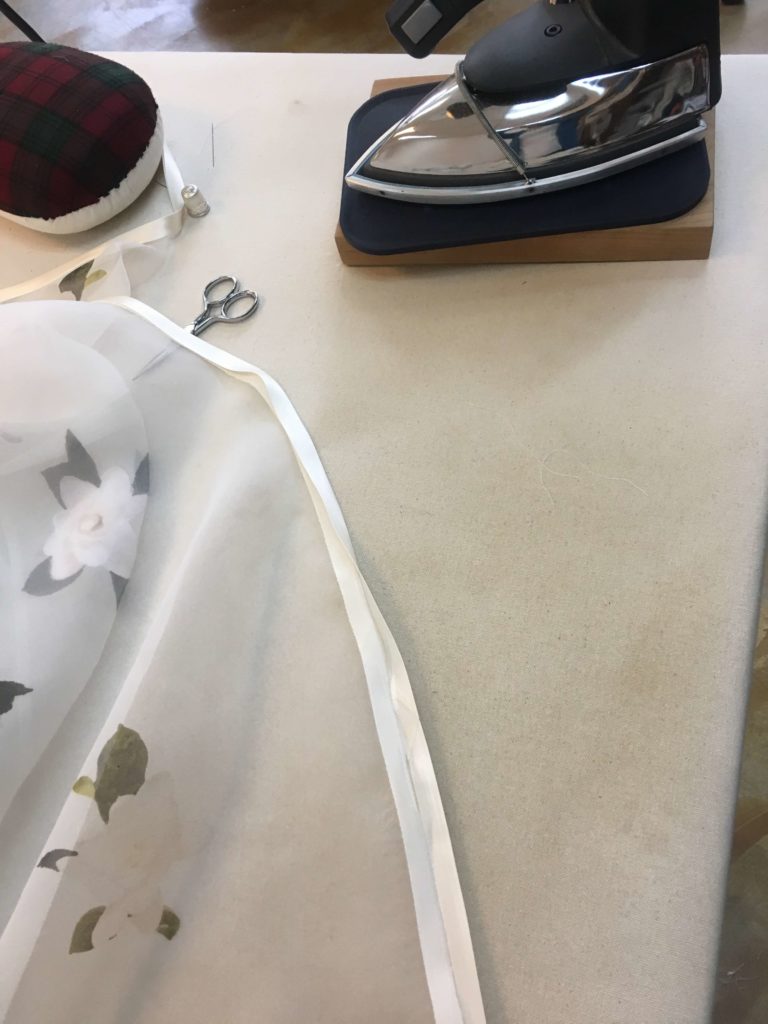
With the tape finally in place, I finished the outer edge with a machine stitch.
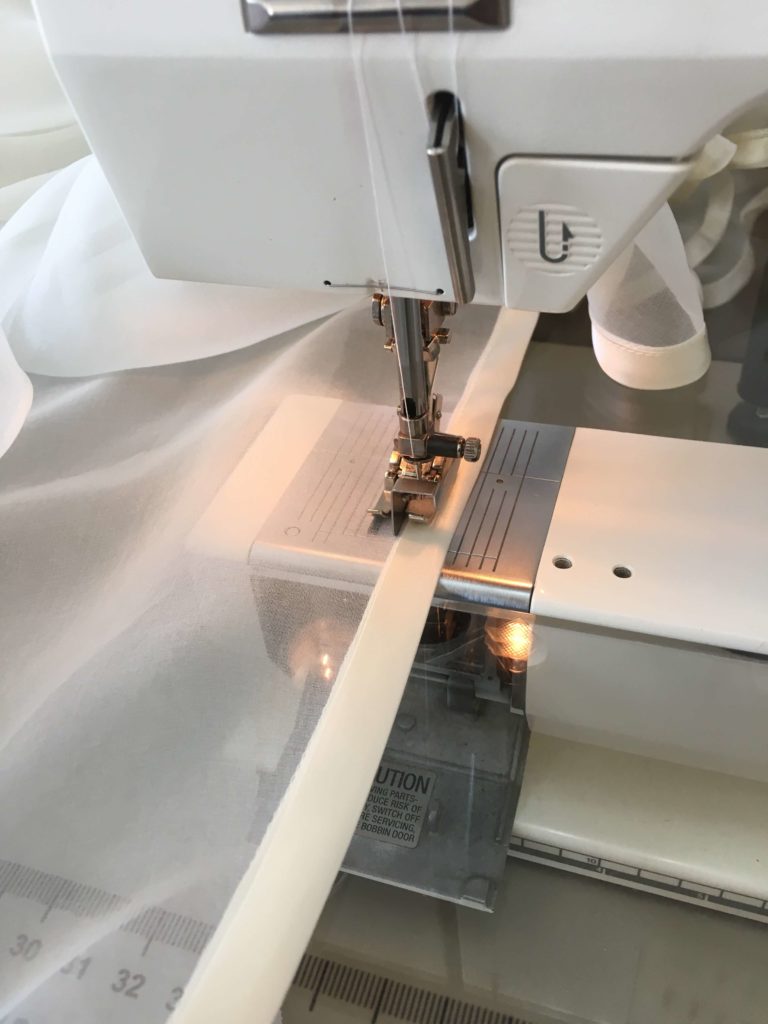
Oh yes….
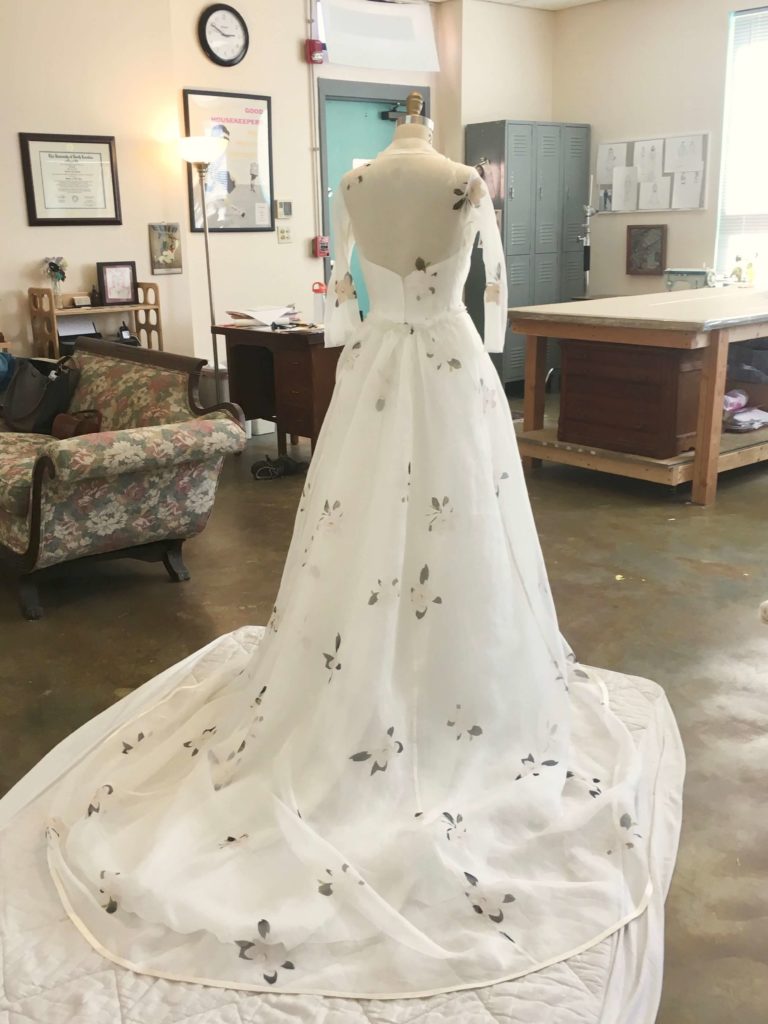
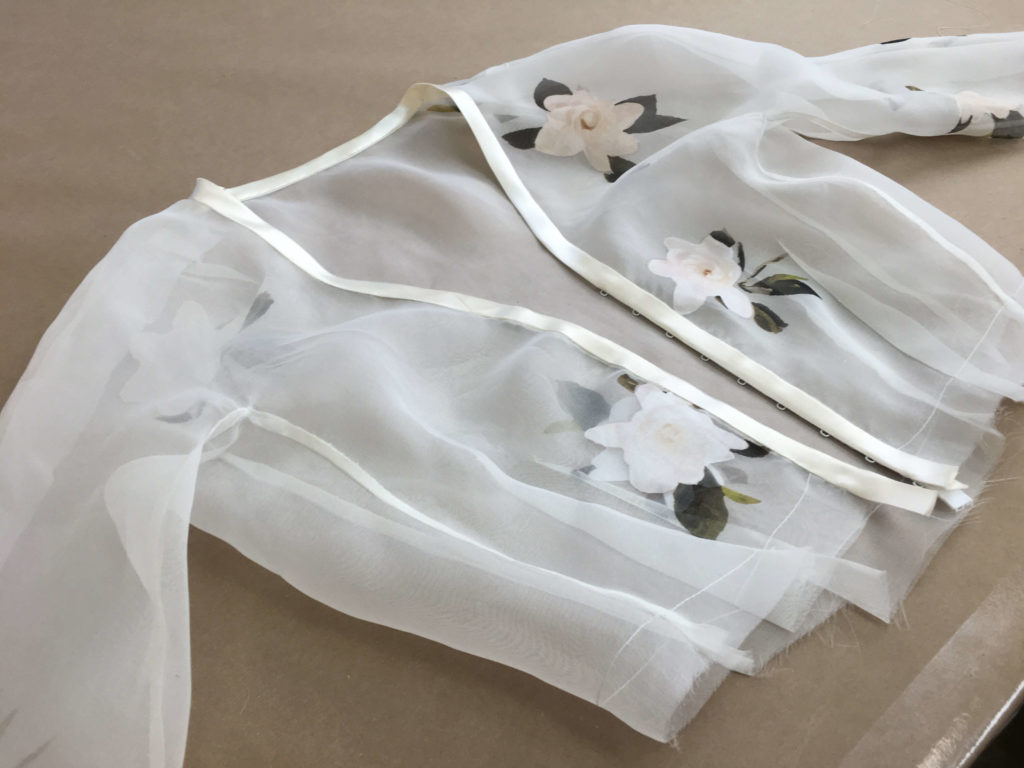
Next, I added the first edge of the trim to Cameron’s top and checked how it looked on the dressform before trimming the excess organza away.
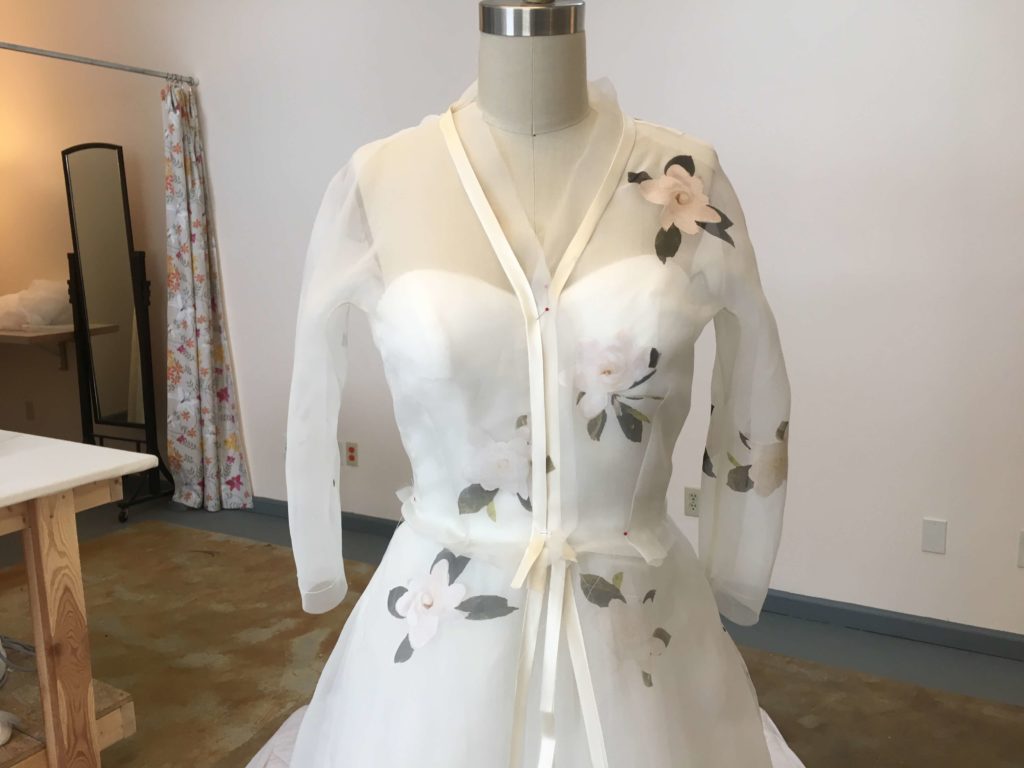
I added hook and eye strips as the front closures to the inside of the bias trim…
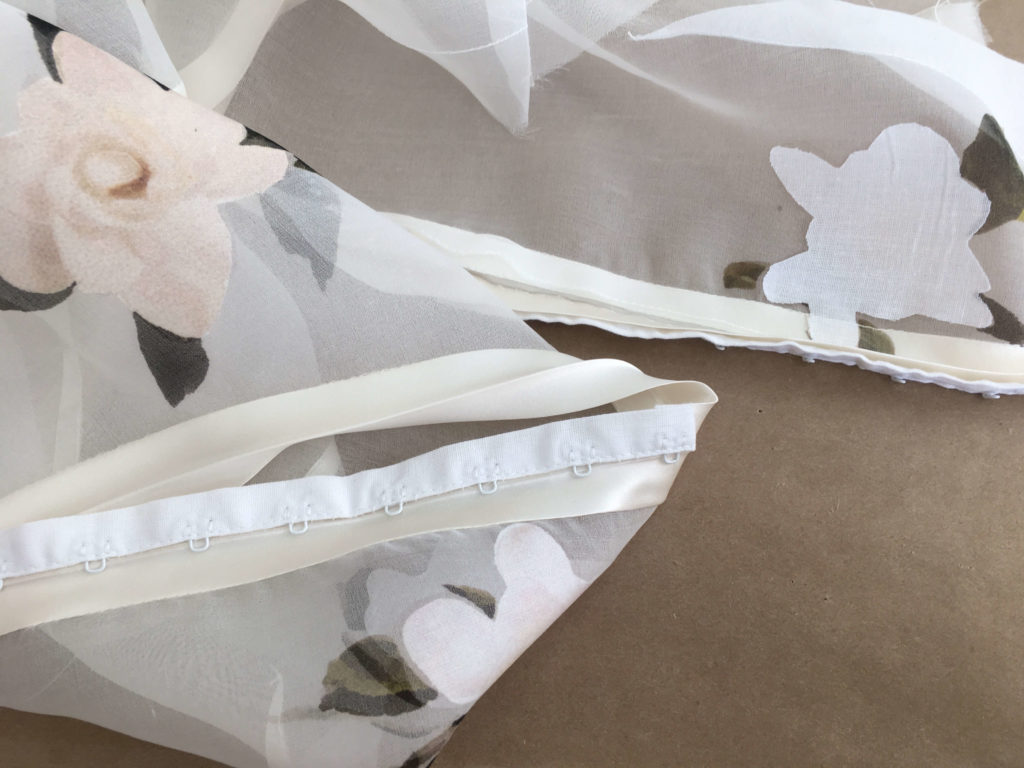
…before folding over the tape and enclosing the raw edge with hand stitching.
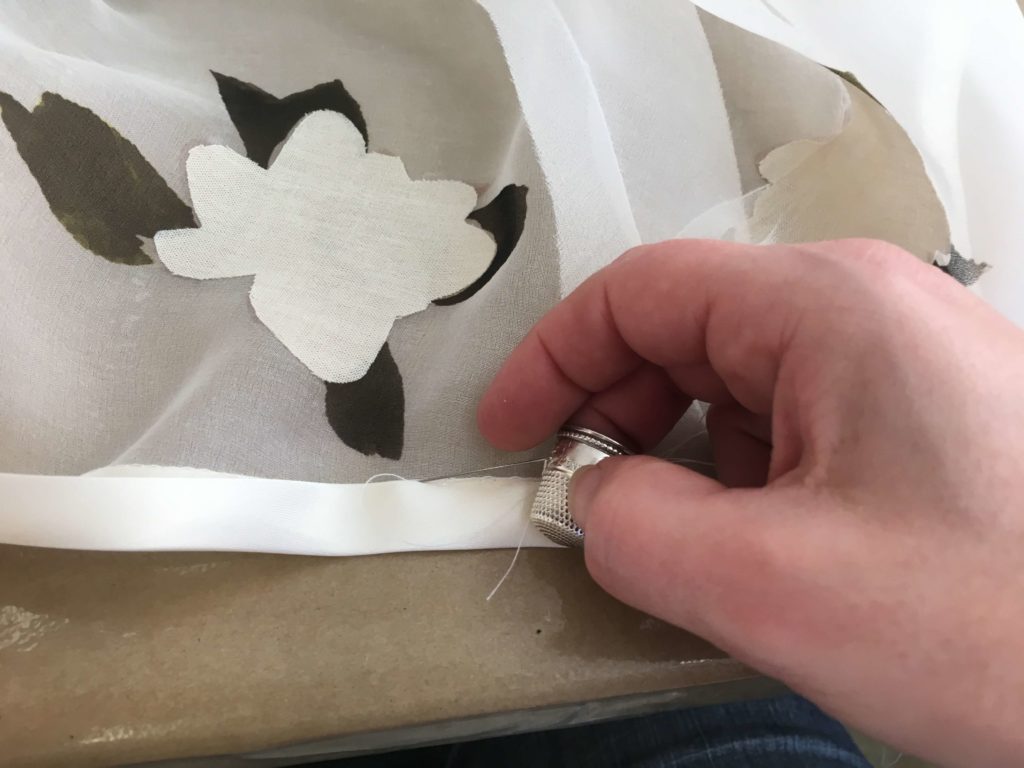
So beautiful…
Learn more about adding double fold bias tape to the edge of your sewing projects in the Guide to Bias Binding I wrote recently for Seamwork Magazine.
Finally Fitting-Ready!
Once both the top and the skirt were trimmed in satin, it was finally time to join them…
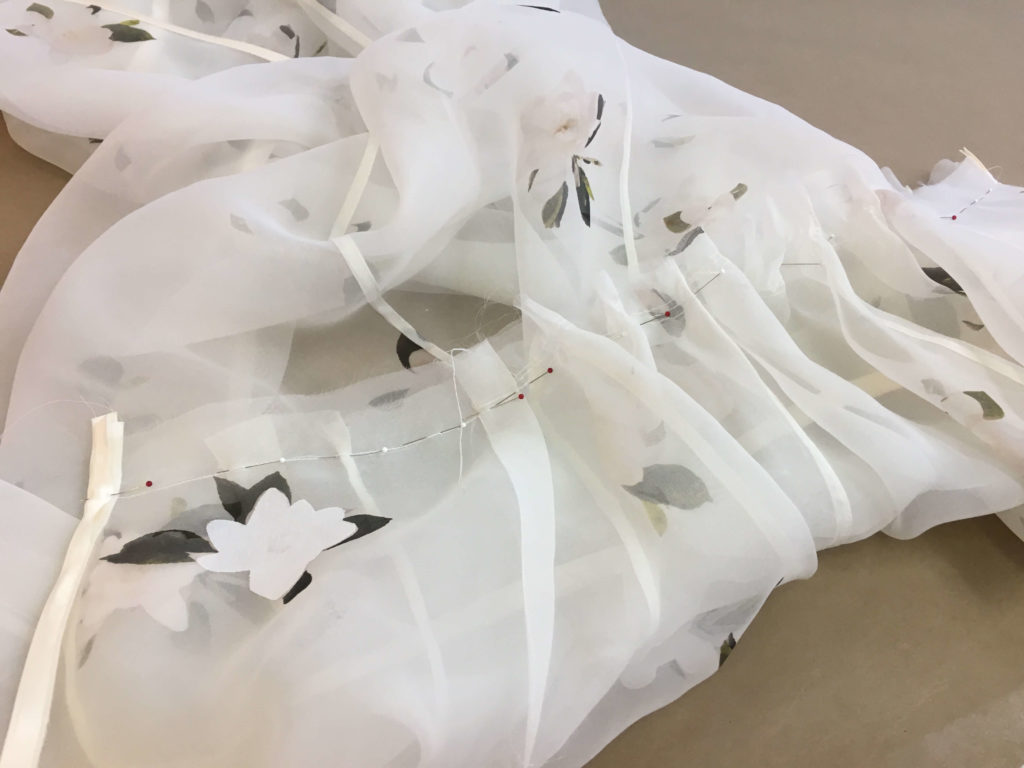
…and see the overdress together for the very first time.
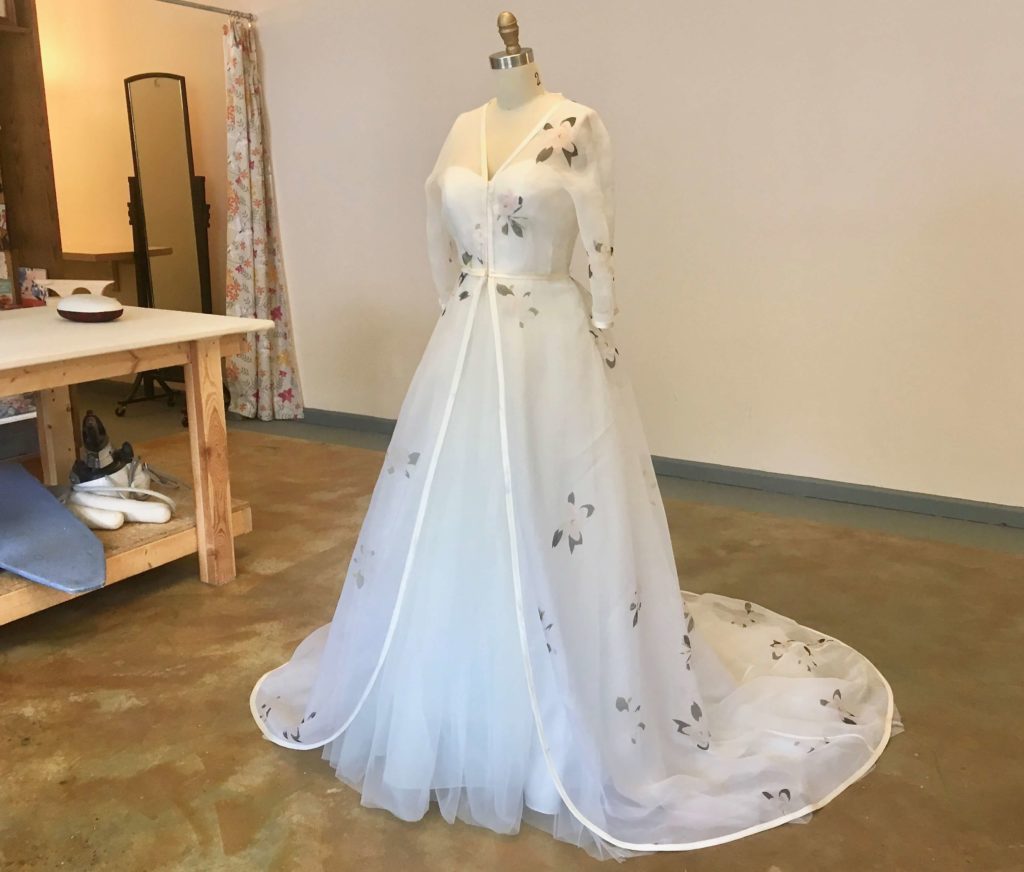
Squeeeee!
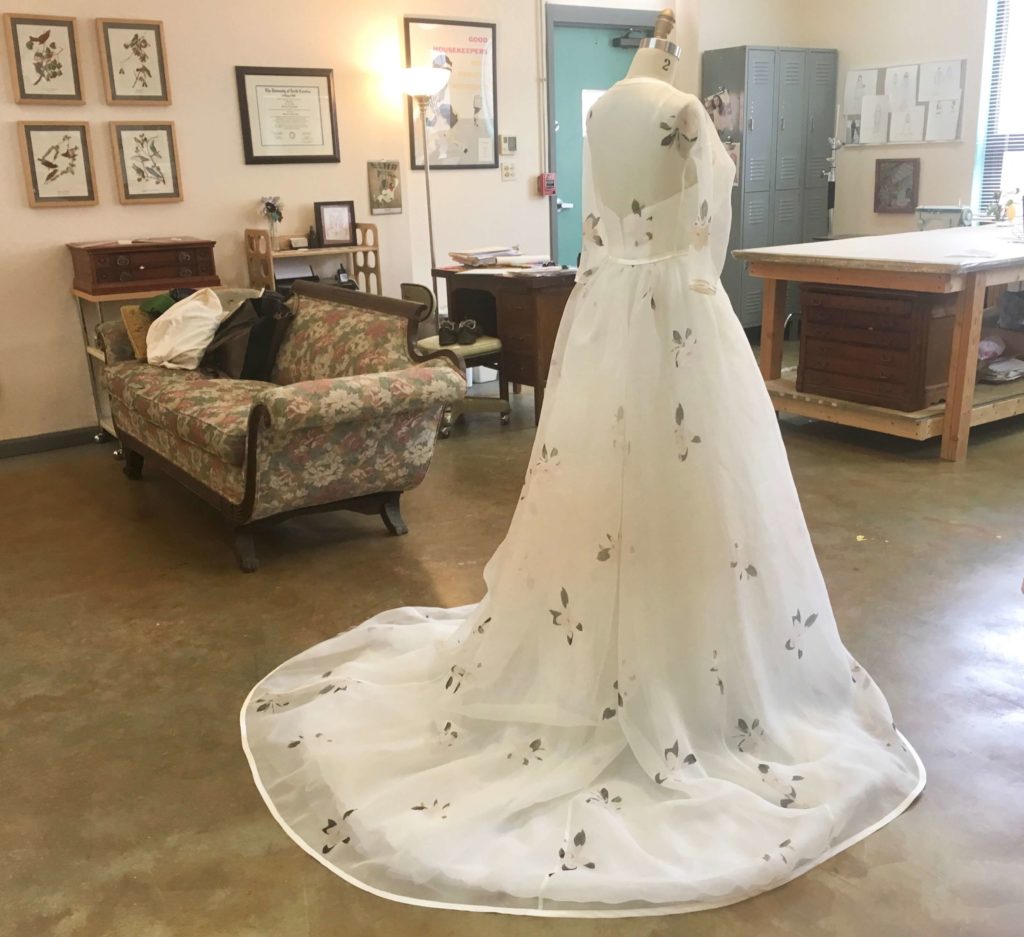
I’d need to set the bustling points with Cameron during the fitting, but I estimated a plan for her gorgeous bustled reception look.
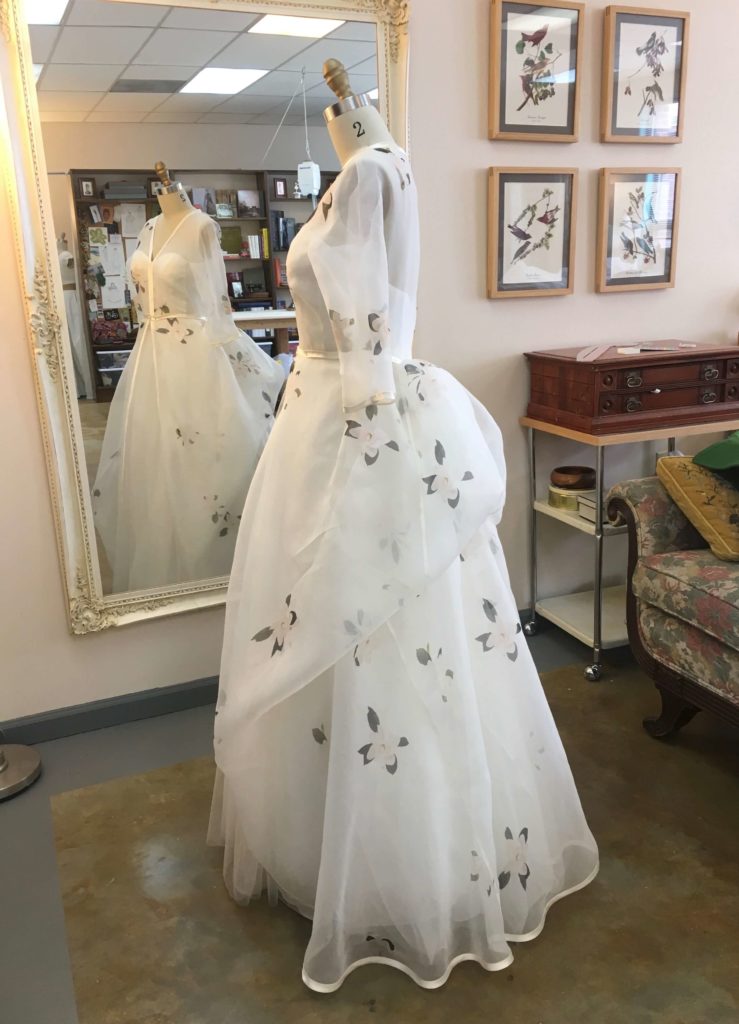
Though some bits were still basted for the possibility of last minute changes, the finishing work for Cameron’s overdress was finally fitting-ready. I was over the moon about how things were turning out! What do you think?!!!
NEXT POST: Cameron is in the studio to try on her actual wedding overdress for the very first time!
My Intro to Custom Sewing eCourse opens for registration this Saturday January 27, 2018 at ~11amEST. Visit www.SkirtSkills.com to learn more!
SaveSave
SaveSave
SaveSave
SaveSave
SaveSave
SaveSaveSaveSave
SaveSave
SaveSaveSaveSave
SaveSaveSaveSave
SaveSave
SaveSave
SaveSave
SaveSave
SaveSave
SaveSave
SaveSave
SaveSave


8 Responses
That is so beautiful Brooks Ann. You continue to amaze me with your creative talent and skill!
Thanks Lucy!
You’ve outdone yourself with this one. It is so, so beautiful!
Thanks for following along Sheryl!
WOW. Goosebumps Wow.
????
I really enjoy hearing about your process and how you find solutions to design and construction challenges.This dress is a dream; it’s so very beautiful.
Thanks for following along!