

Whew! Where was I?
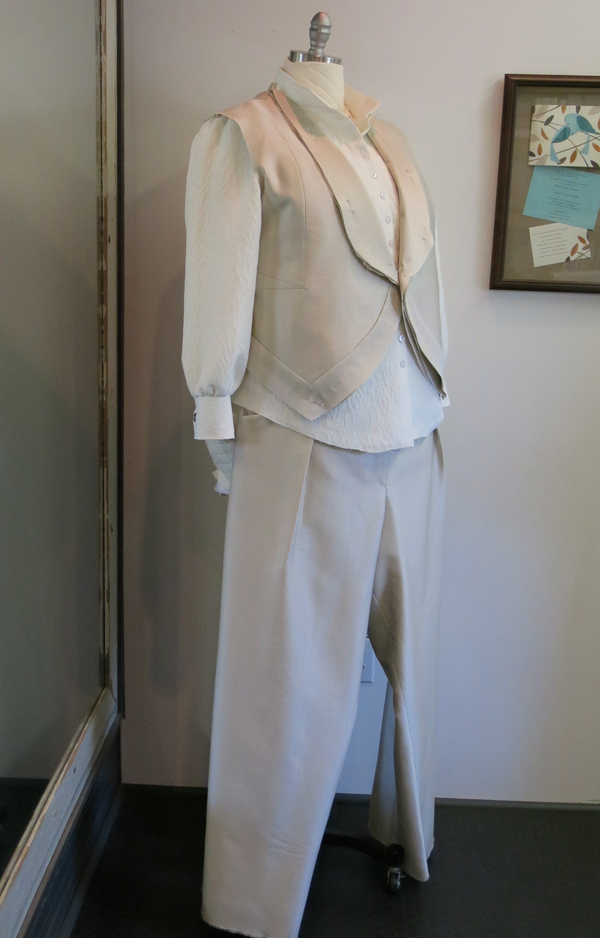
Back before I moved to my new Sewing Room and back before I created and taught my first session of my online course Skirt Skills, I was working with a bride named Diane to create a custom bridal ensemble that included pants, a vest, and a blouse. In previous blog posts, I documented the mockup process as Diane shrank and shrank (did I mention that she was undergoing weight loss surgery during our process?). I posted the beginning stages of the creation of the pants and vest out of a beautiful Carolina Herrera Silk Faille and now it’s finally time to show you how I created her beautiful blouse!
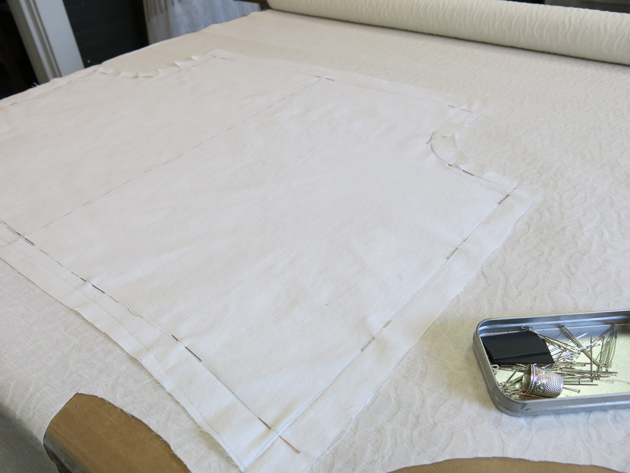
Diane’s bridal blouse was made from a gorgeous silk matelassé. Matelassé is a type of fabric that is made by joining two distinct layers of fabric together to create an embossed effect. In the photo above, you can see where I’ve begun to pin my cotton mockup to the back side of the silk matelassé for underlining.
As a wedding dressmaker, I’ve never had the pleasure of creating shirt cuffs that will be worn with cufflinks, so I got to do some experimenting. I love to try new things and it is always important to work with a sample before moving on to the final garment. I experimented with a few different ways to create the placket and then added the cuffs to Diane’s sleeves.
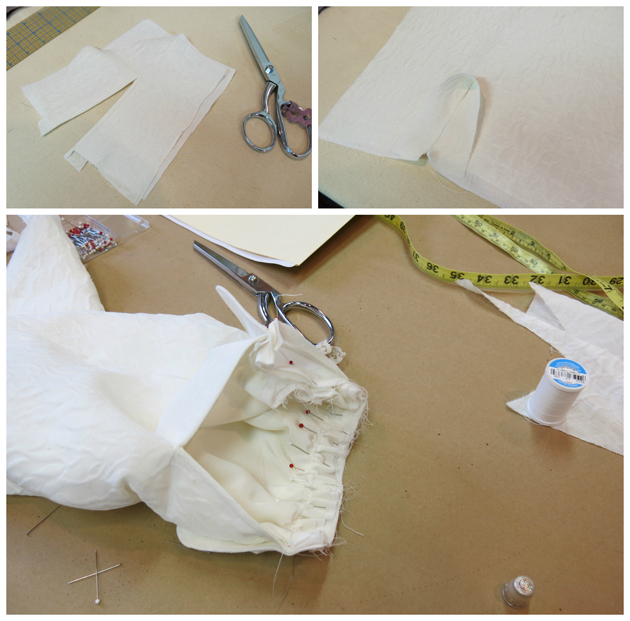
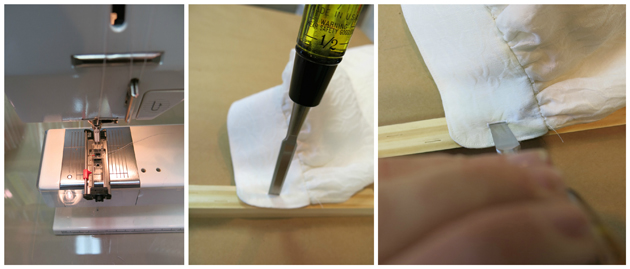
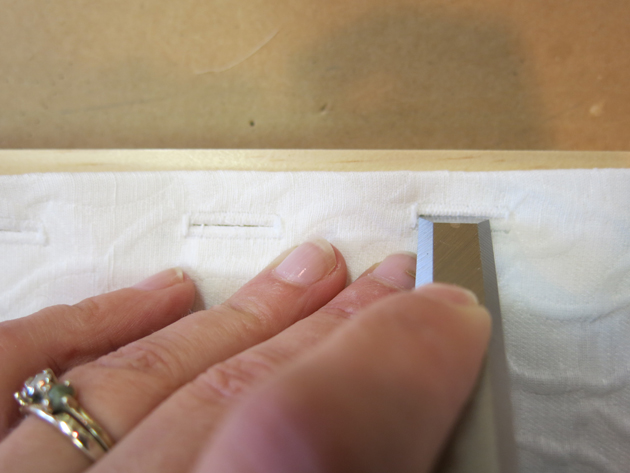
To create the holes for the cufflinks, I machine stitched two buttonholes on each cuff and then cut them open with a clean sharp chisel over a piece of clean wood.
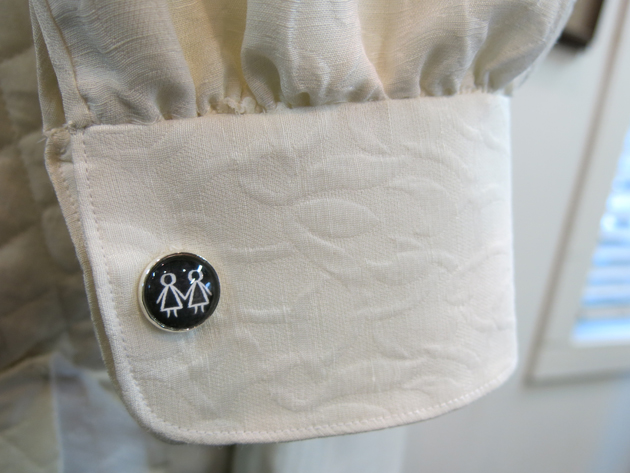
Then I was able to add the adorable cufflinks that Diane found on Etsy!
After I seamed the blouse together and added the sleeves and collar, it was time to place the buttons.
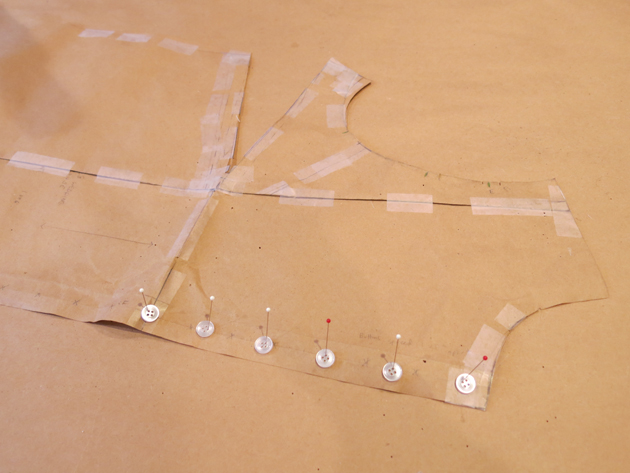
The way I like to determine button placement is to start at the bust line. I find the bust line point on my pattern and then my top point on my pattern. Then I divide and place my buttons evenly between the two. Then, I keep that same distance between the buttons below the bust line.
Having a button right at the bust line is a great way to prevent the possibility of the blouse gaping open at that point.
I used my marked pattern to determine where my button holes would go on the front of the blouse. Once they were marked and double checked, I used the buttonhole function on my sewing machine to create the buttonhole stitches. Then, just like I did with the cuffs, I cut them open with my sharp chisel.
Once the buttonholes were complete, I was able to put the blouse on the dress form and use the placement of the openings to add pins exactly where I would add my buttons.
Once on the table, I’d replace each pin placeholder with a thread shanked button.

Diane’s outfit was ready for her basted fitting! This is the first time she’d be trying the ensemble on in the actual fabrics, but there are still many points left merely basted or completely undone to be marked or changed in the fitting. Between every fitting thus far, Diane had lost 10-20 lbs., so I was prepared for more changes and final tweaks!
Next post: The basted fitting!


